Modeling & Materials

Weekly Design Challenge

Regina Ta


Module 1


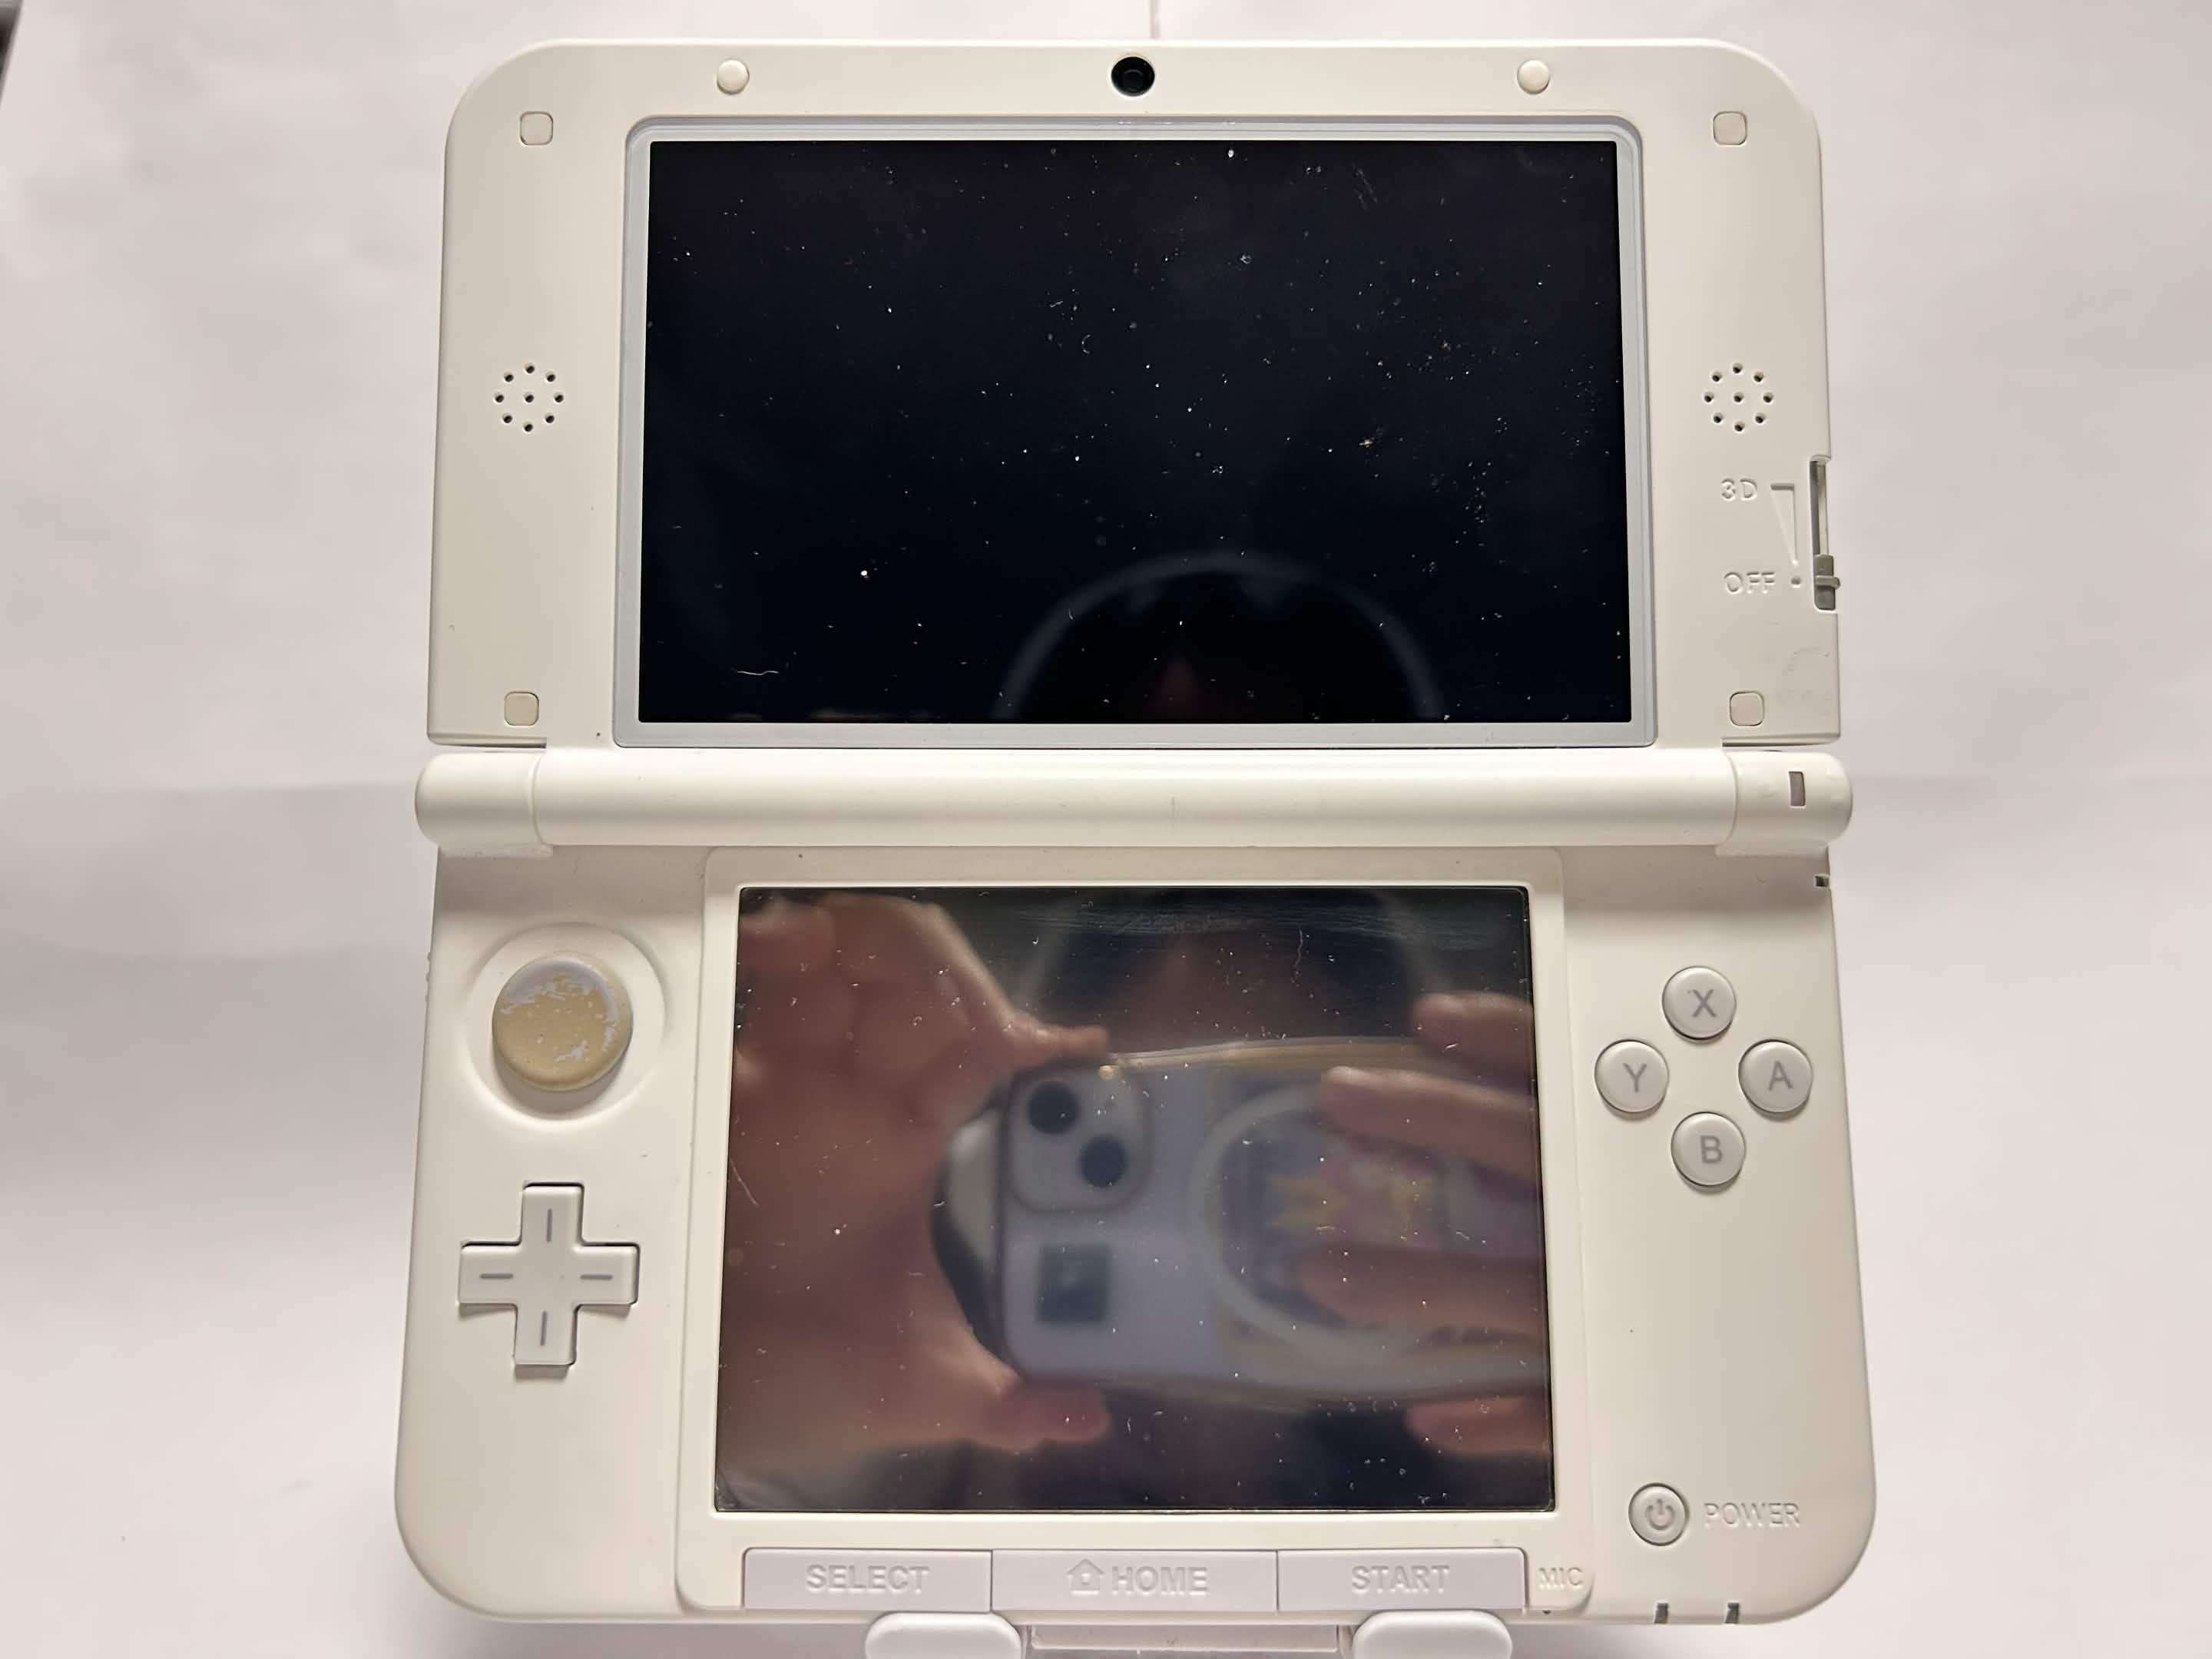
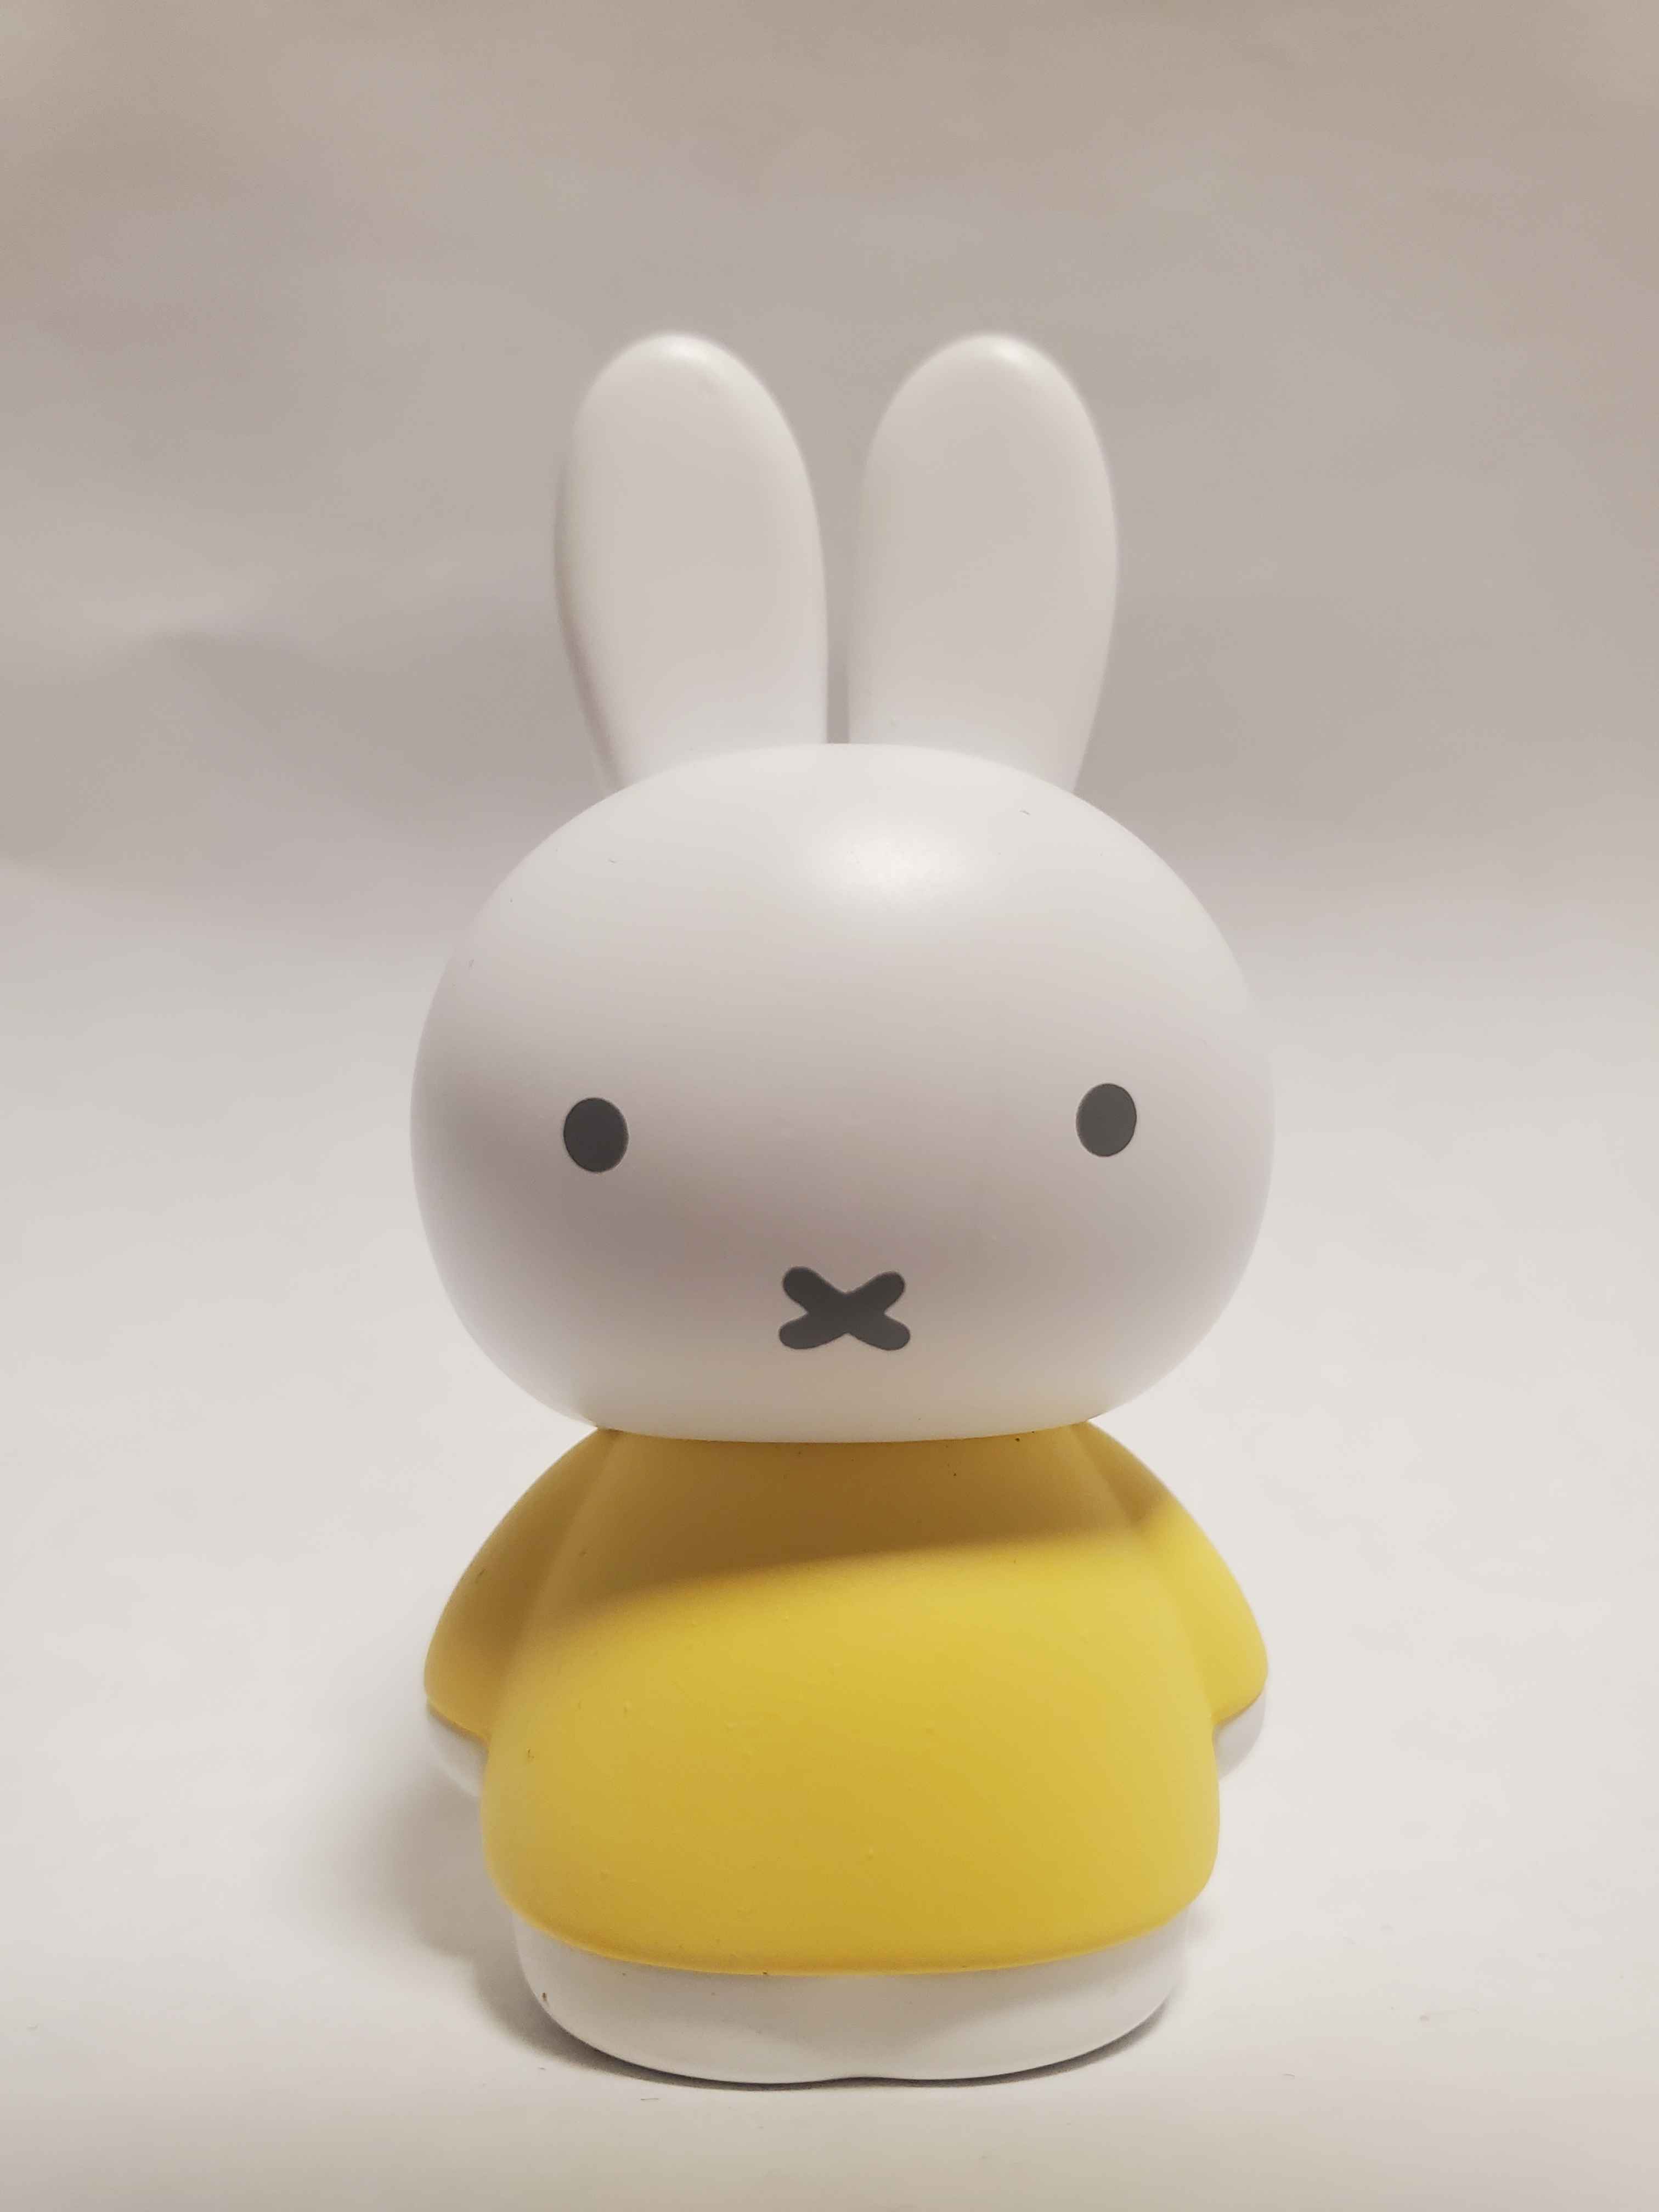
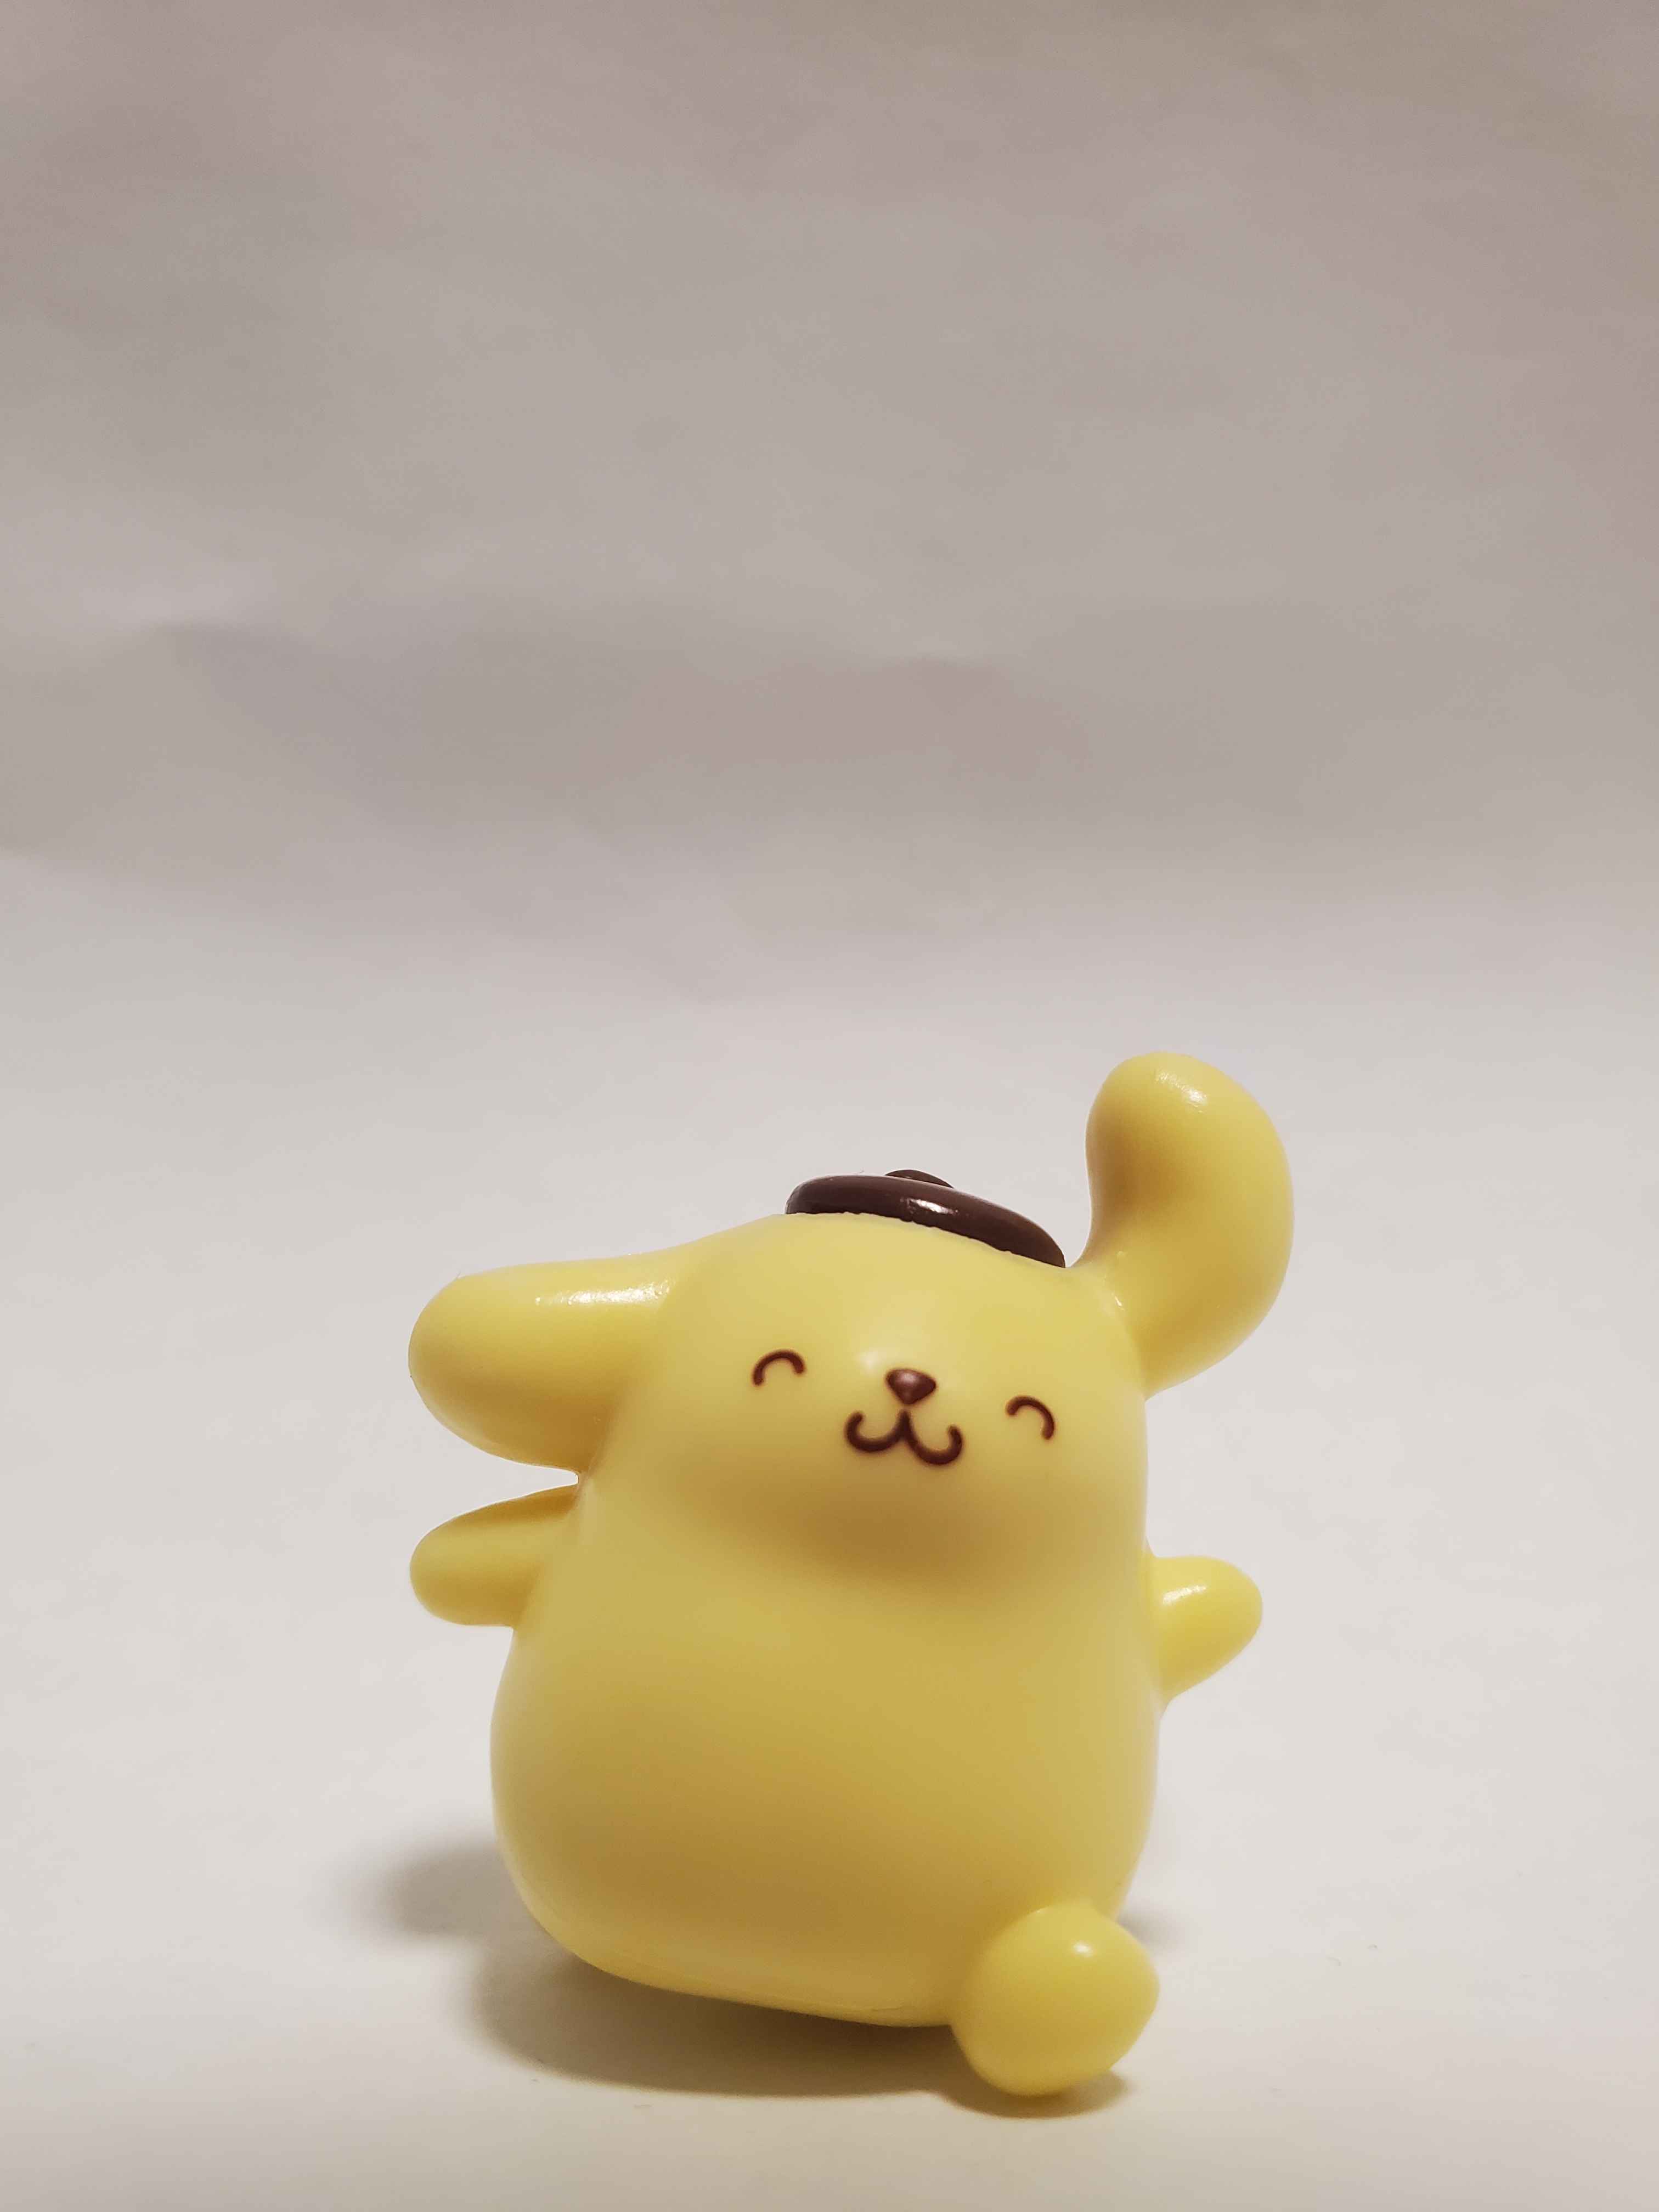
Design Statement: This project marks my exploratory journey into 3D modelling and digital fabrication, documenting my first experience learning Blender and operating a 3D printer. By selecting objects with contrasting geometries - 3DS XL versus Miffy and Pompompurin - my process focused on lots of iteration, researching and trial and error in order to push past the surface details of an object, to looking at the actual construction and form of the object. The final 3D prints serve as a physical reflection of this steep learning process, bridging digital mesh construction with physical fabrication.

Design Challenge 1
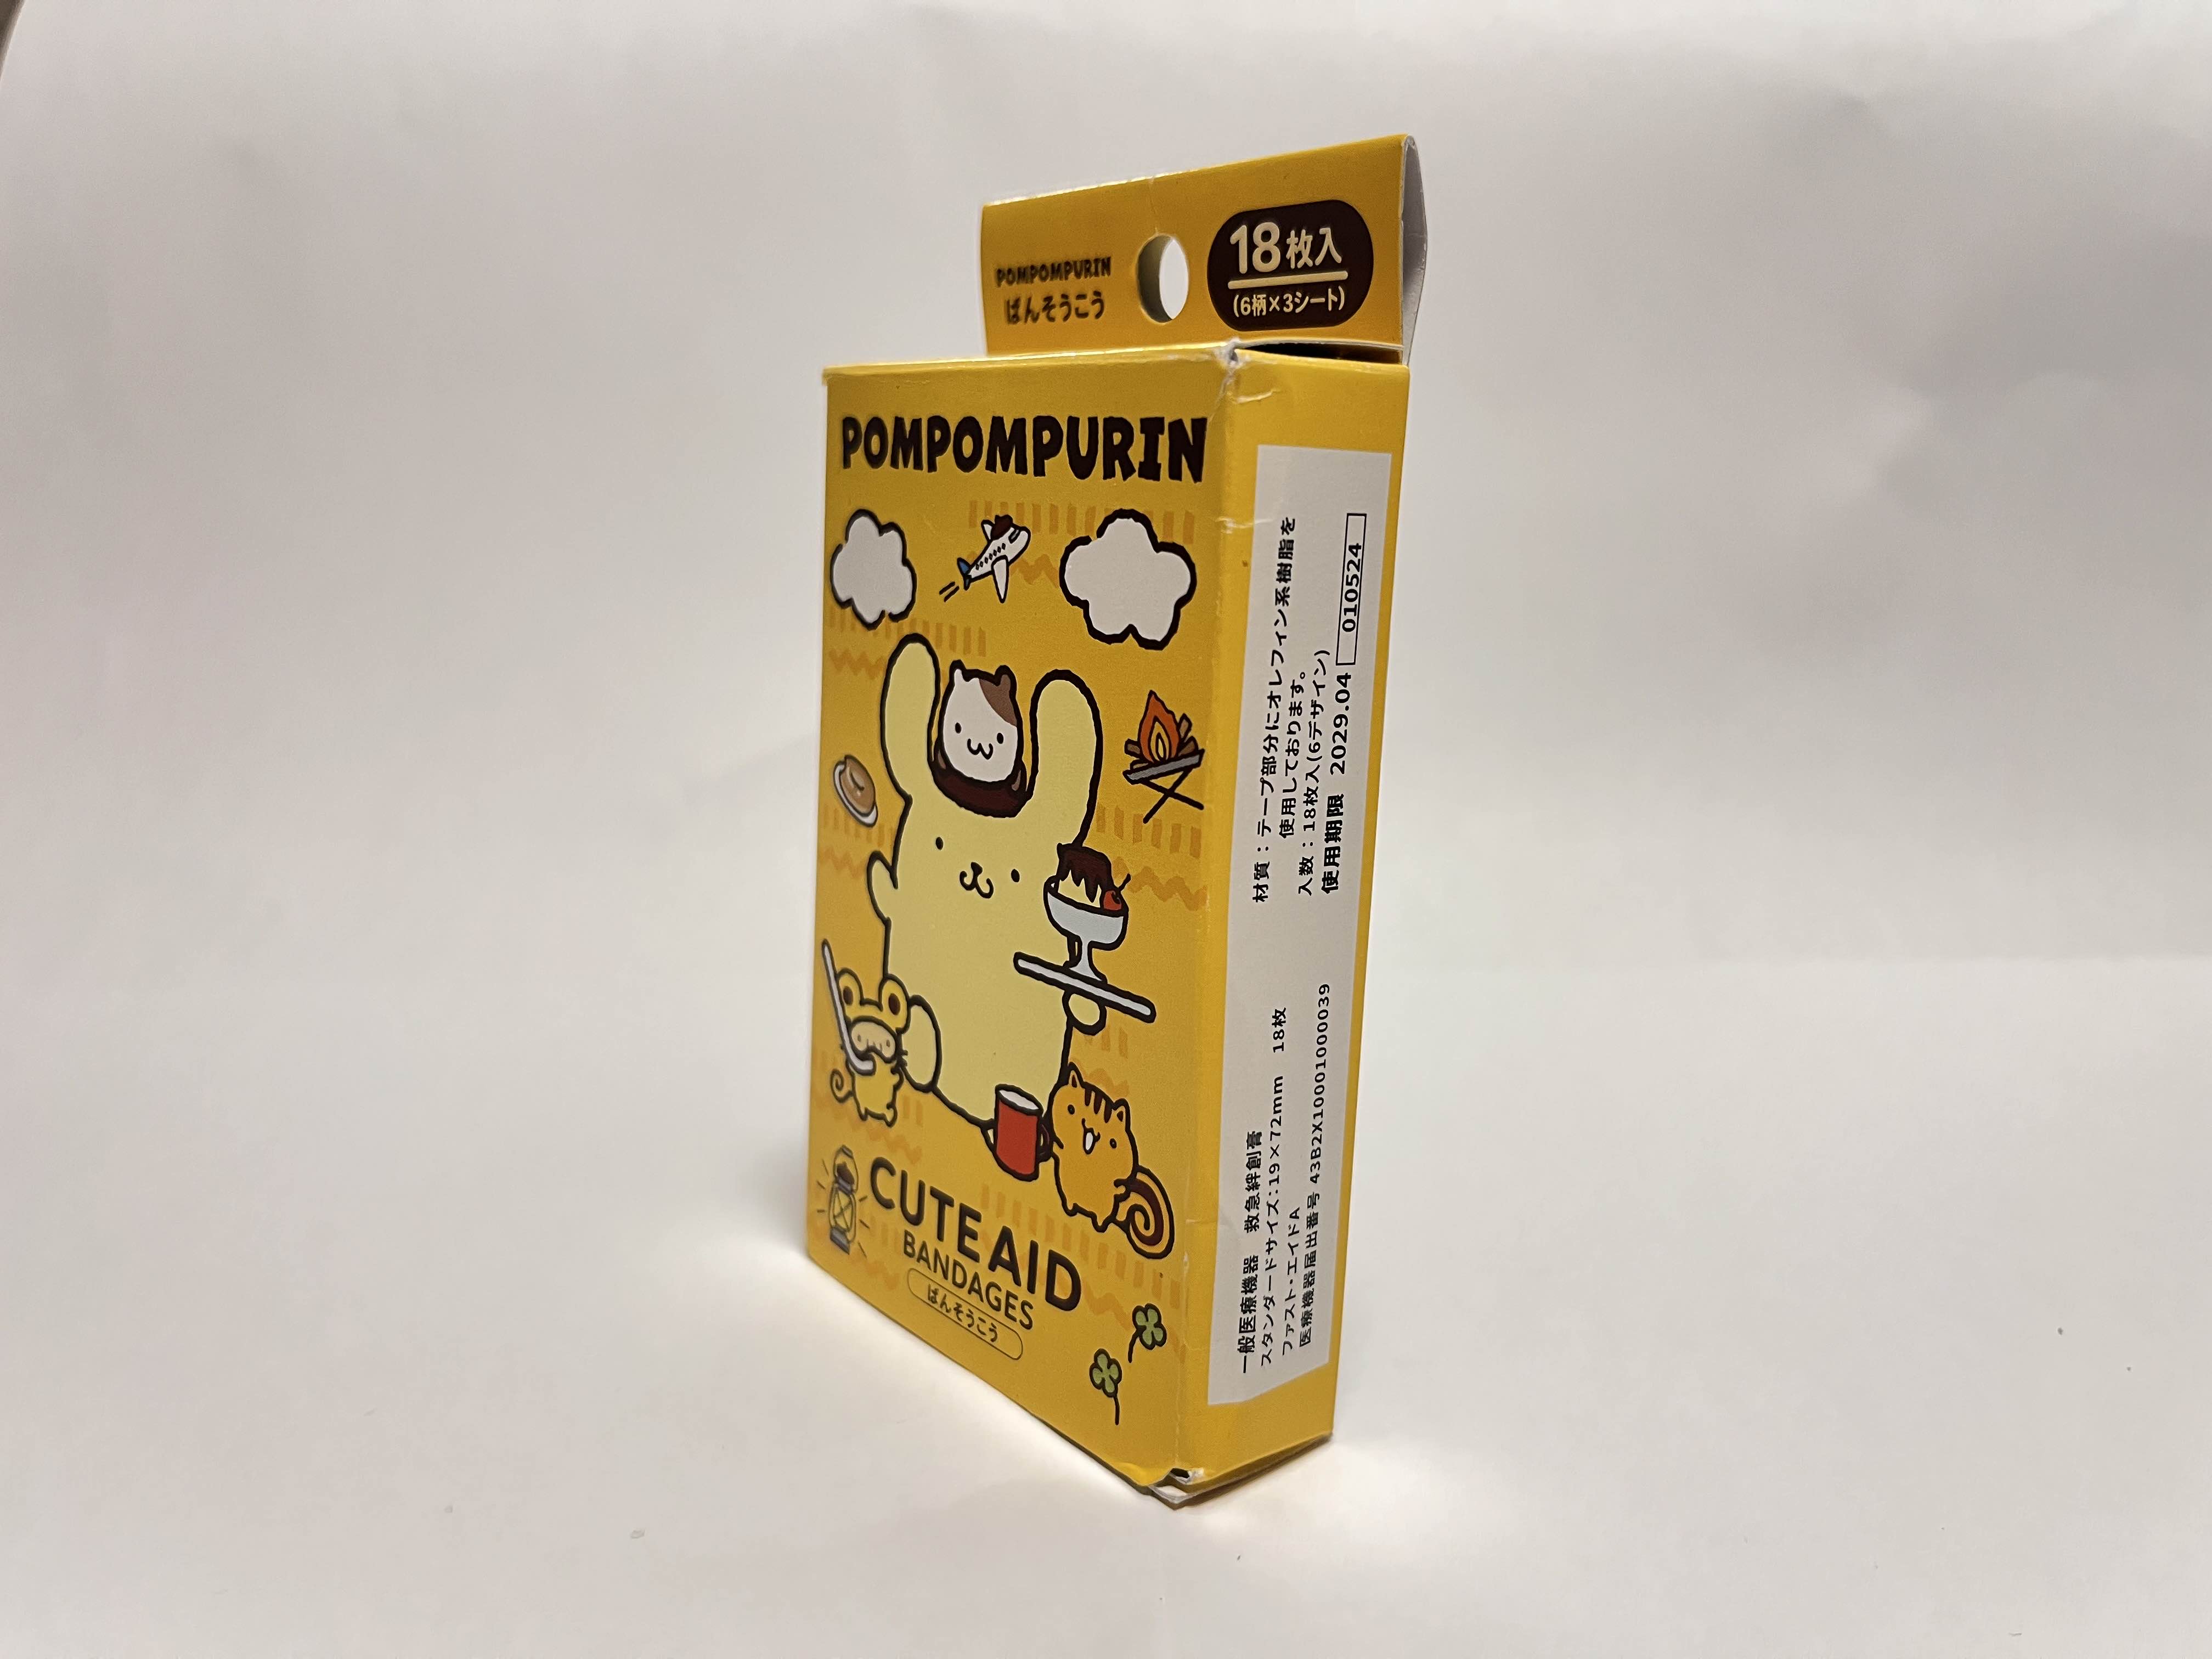
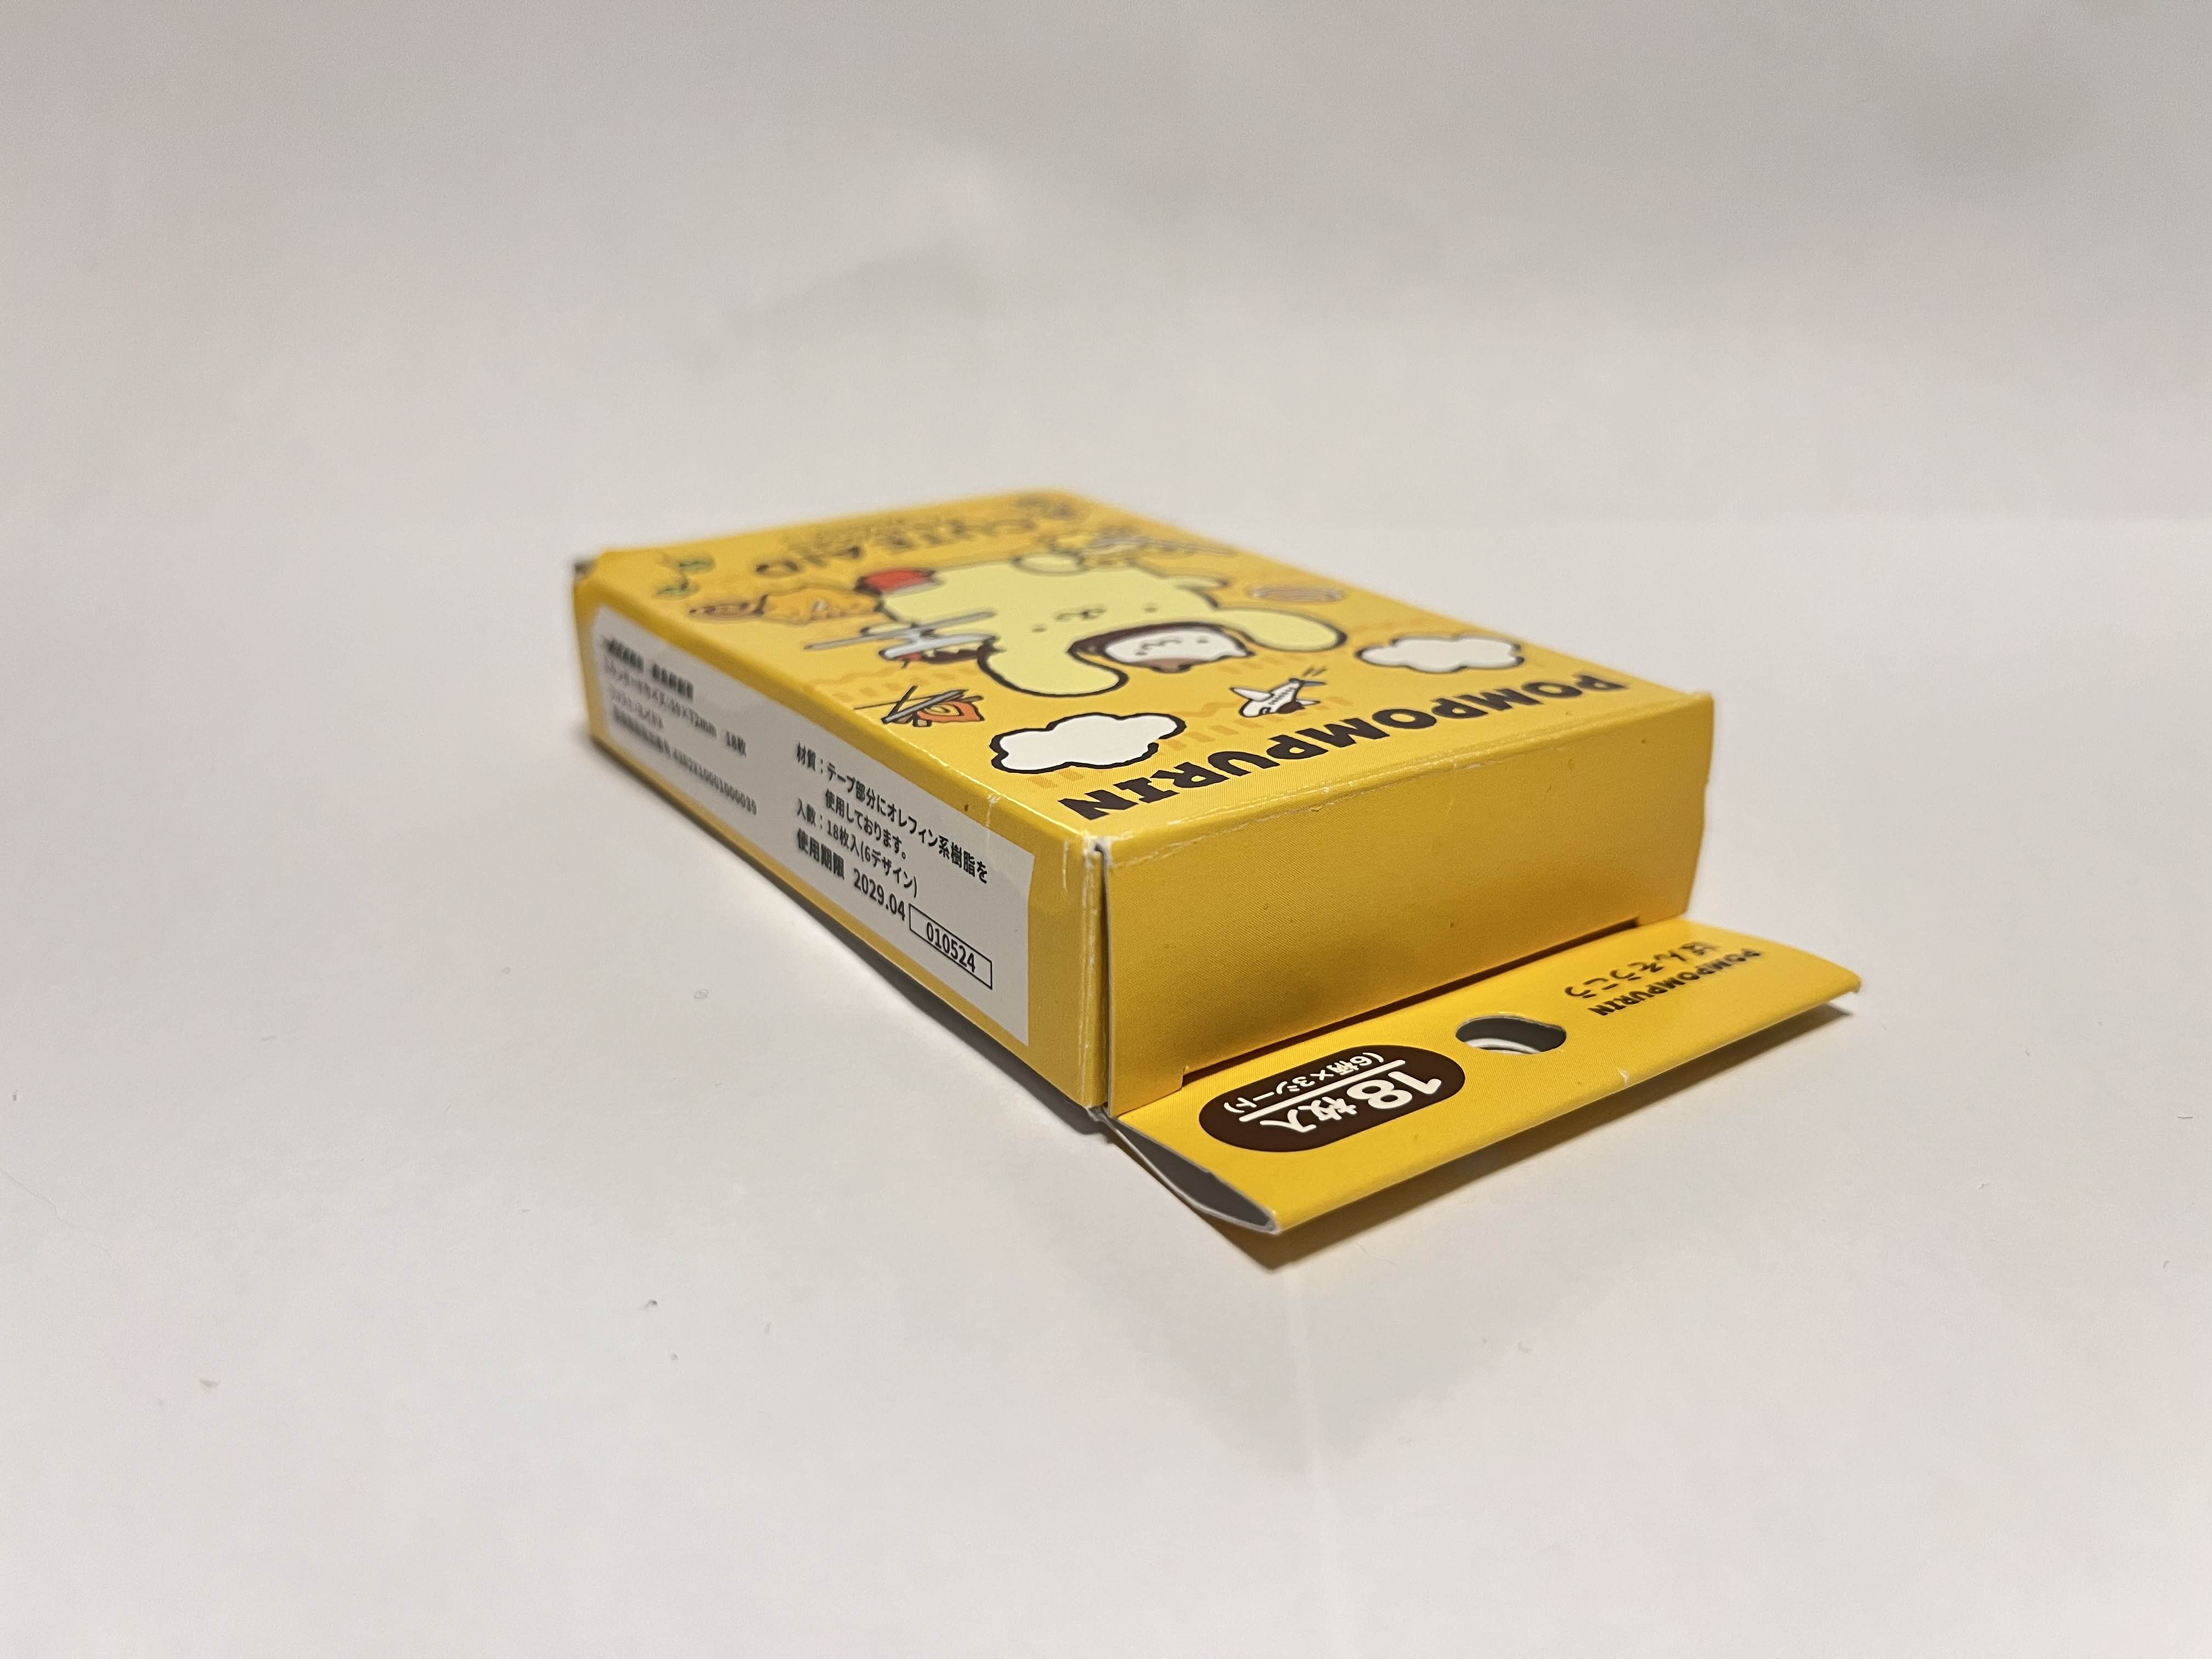
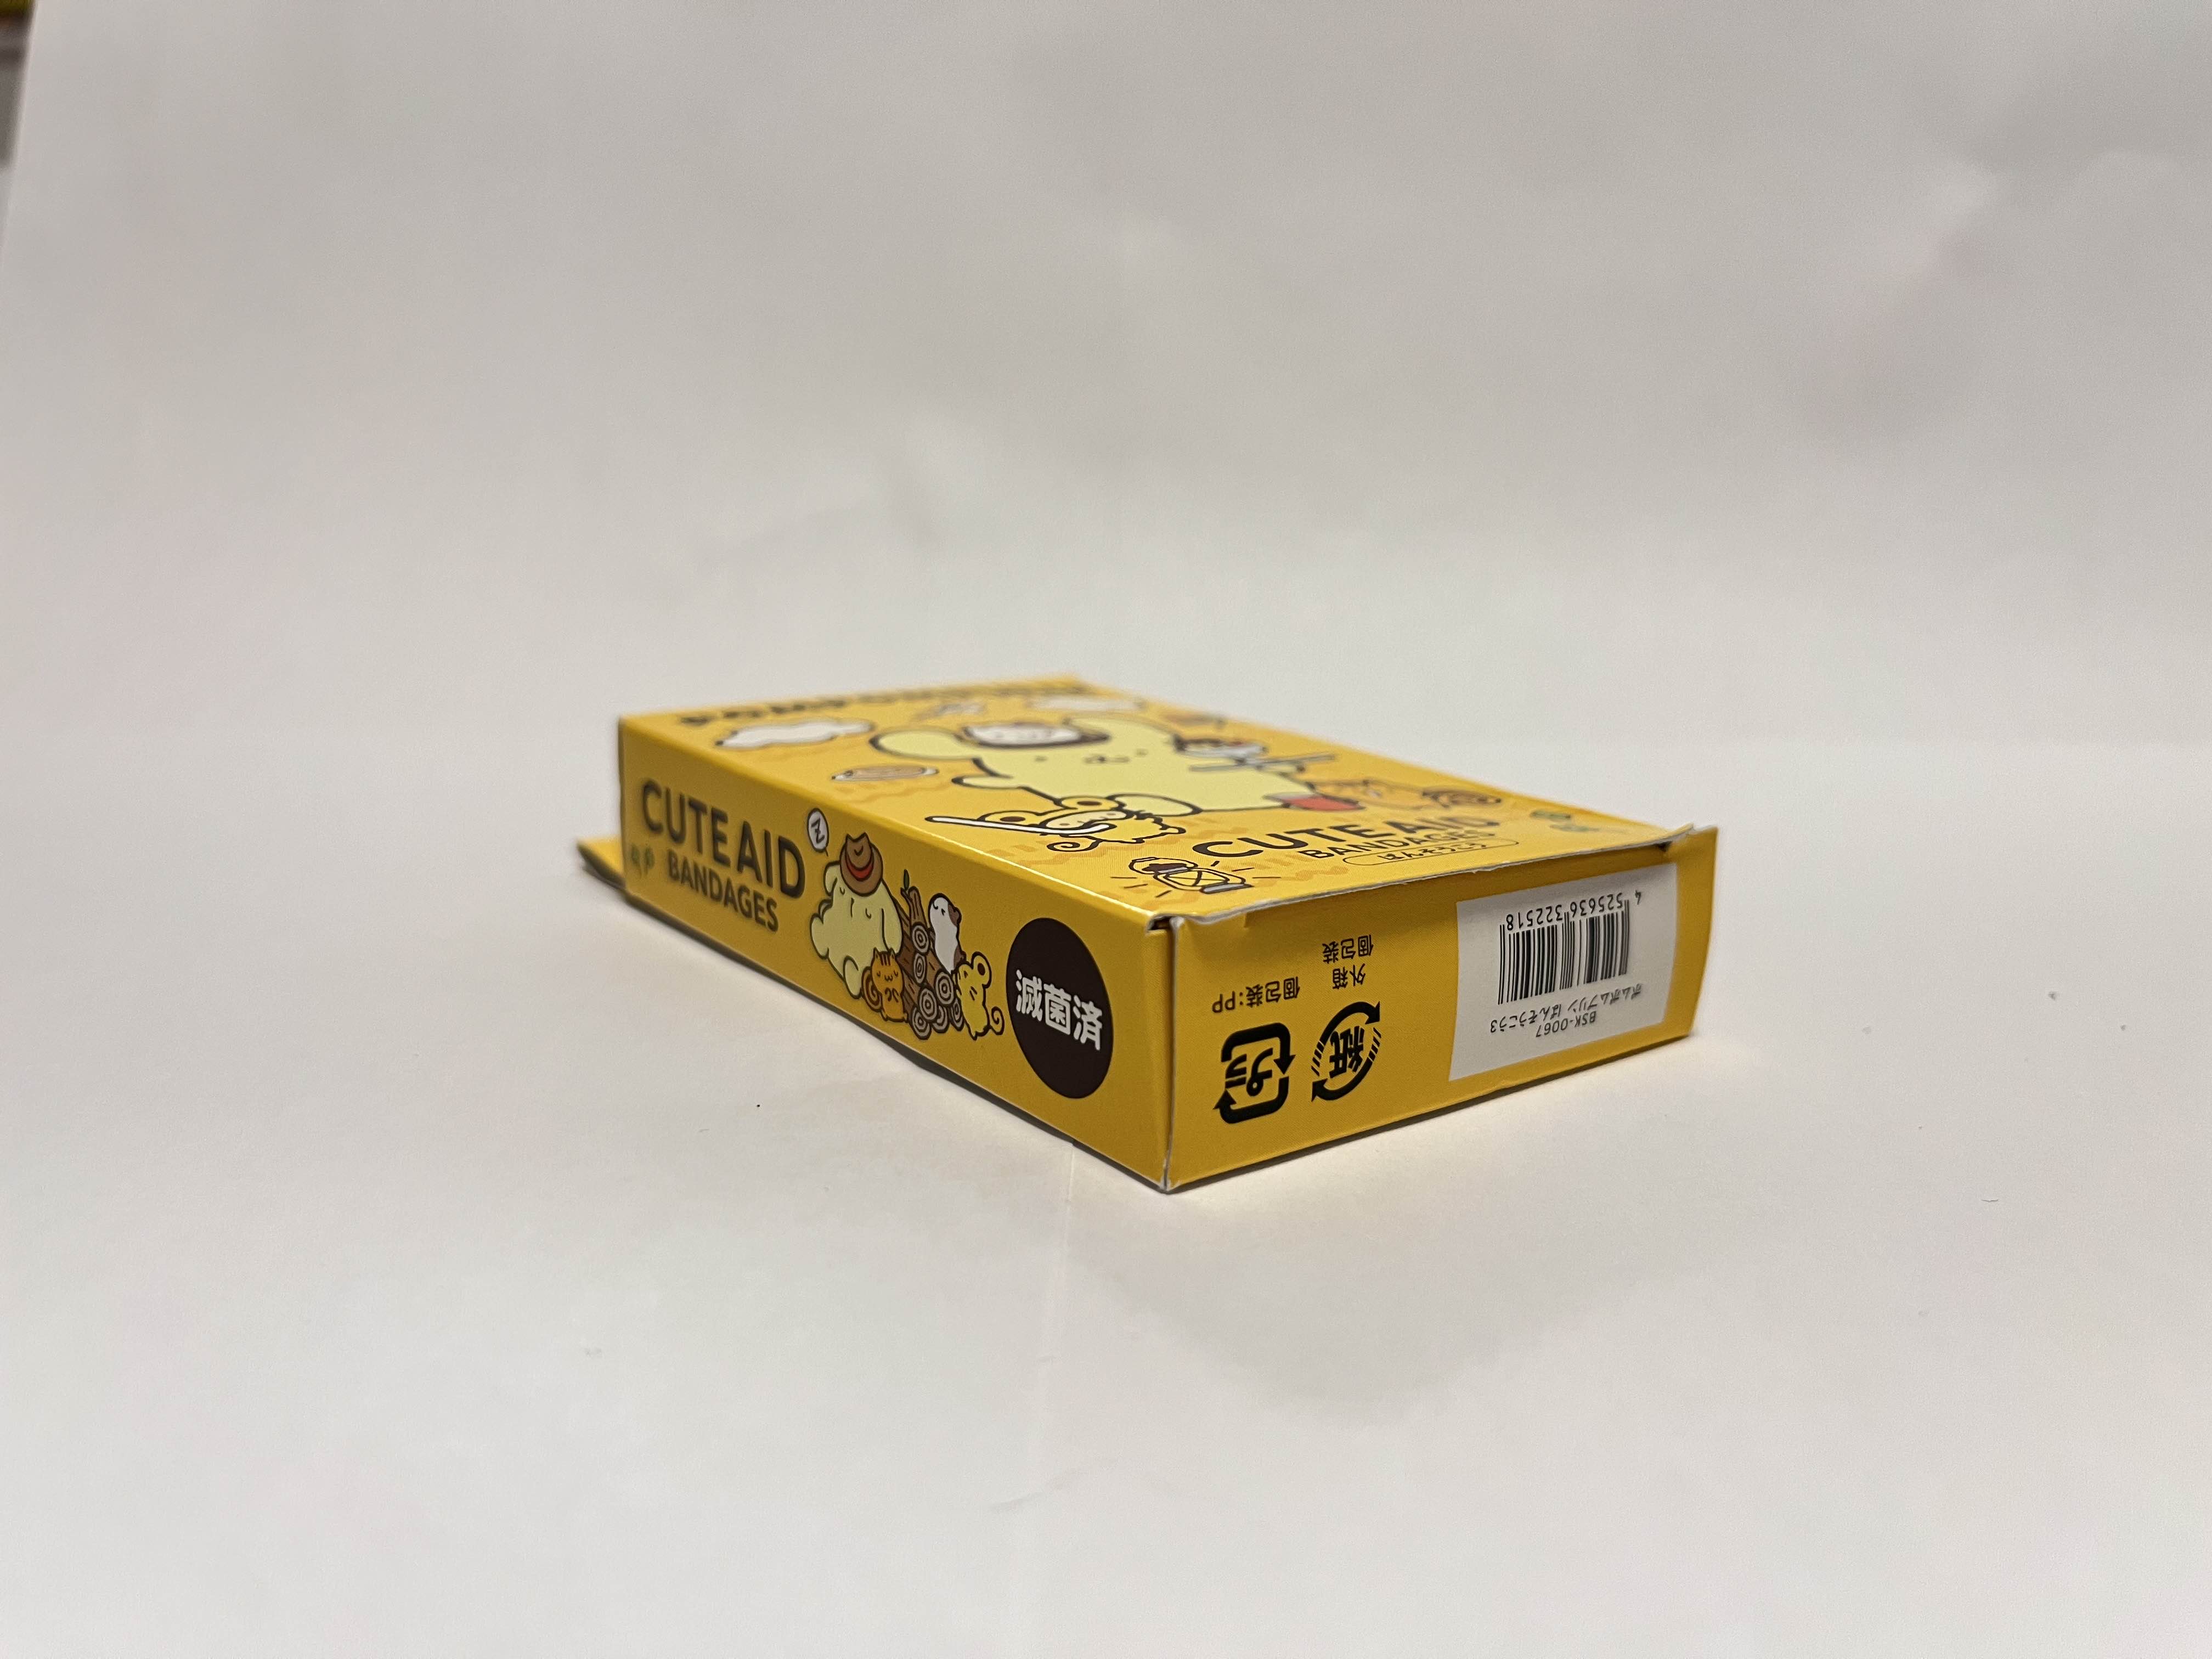
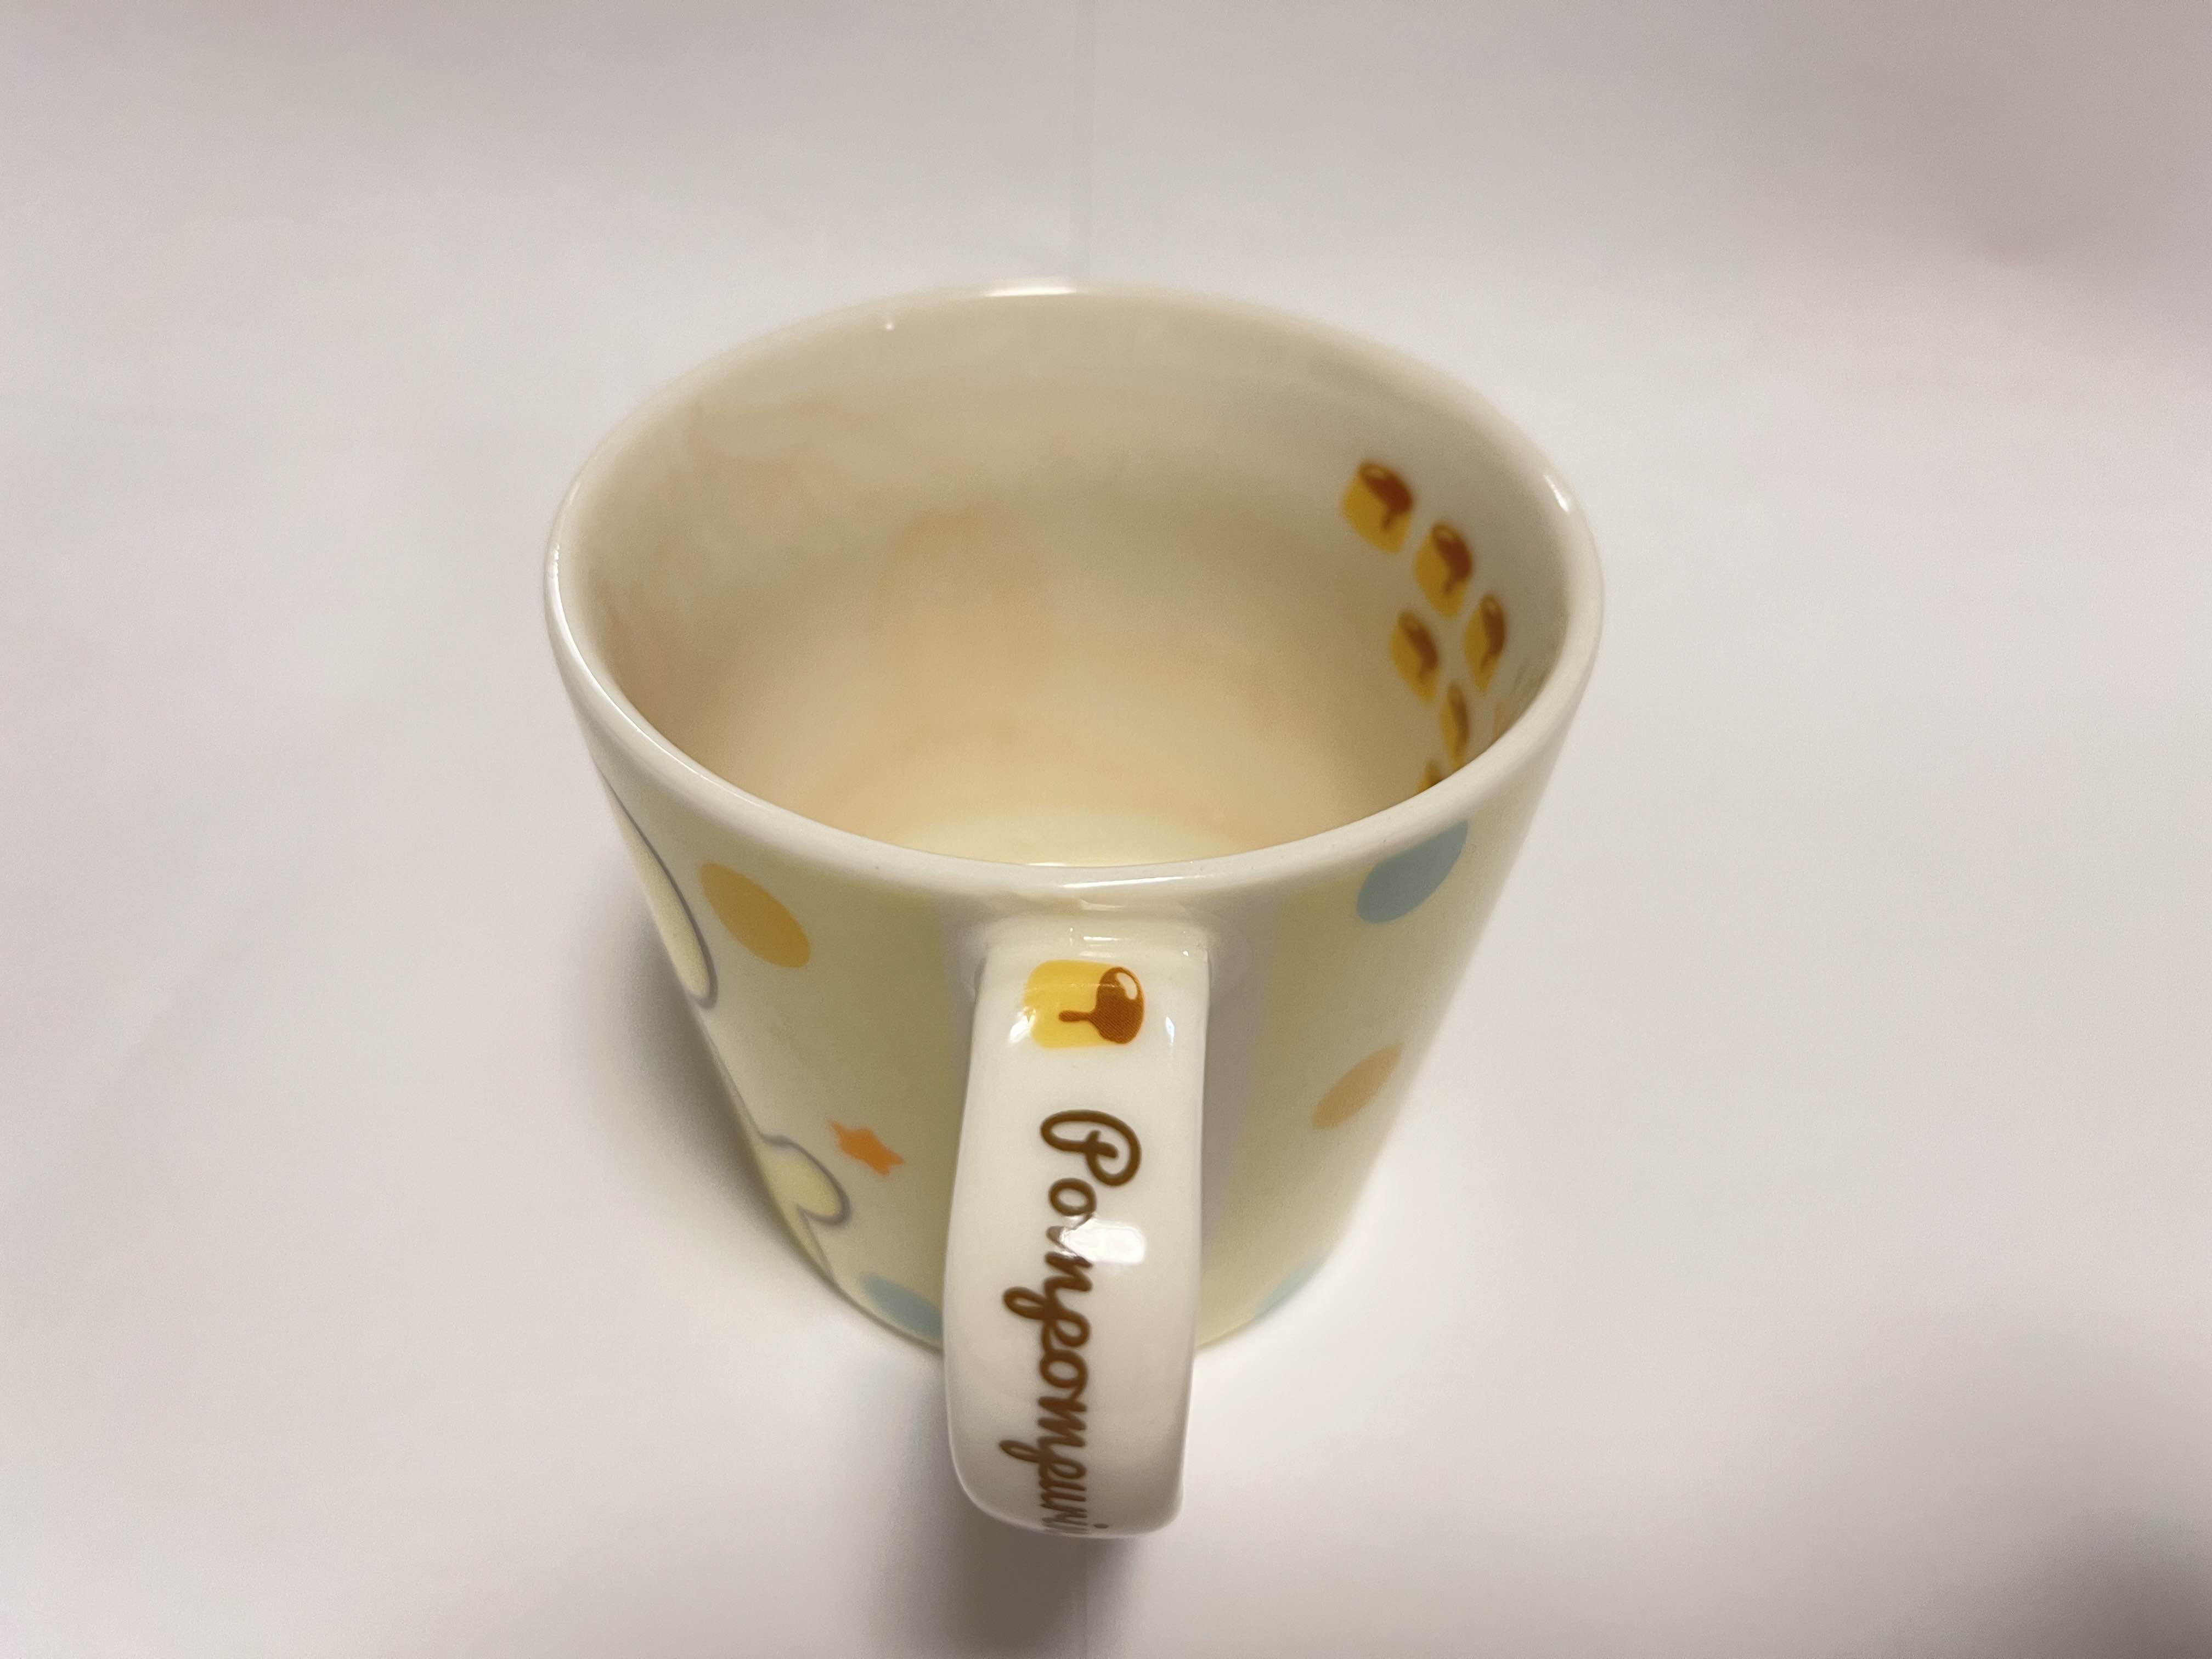
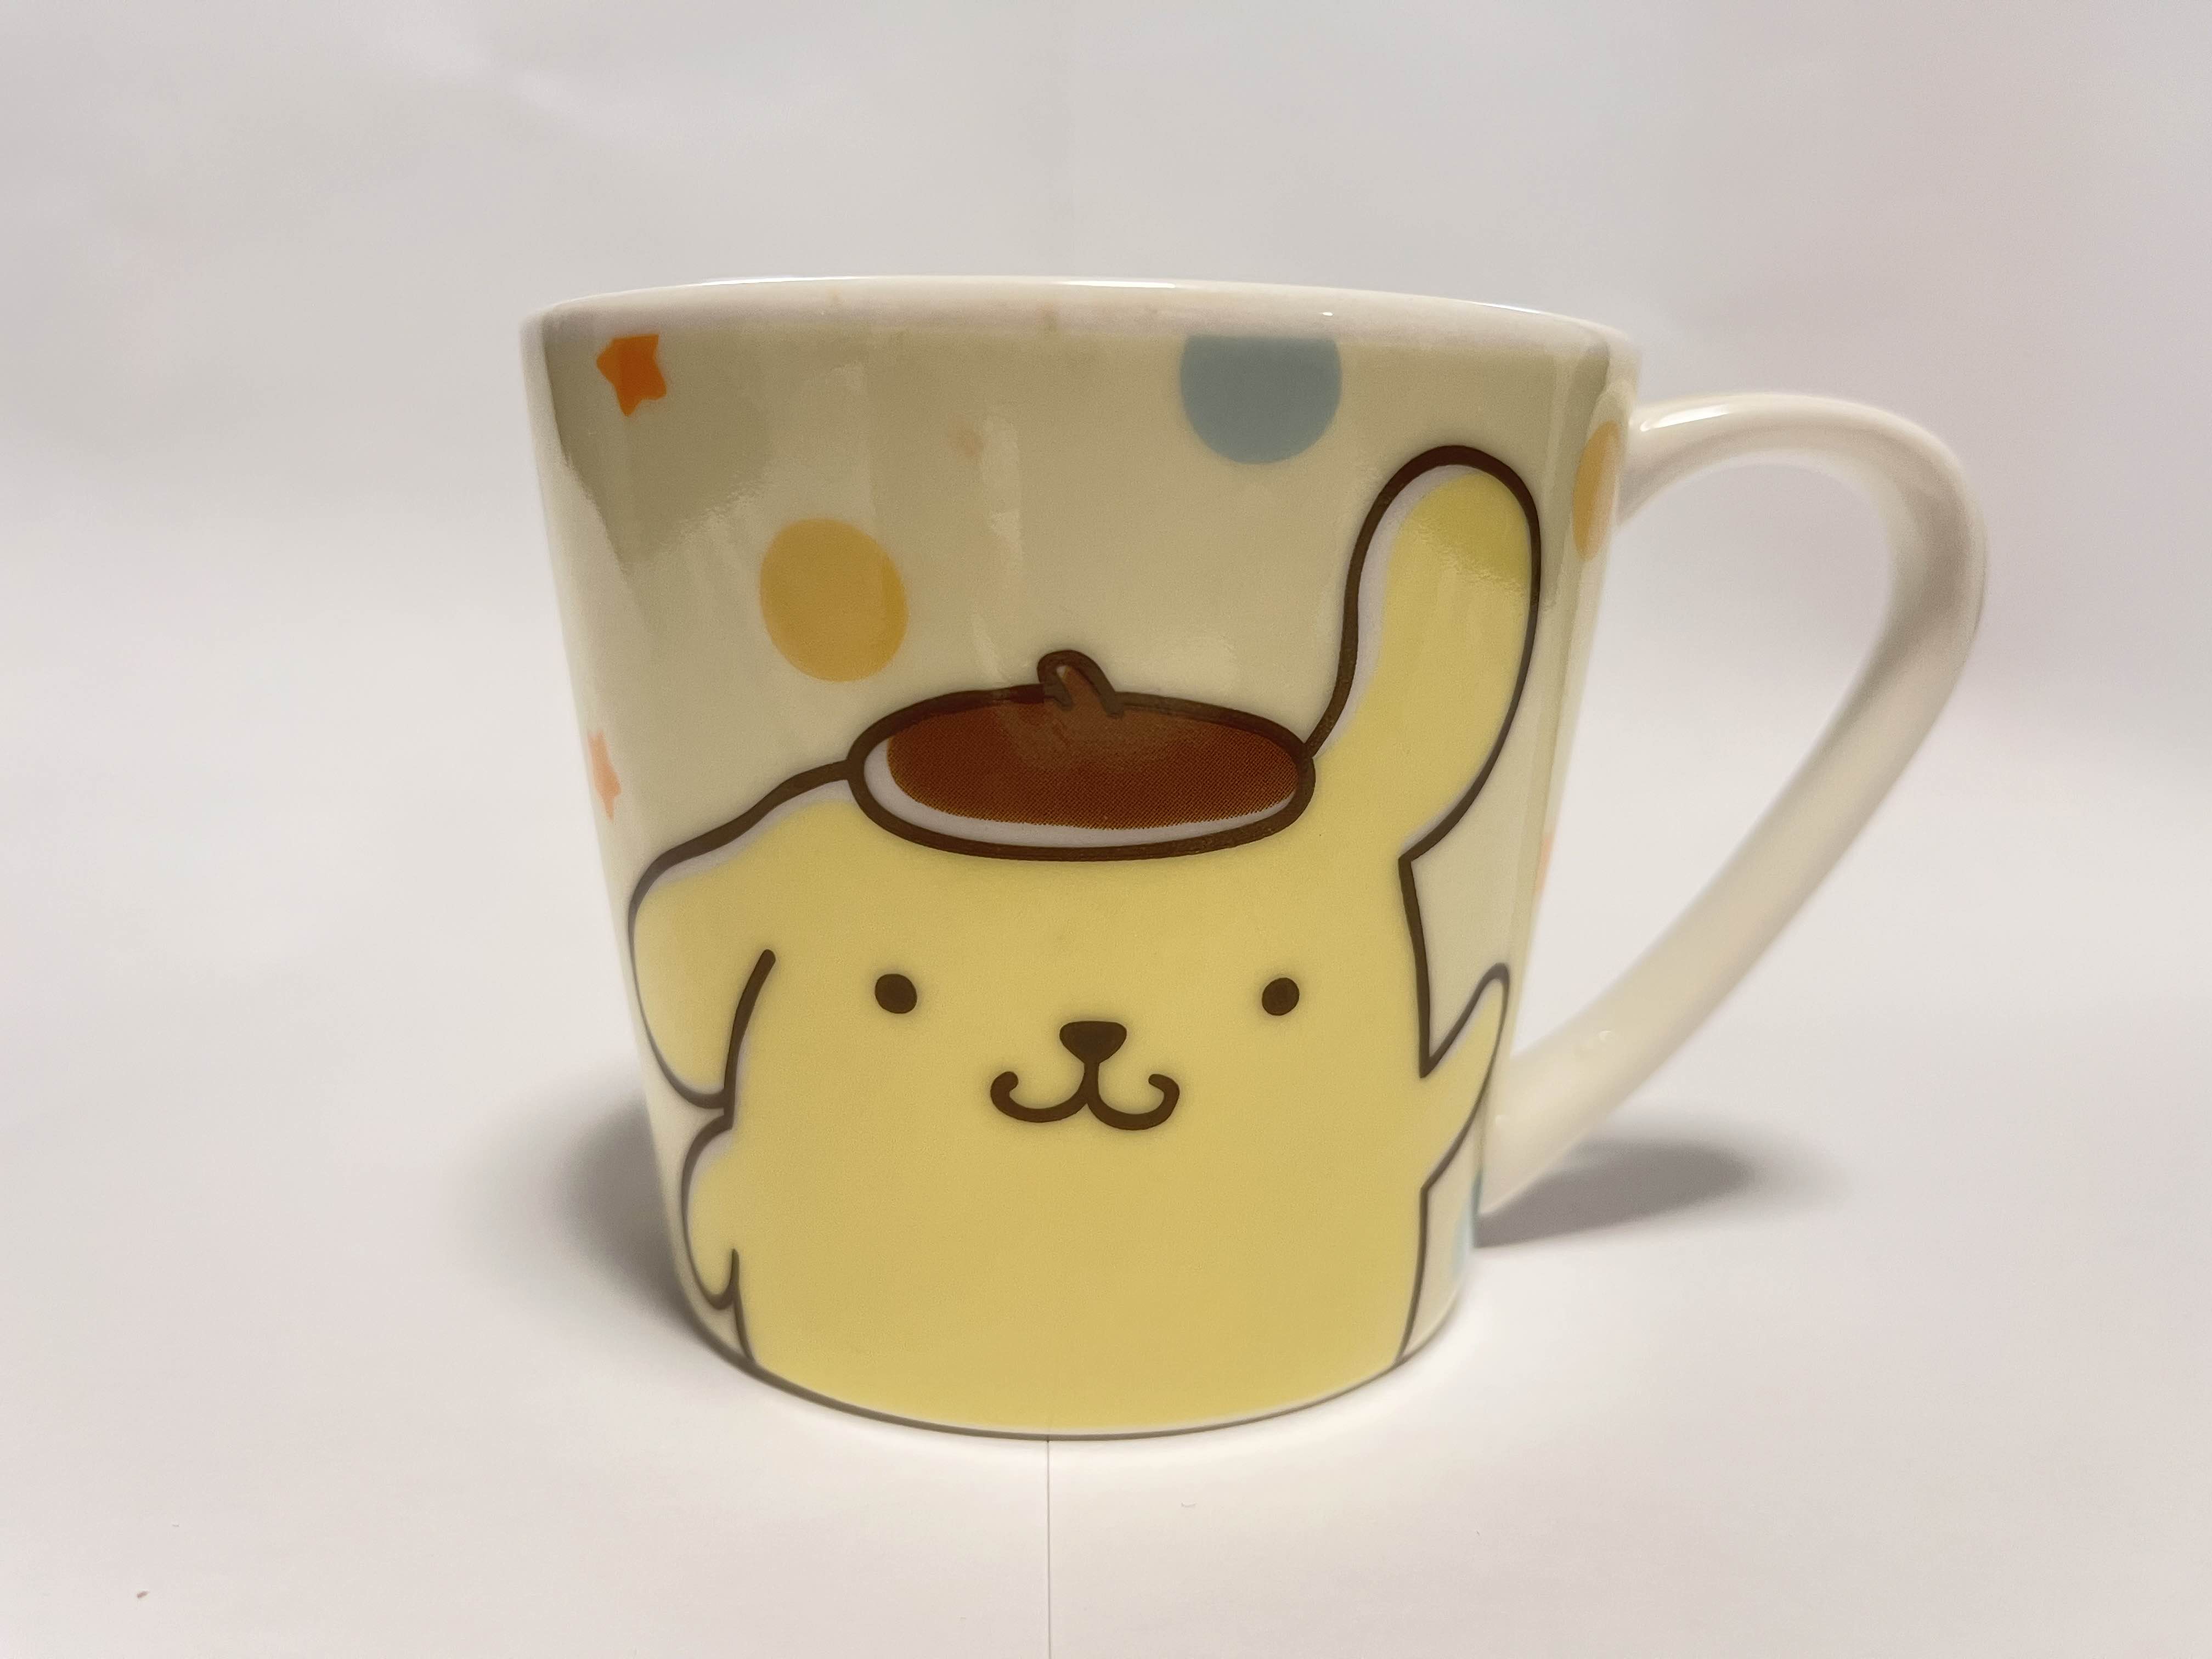
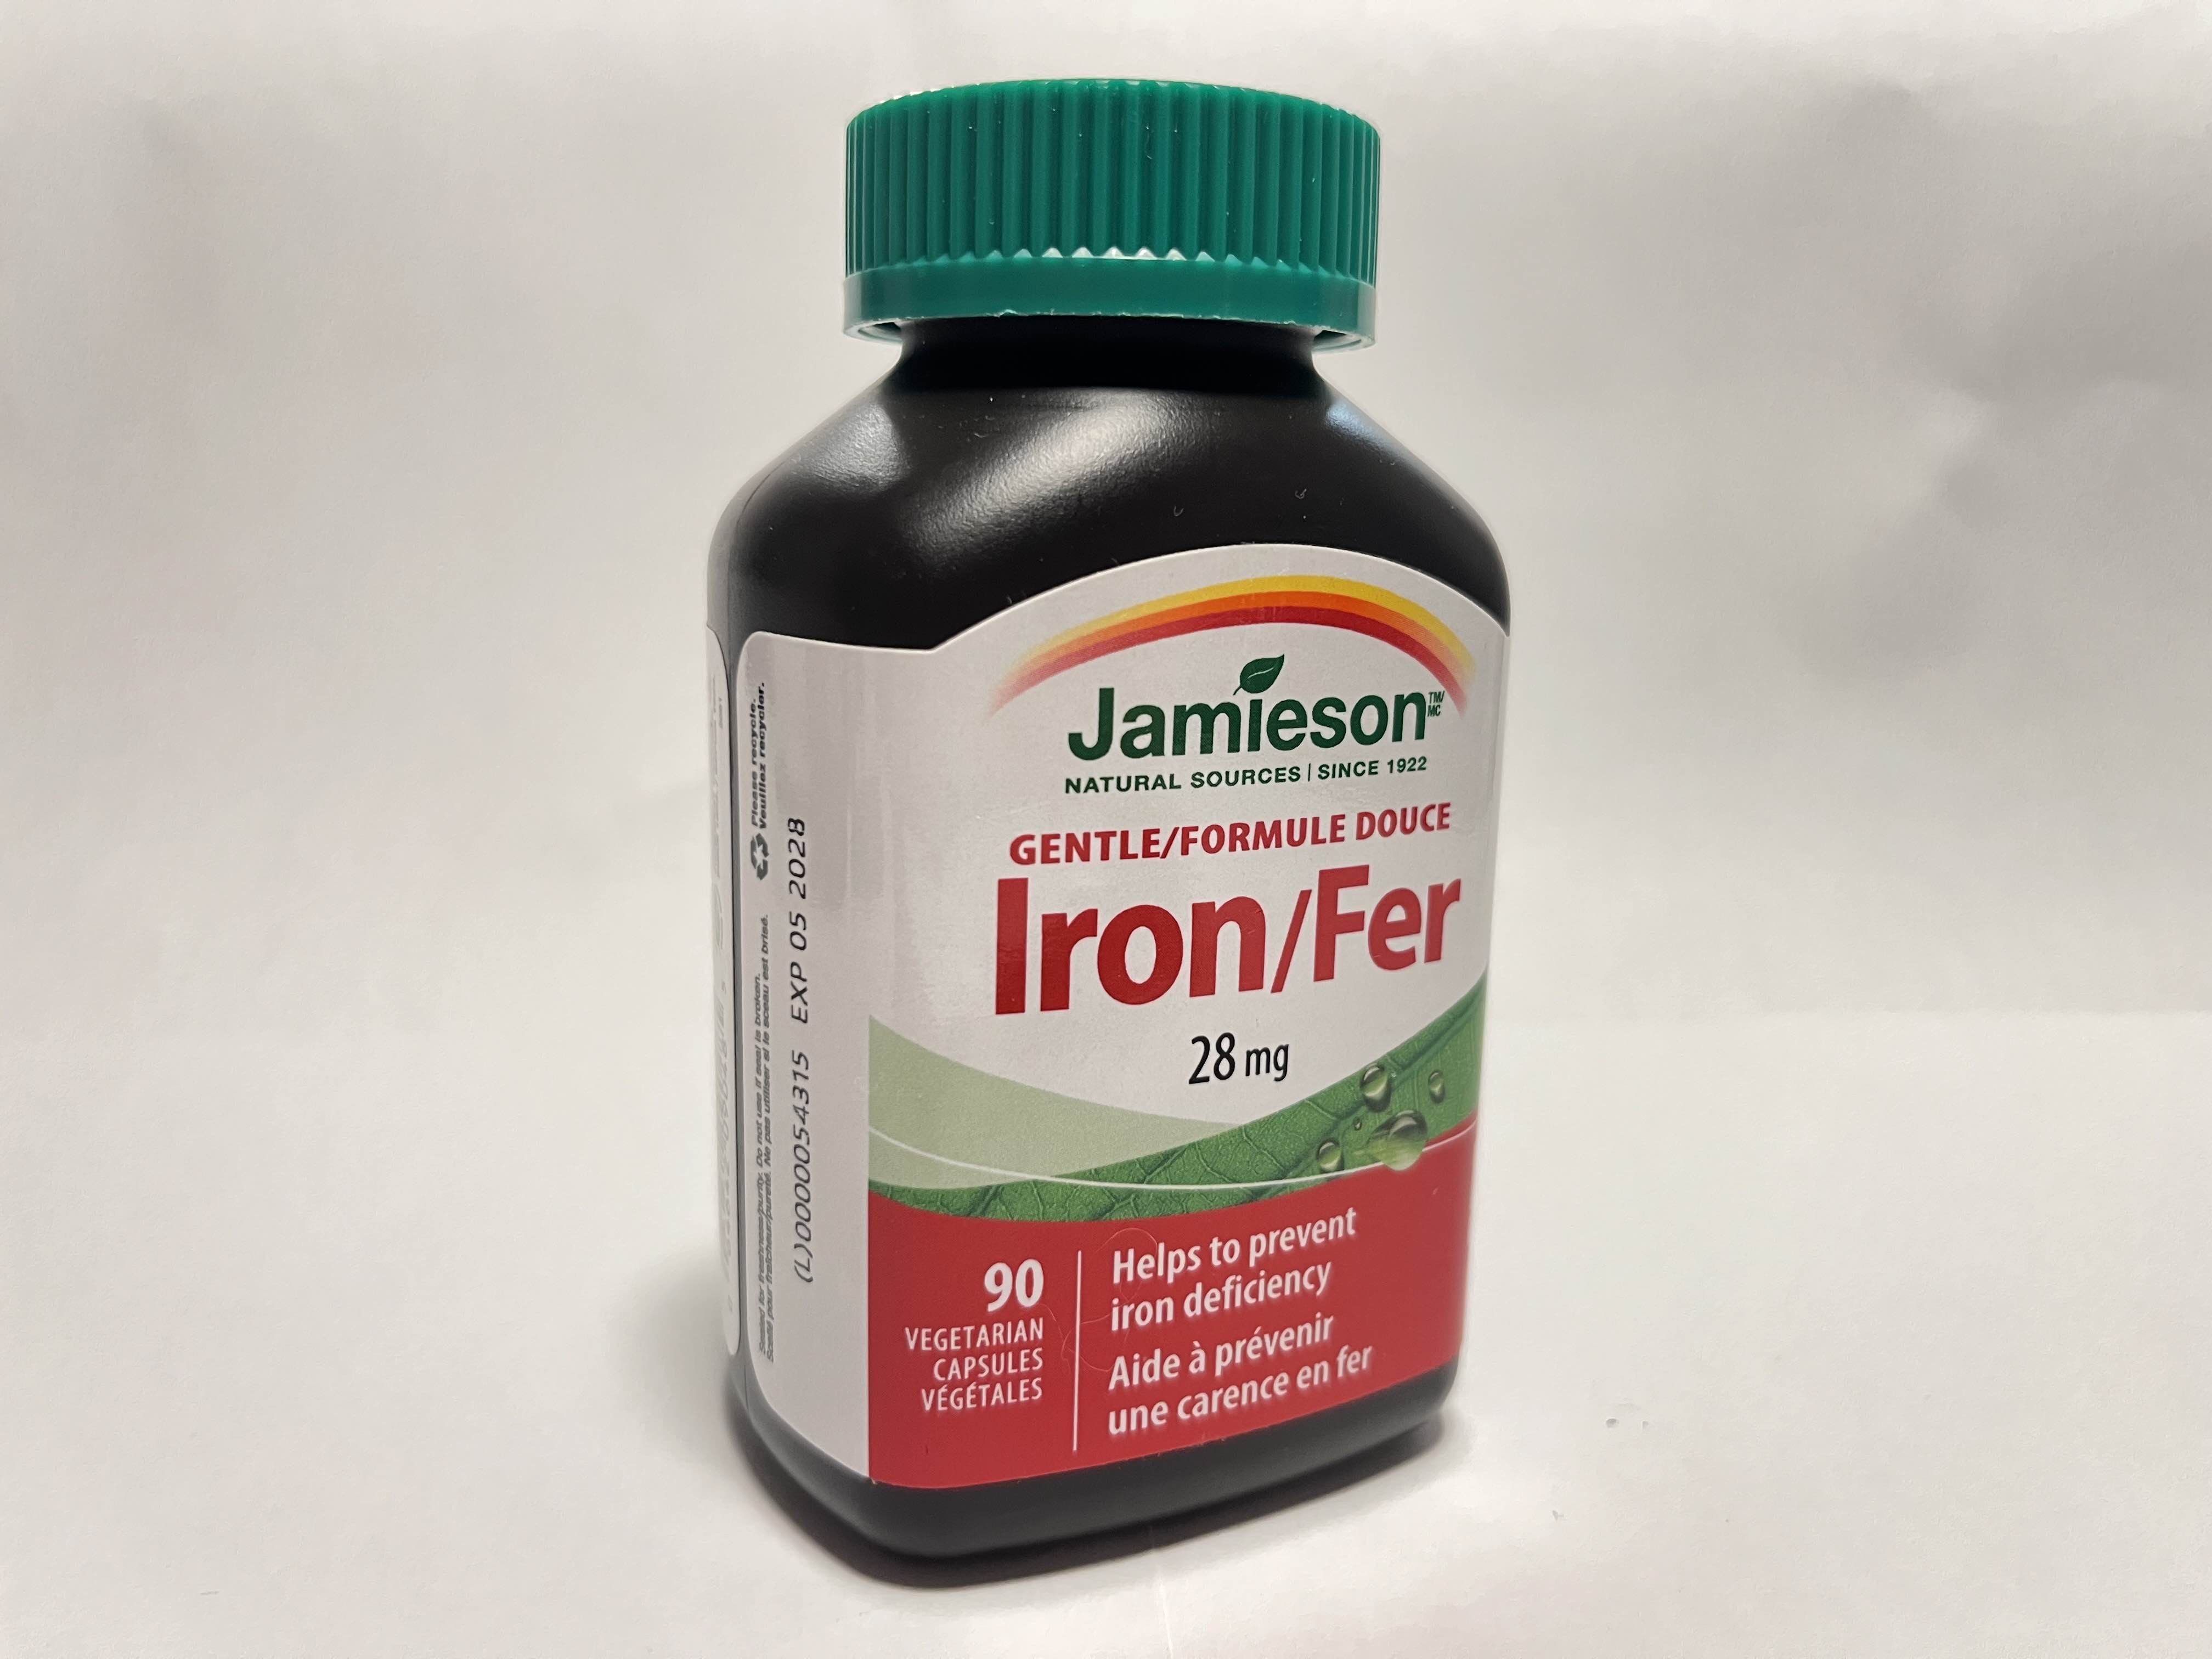
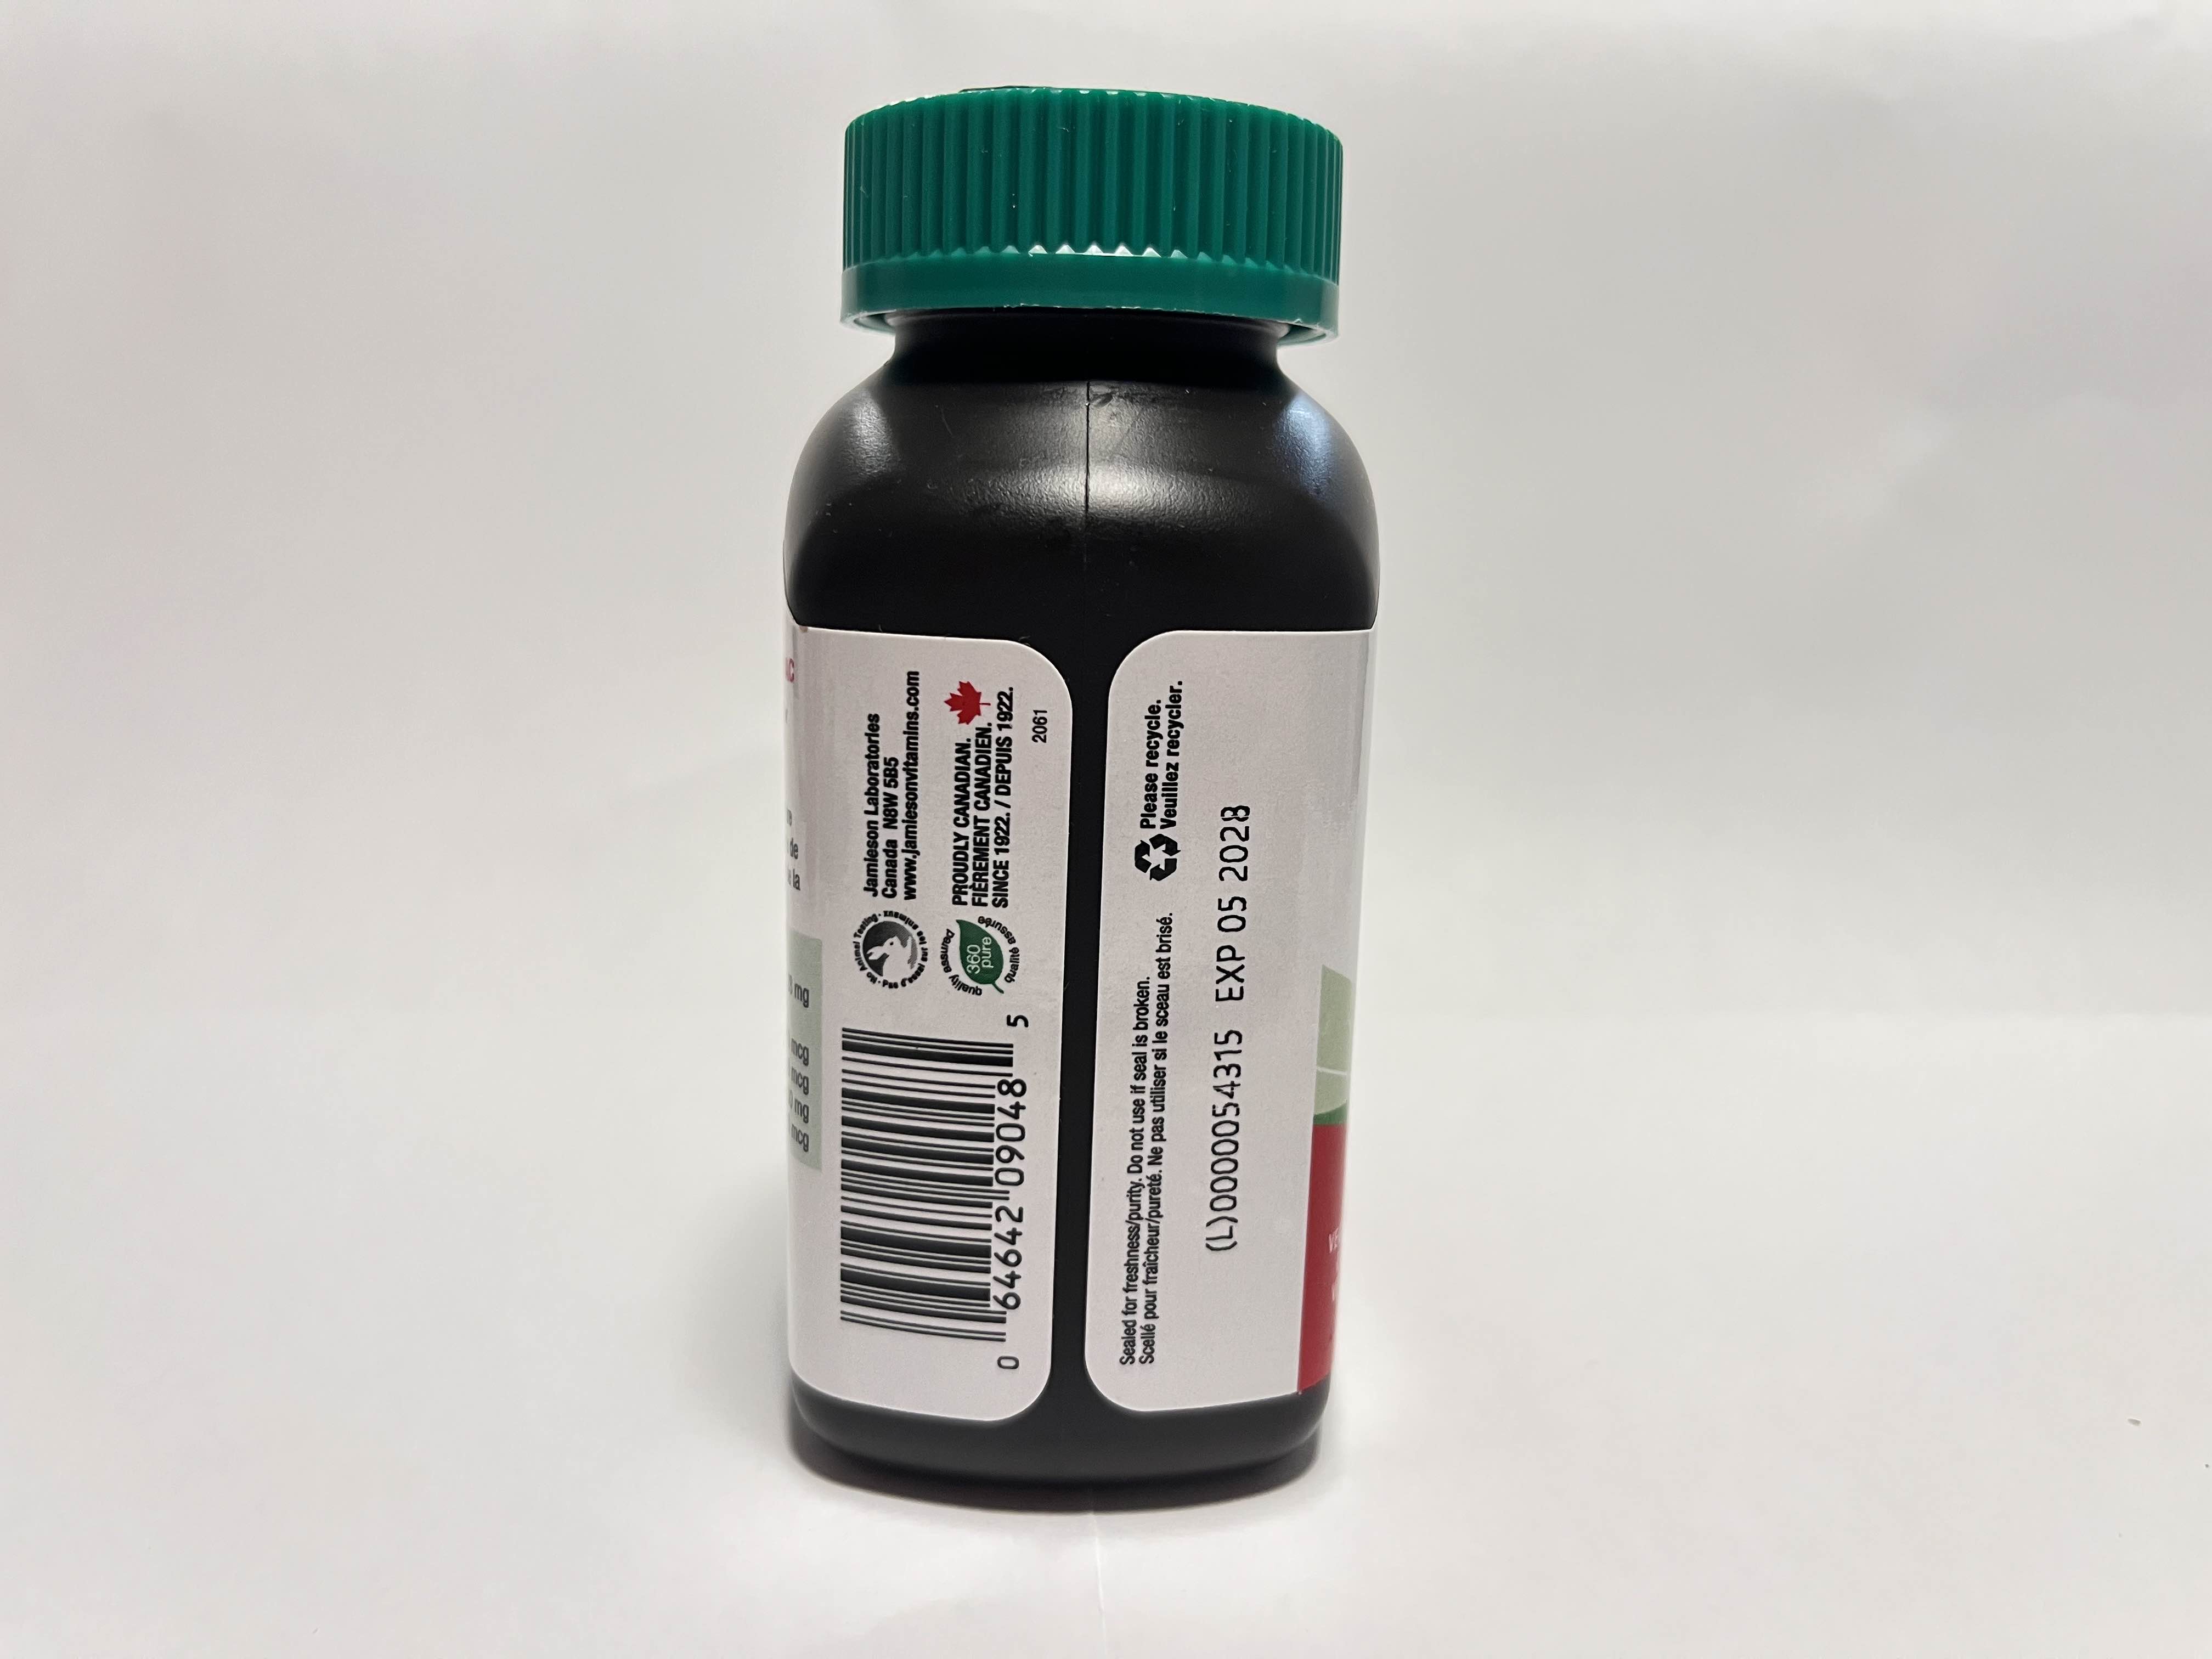
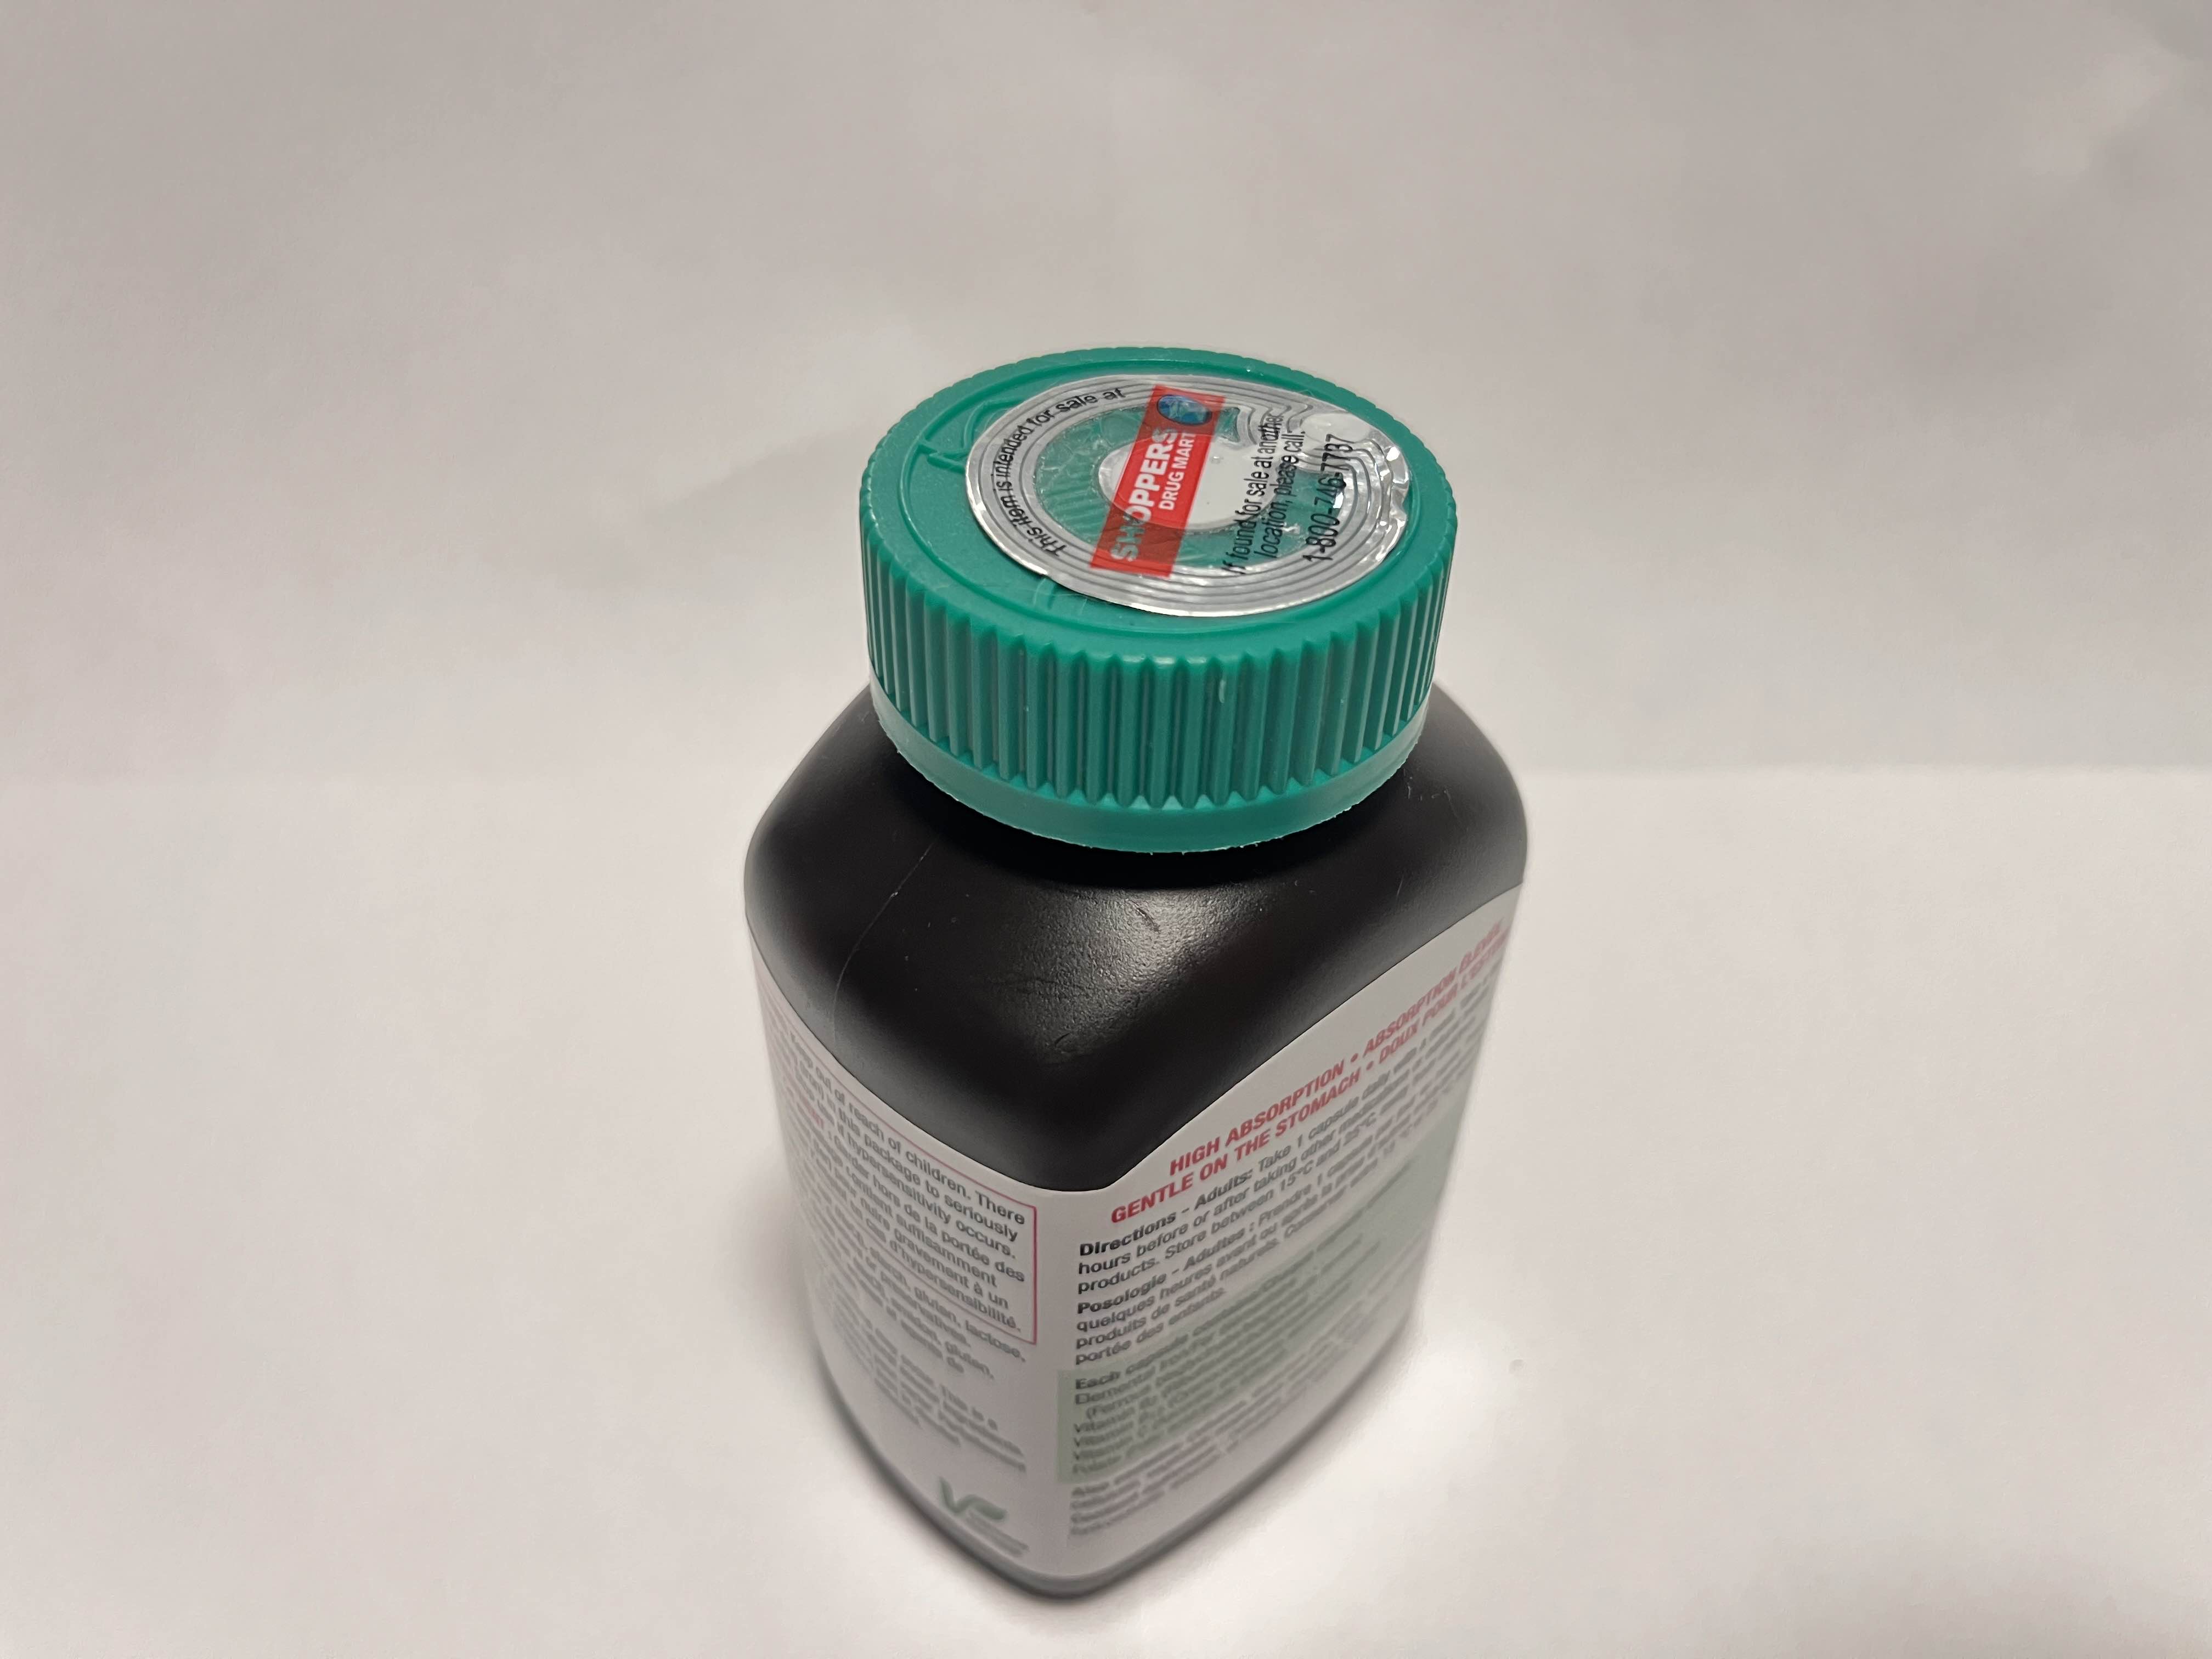
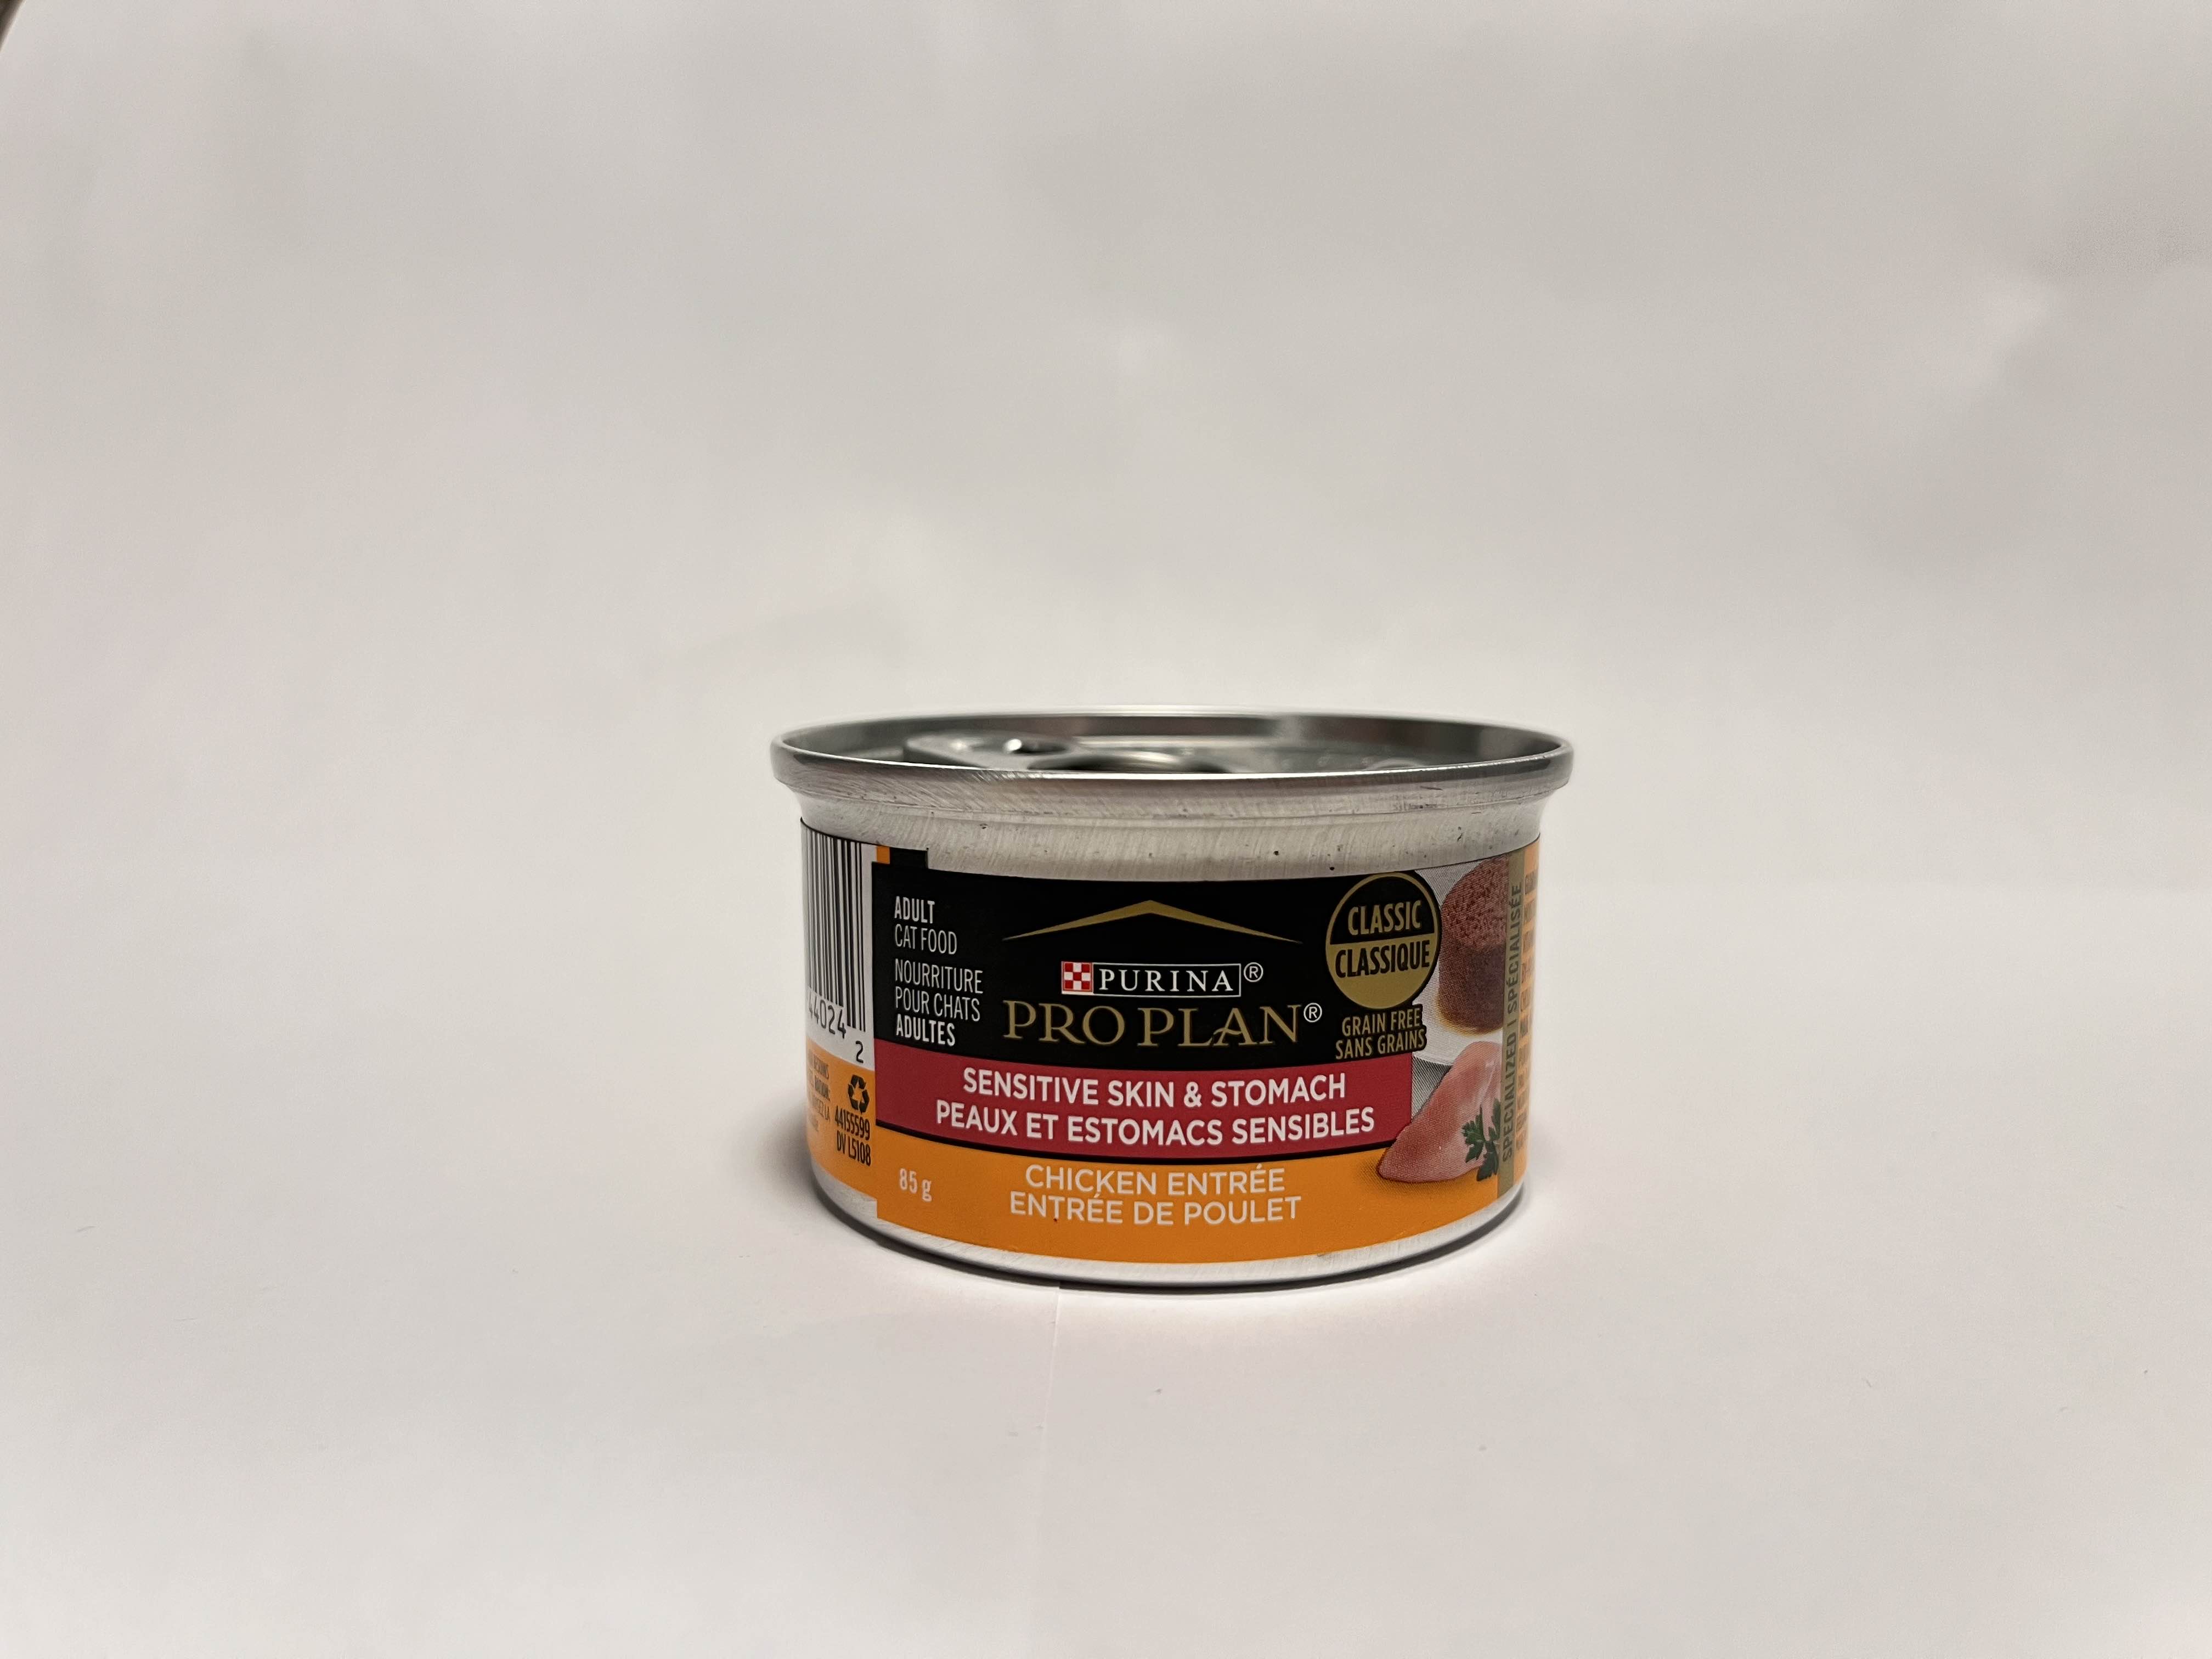
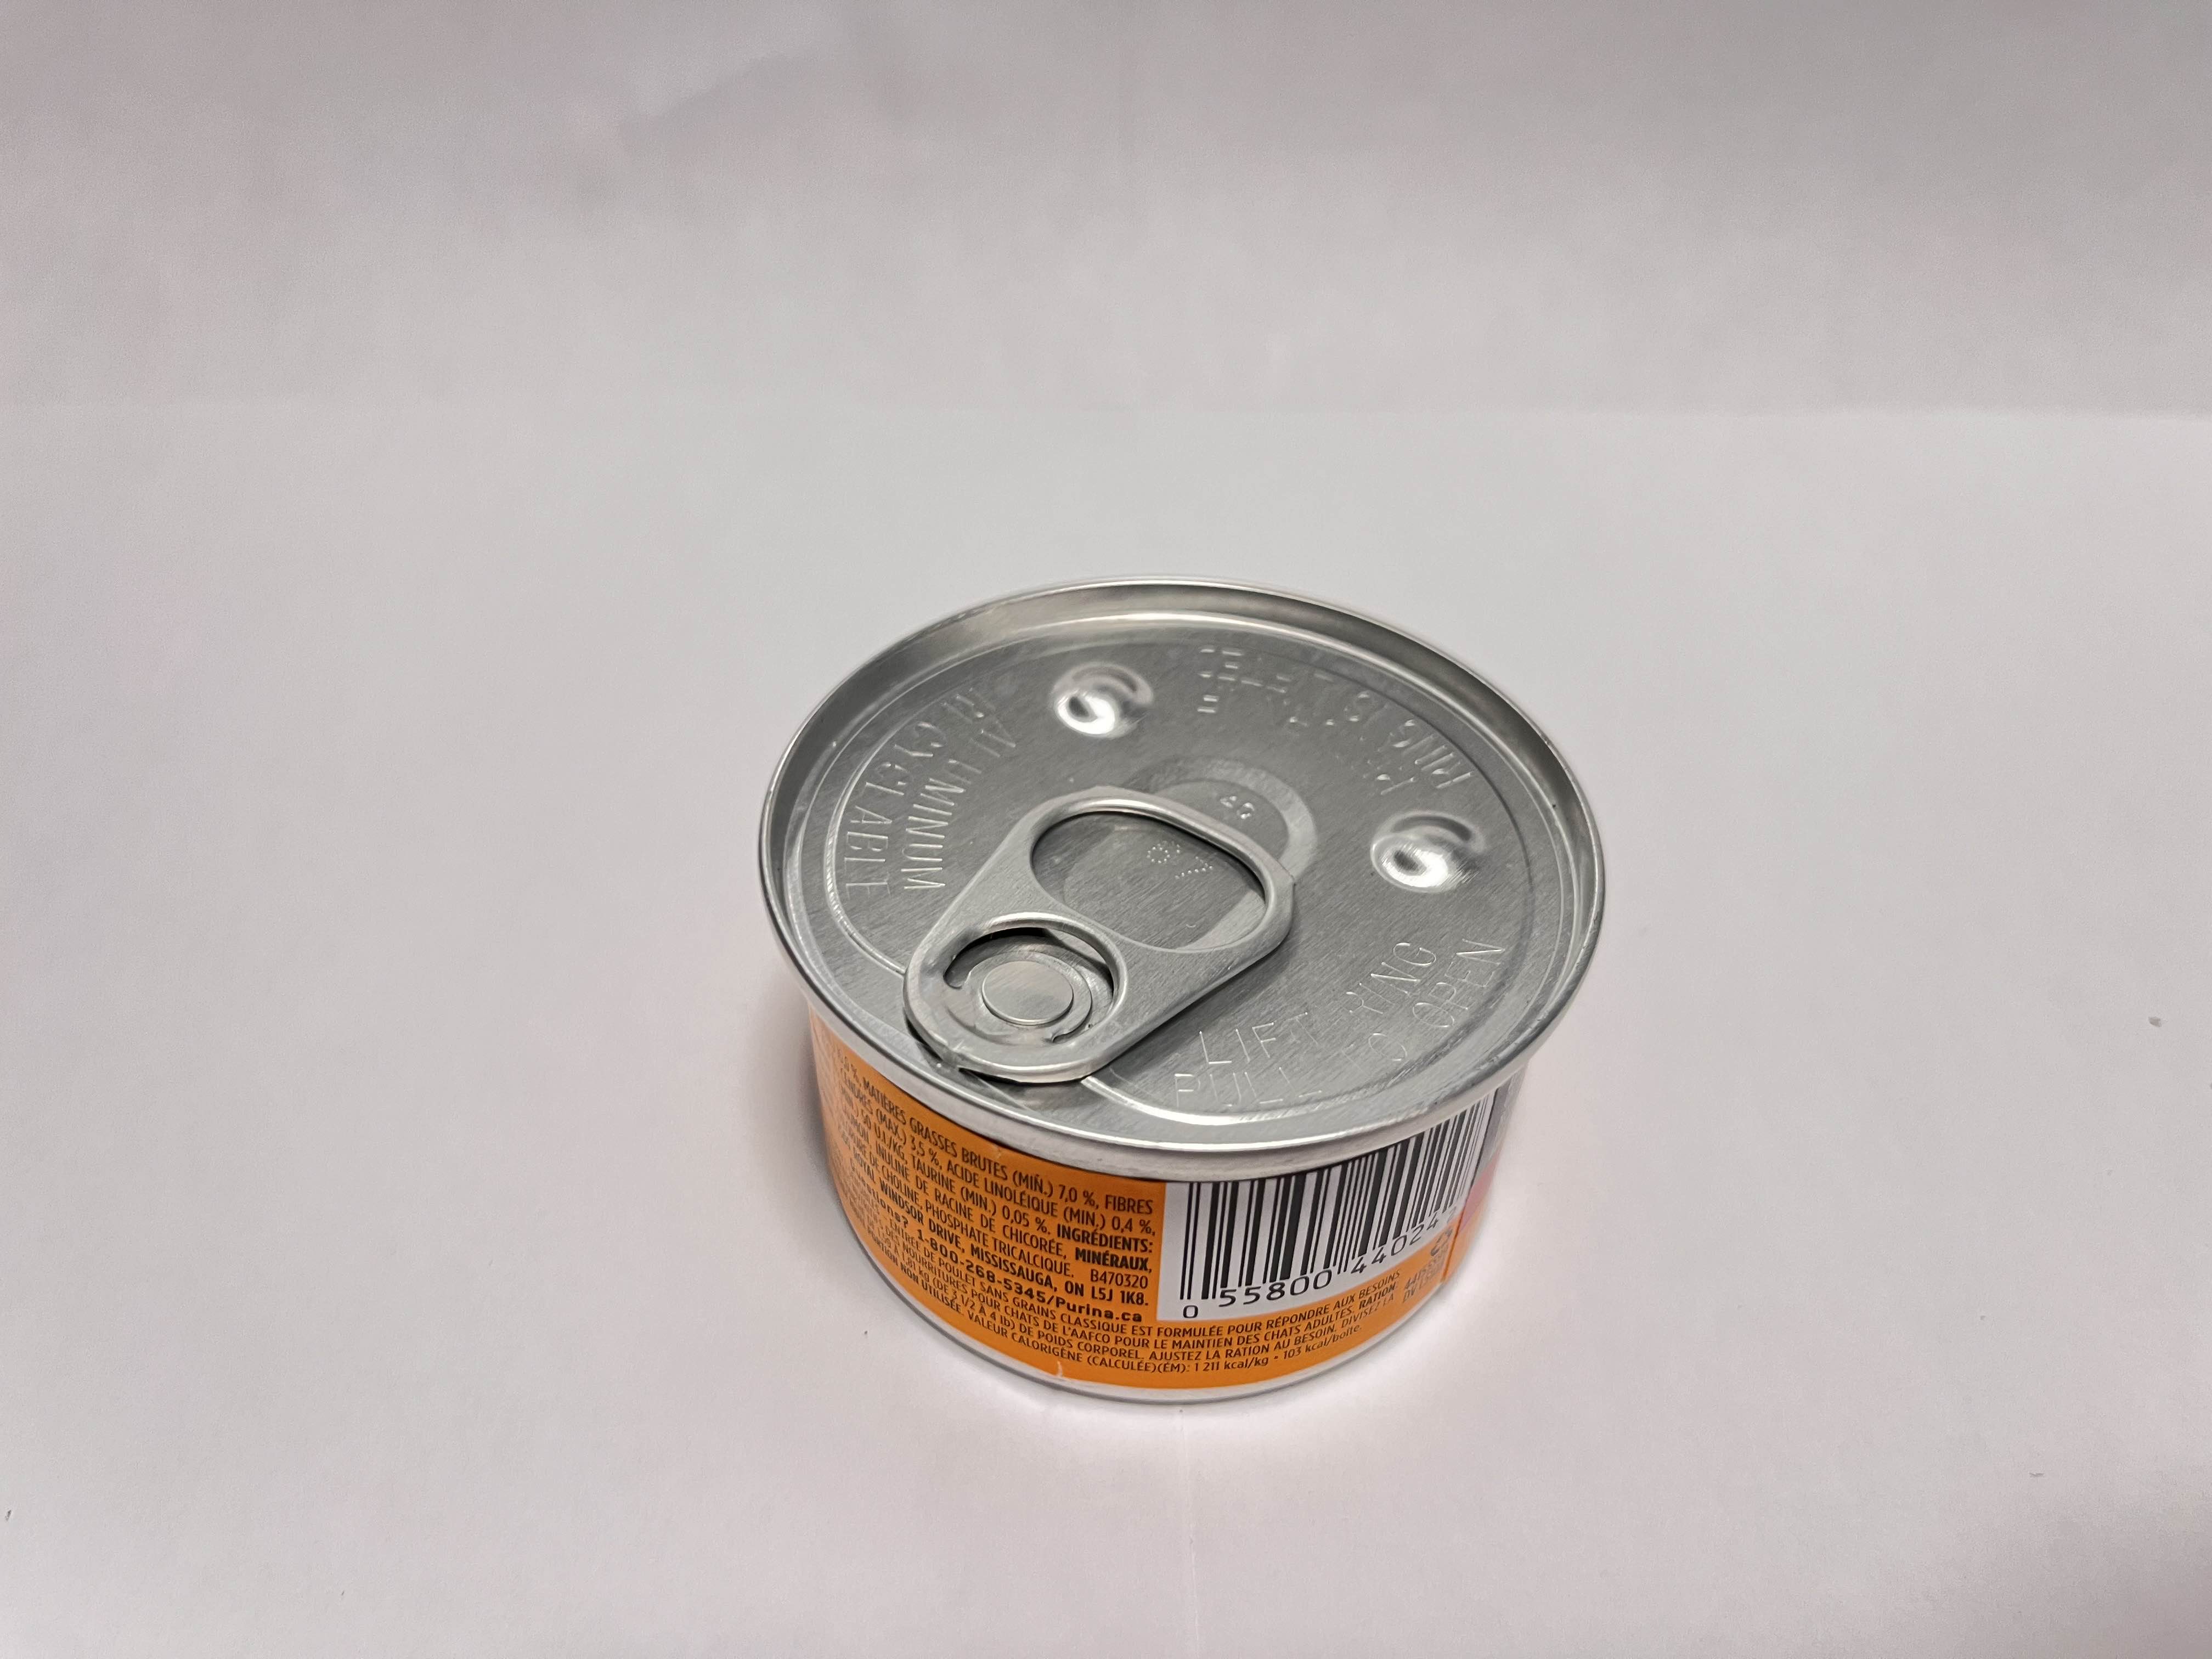
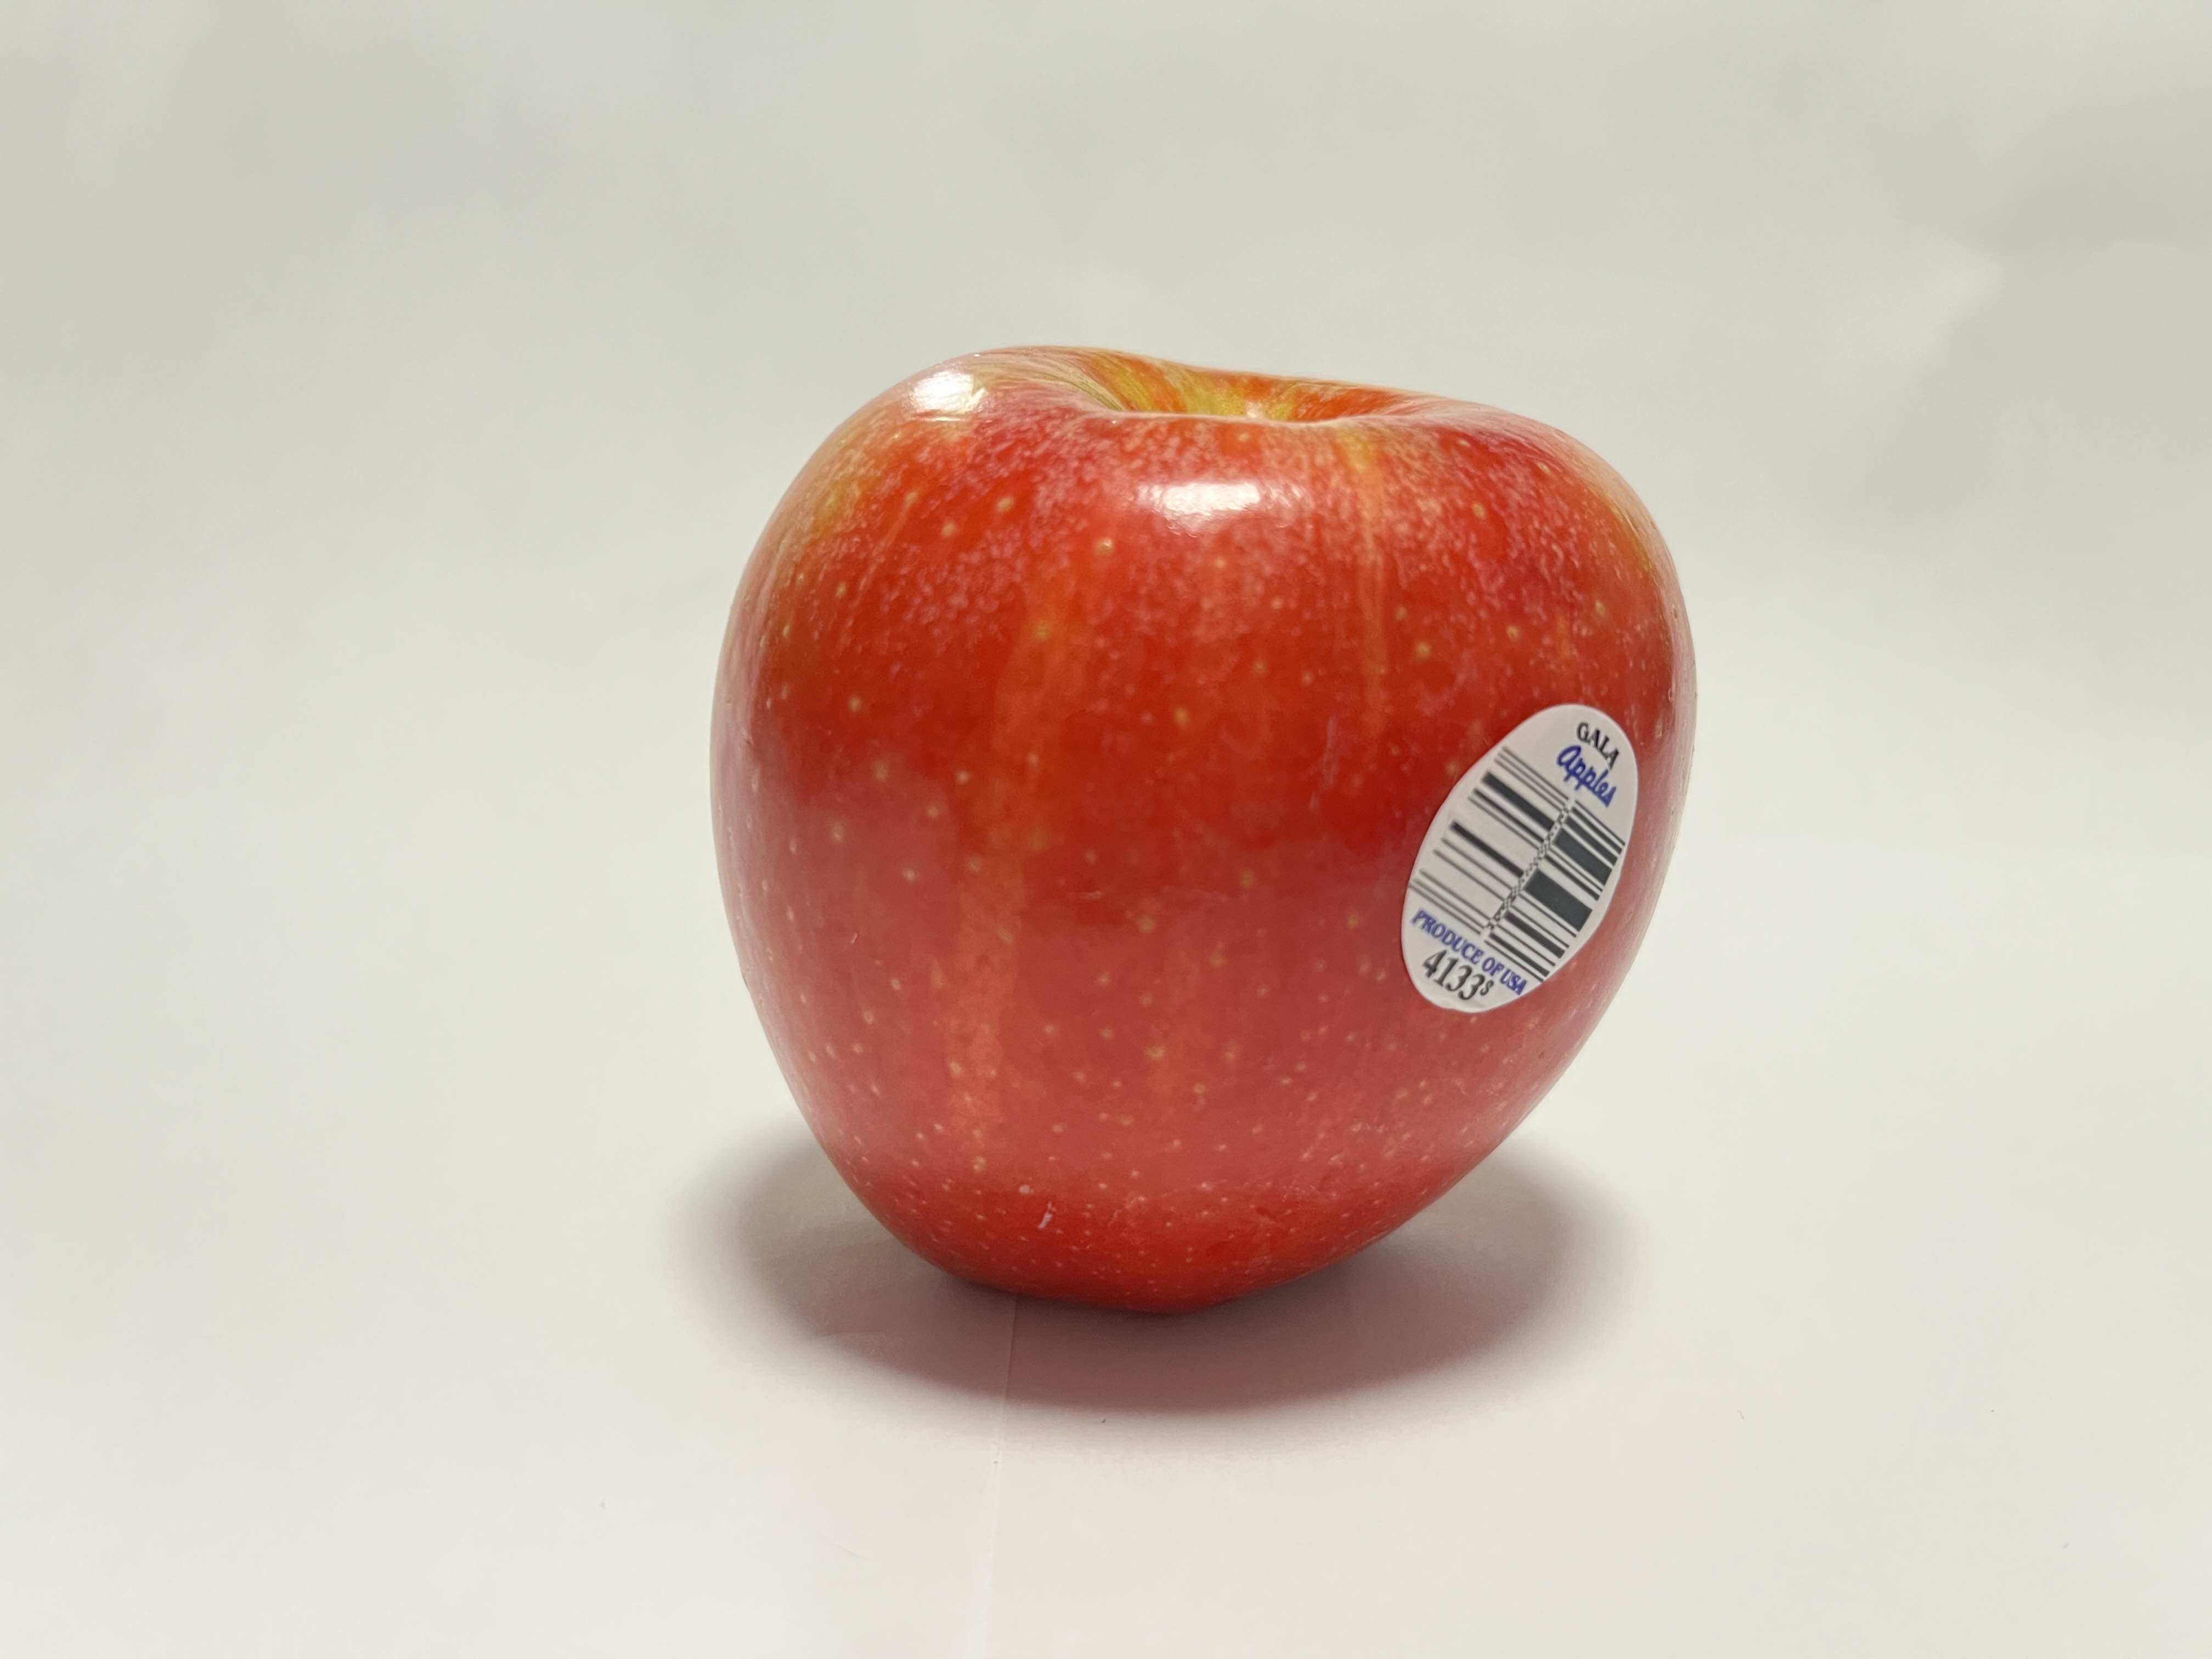
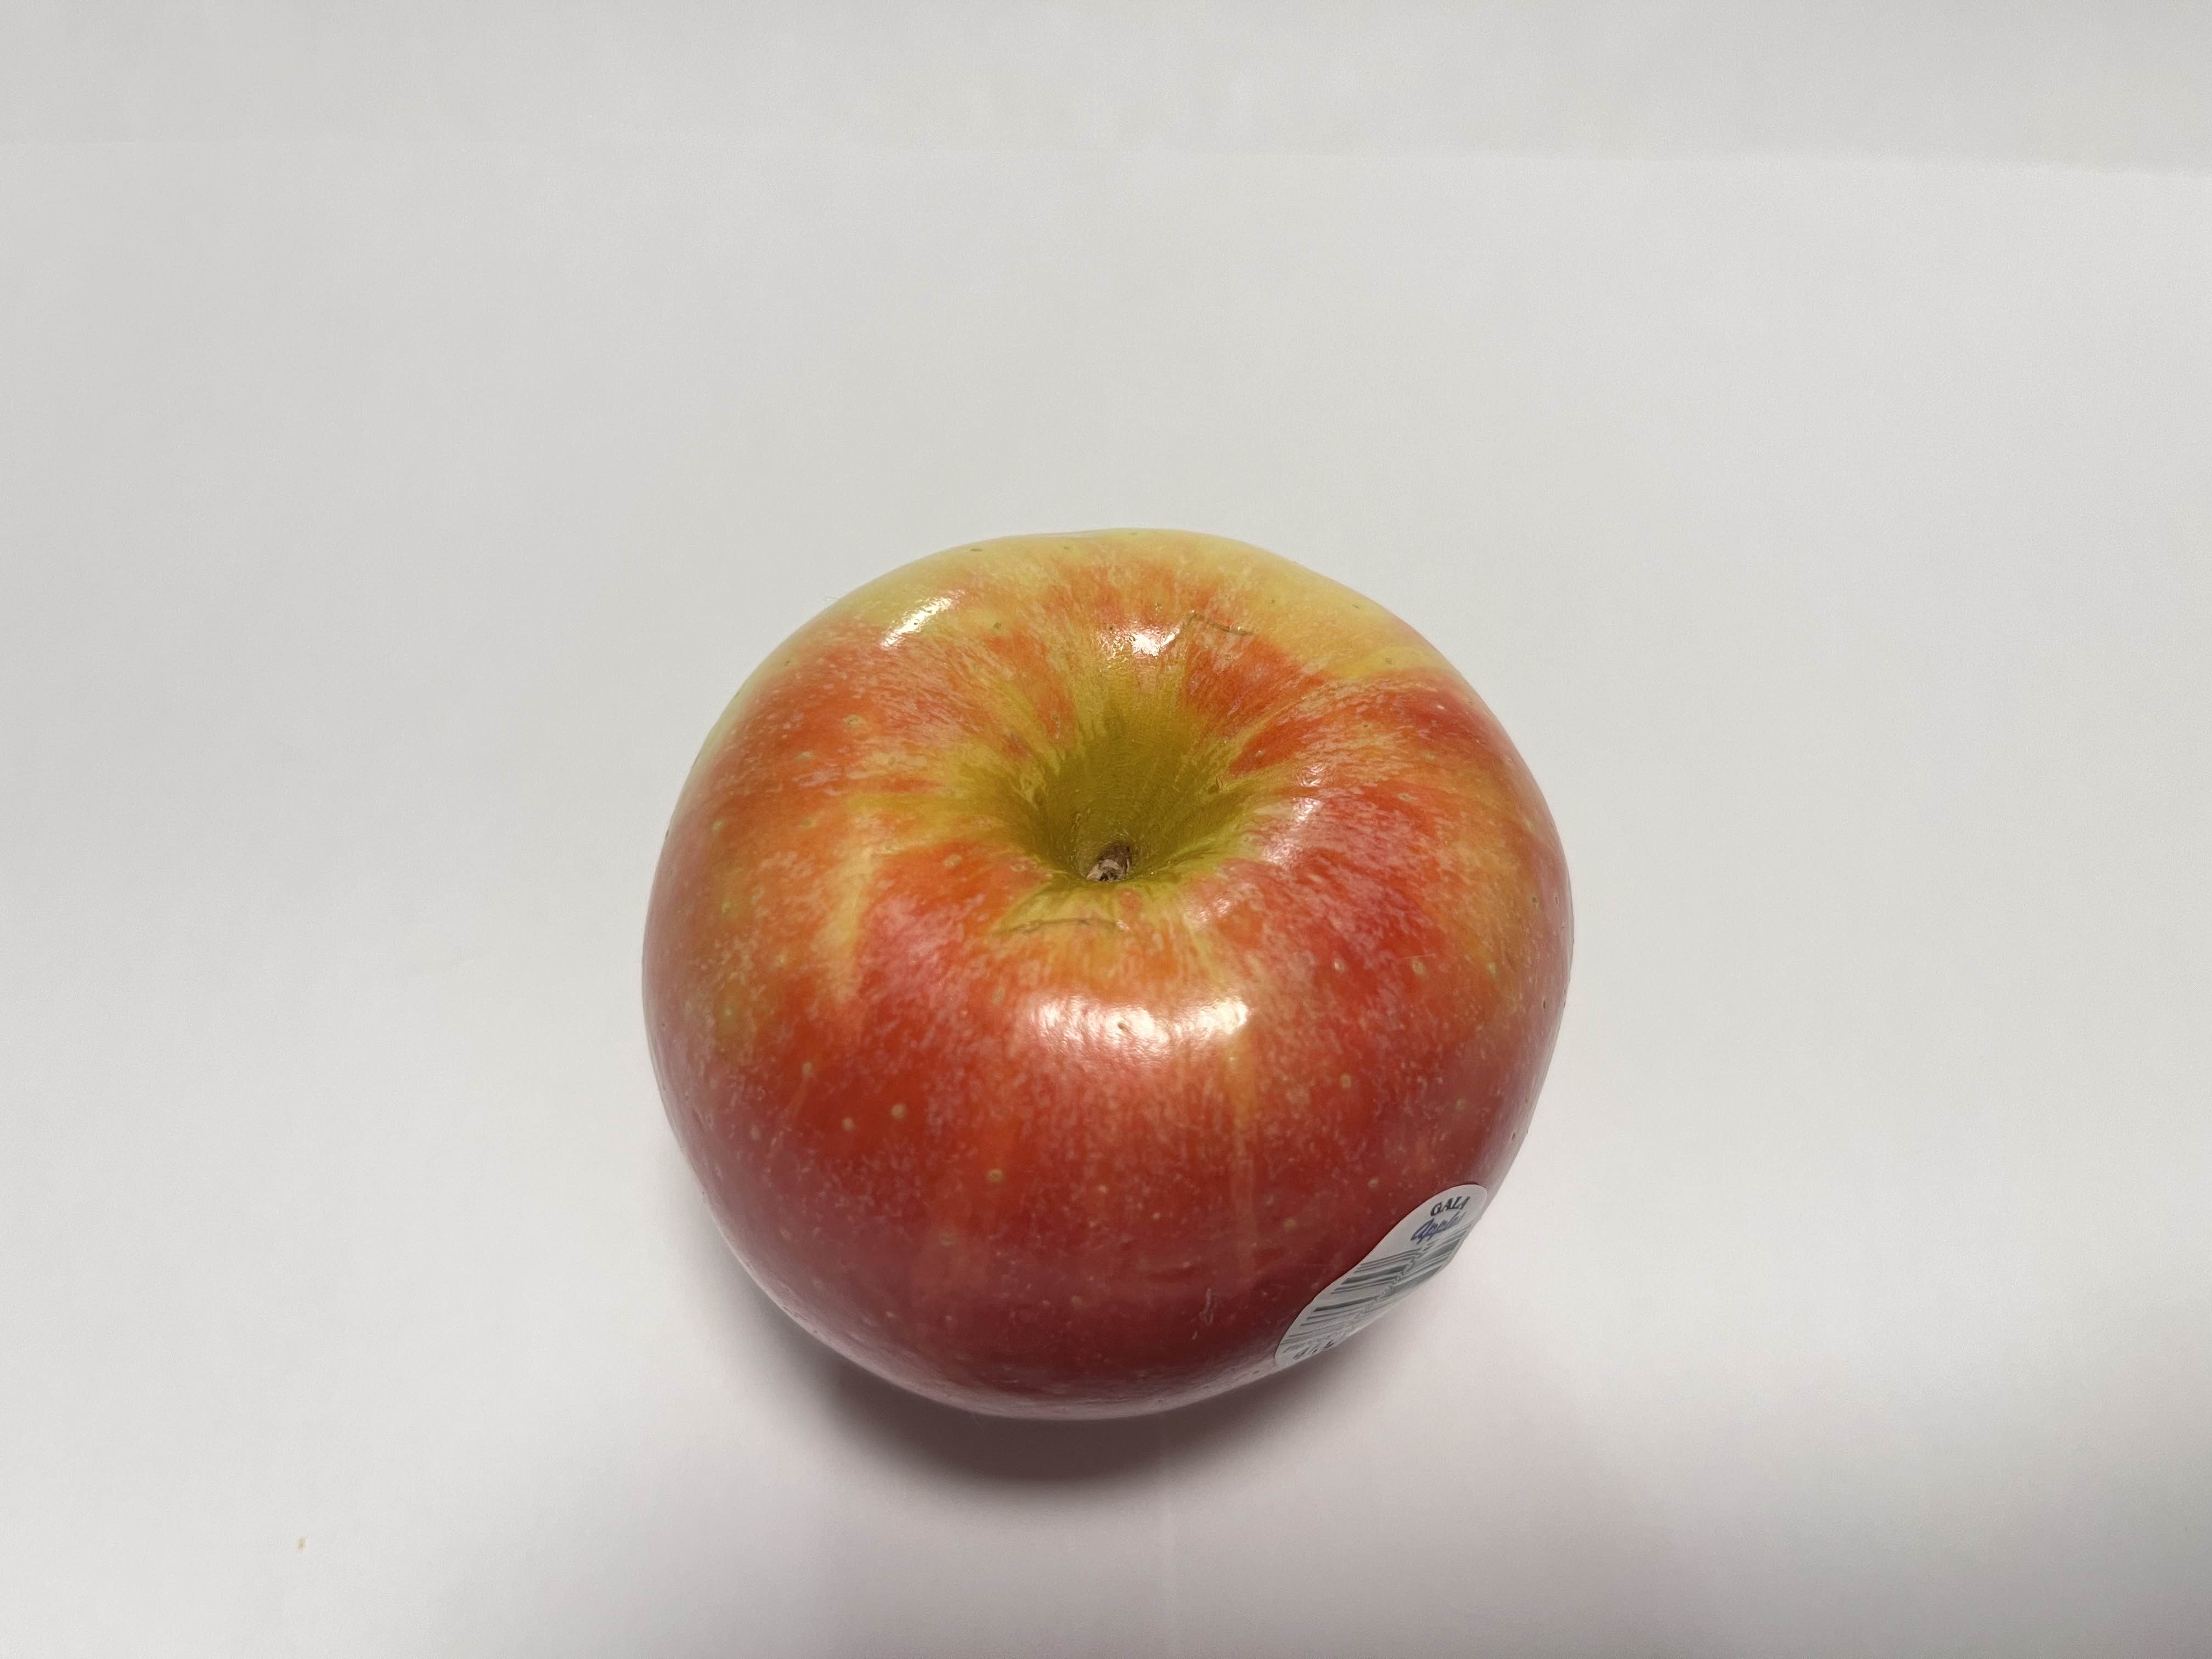
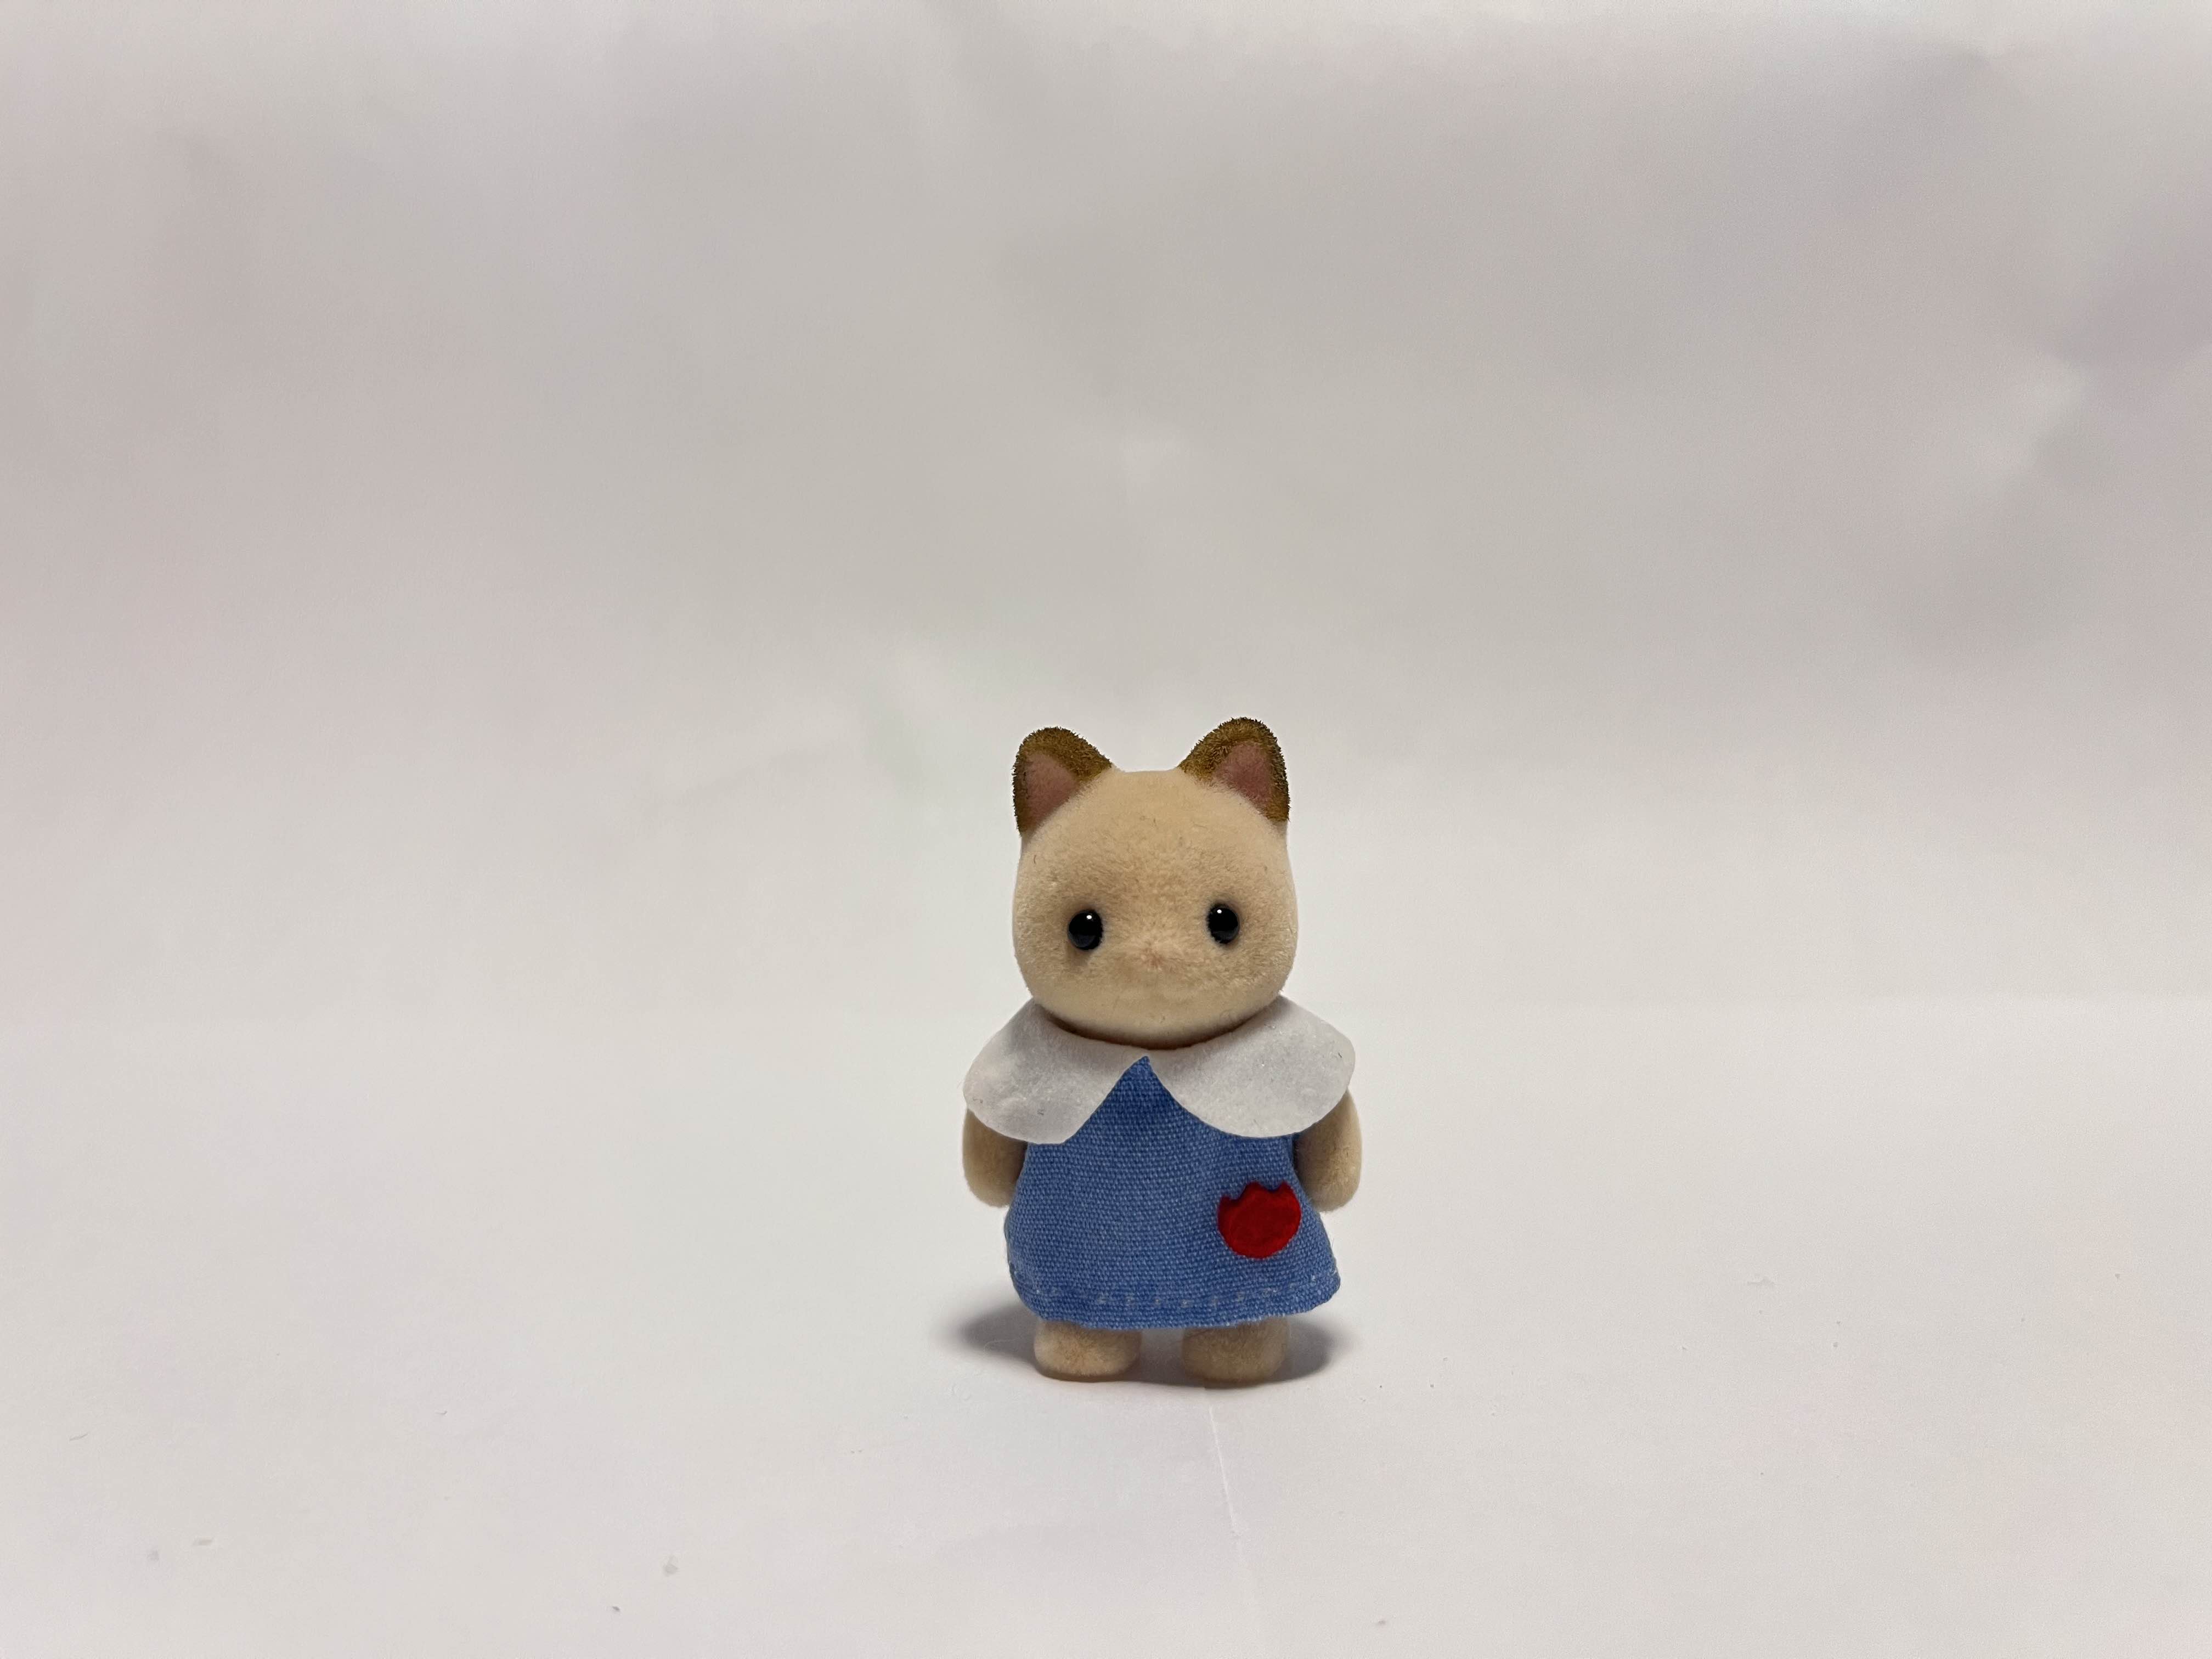
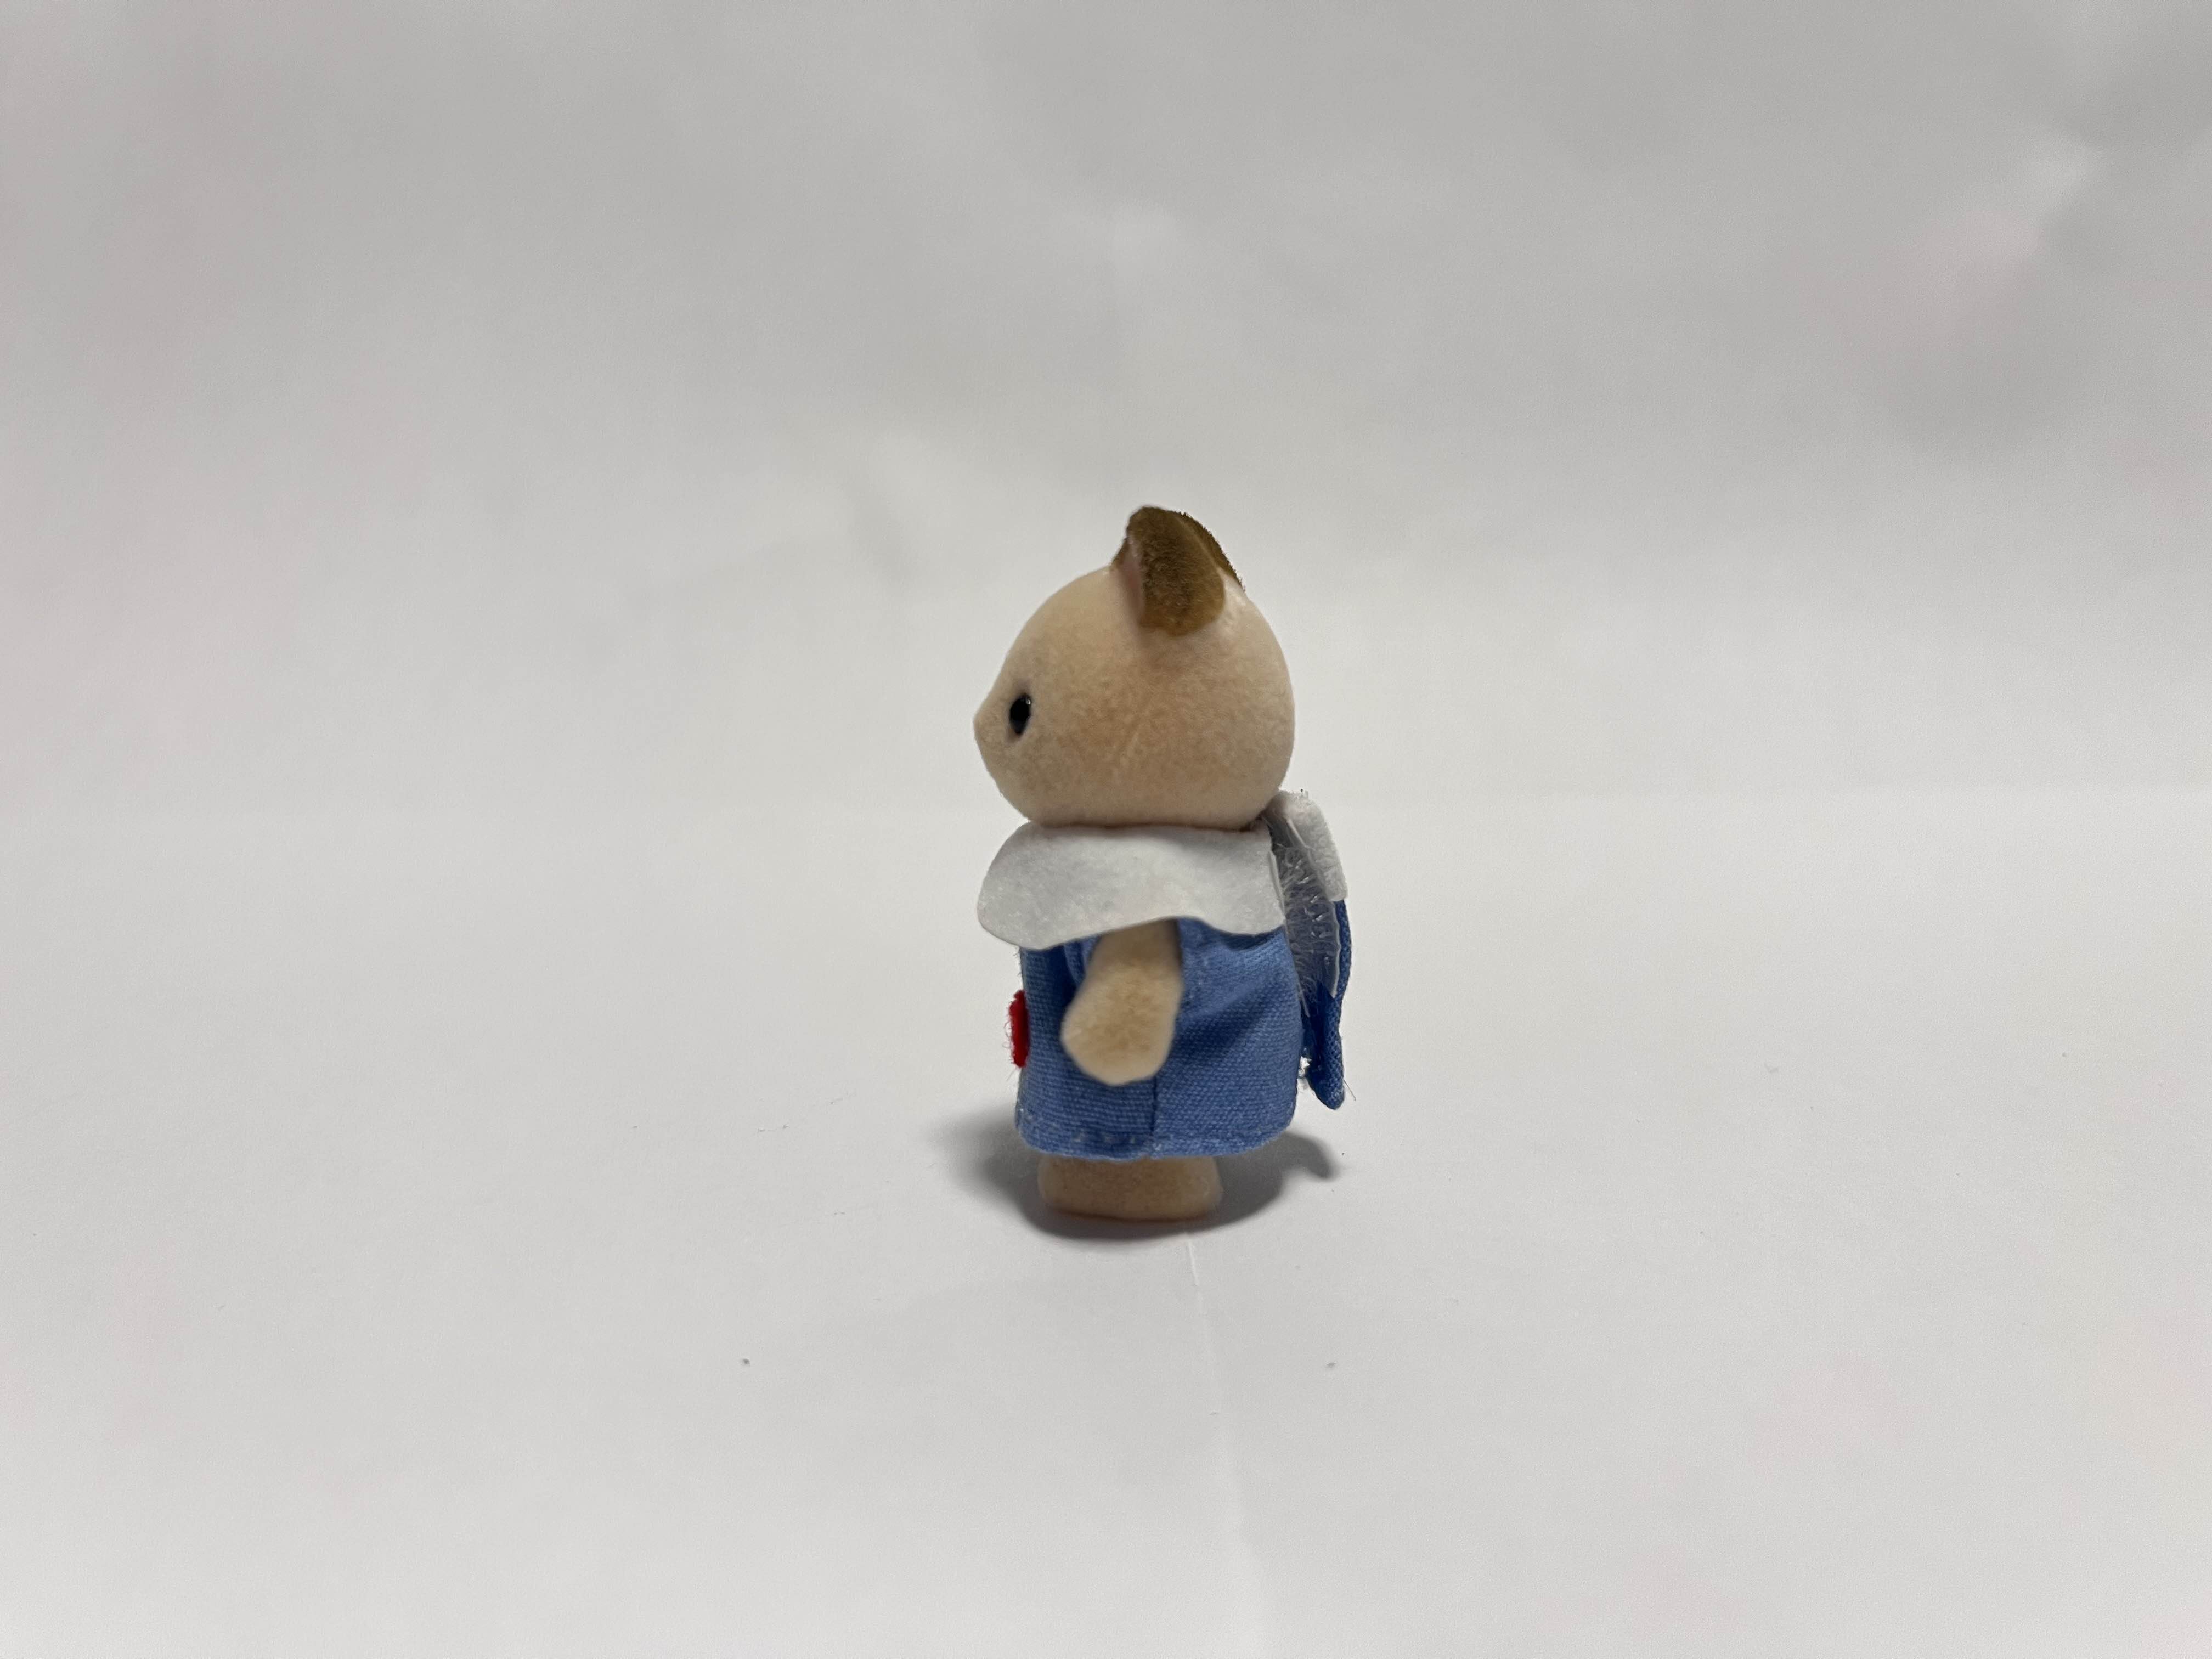
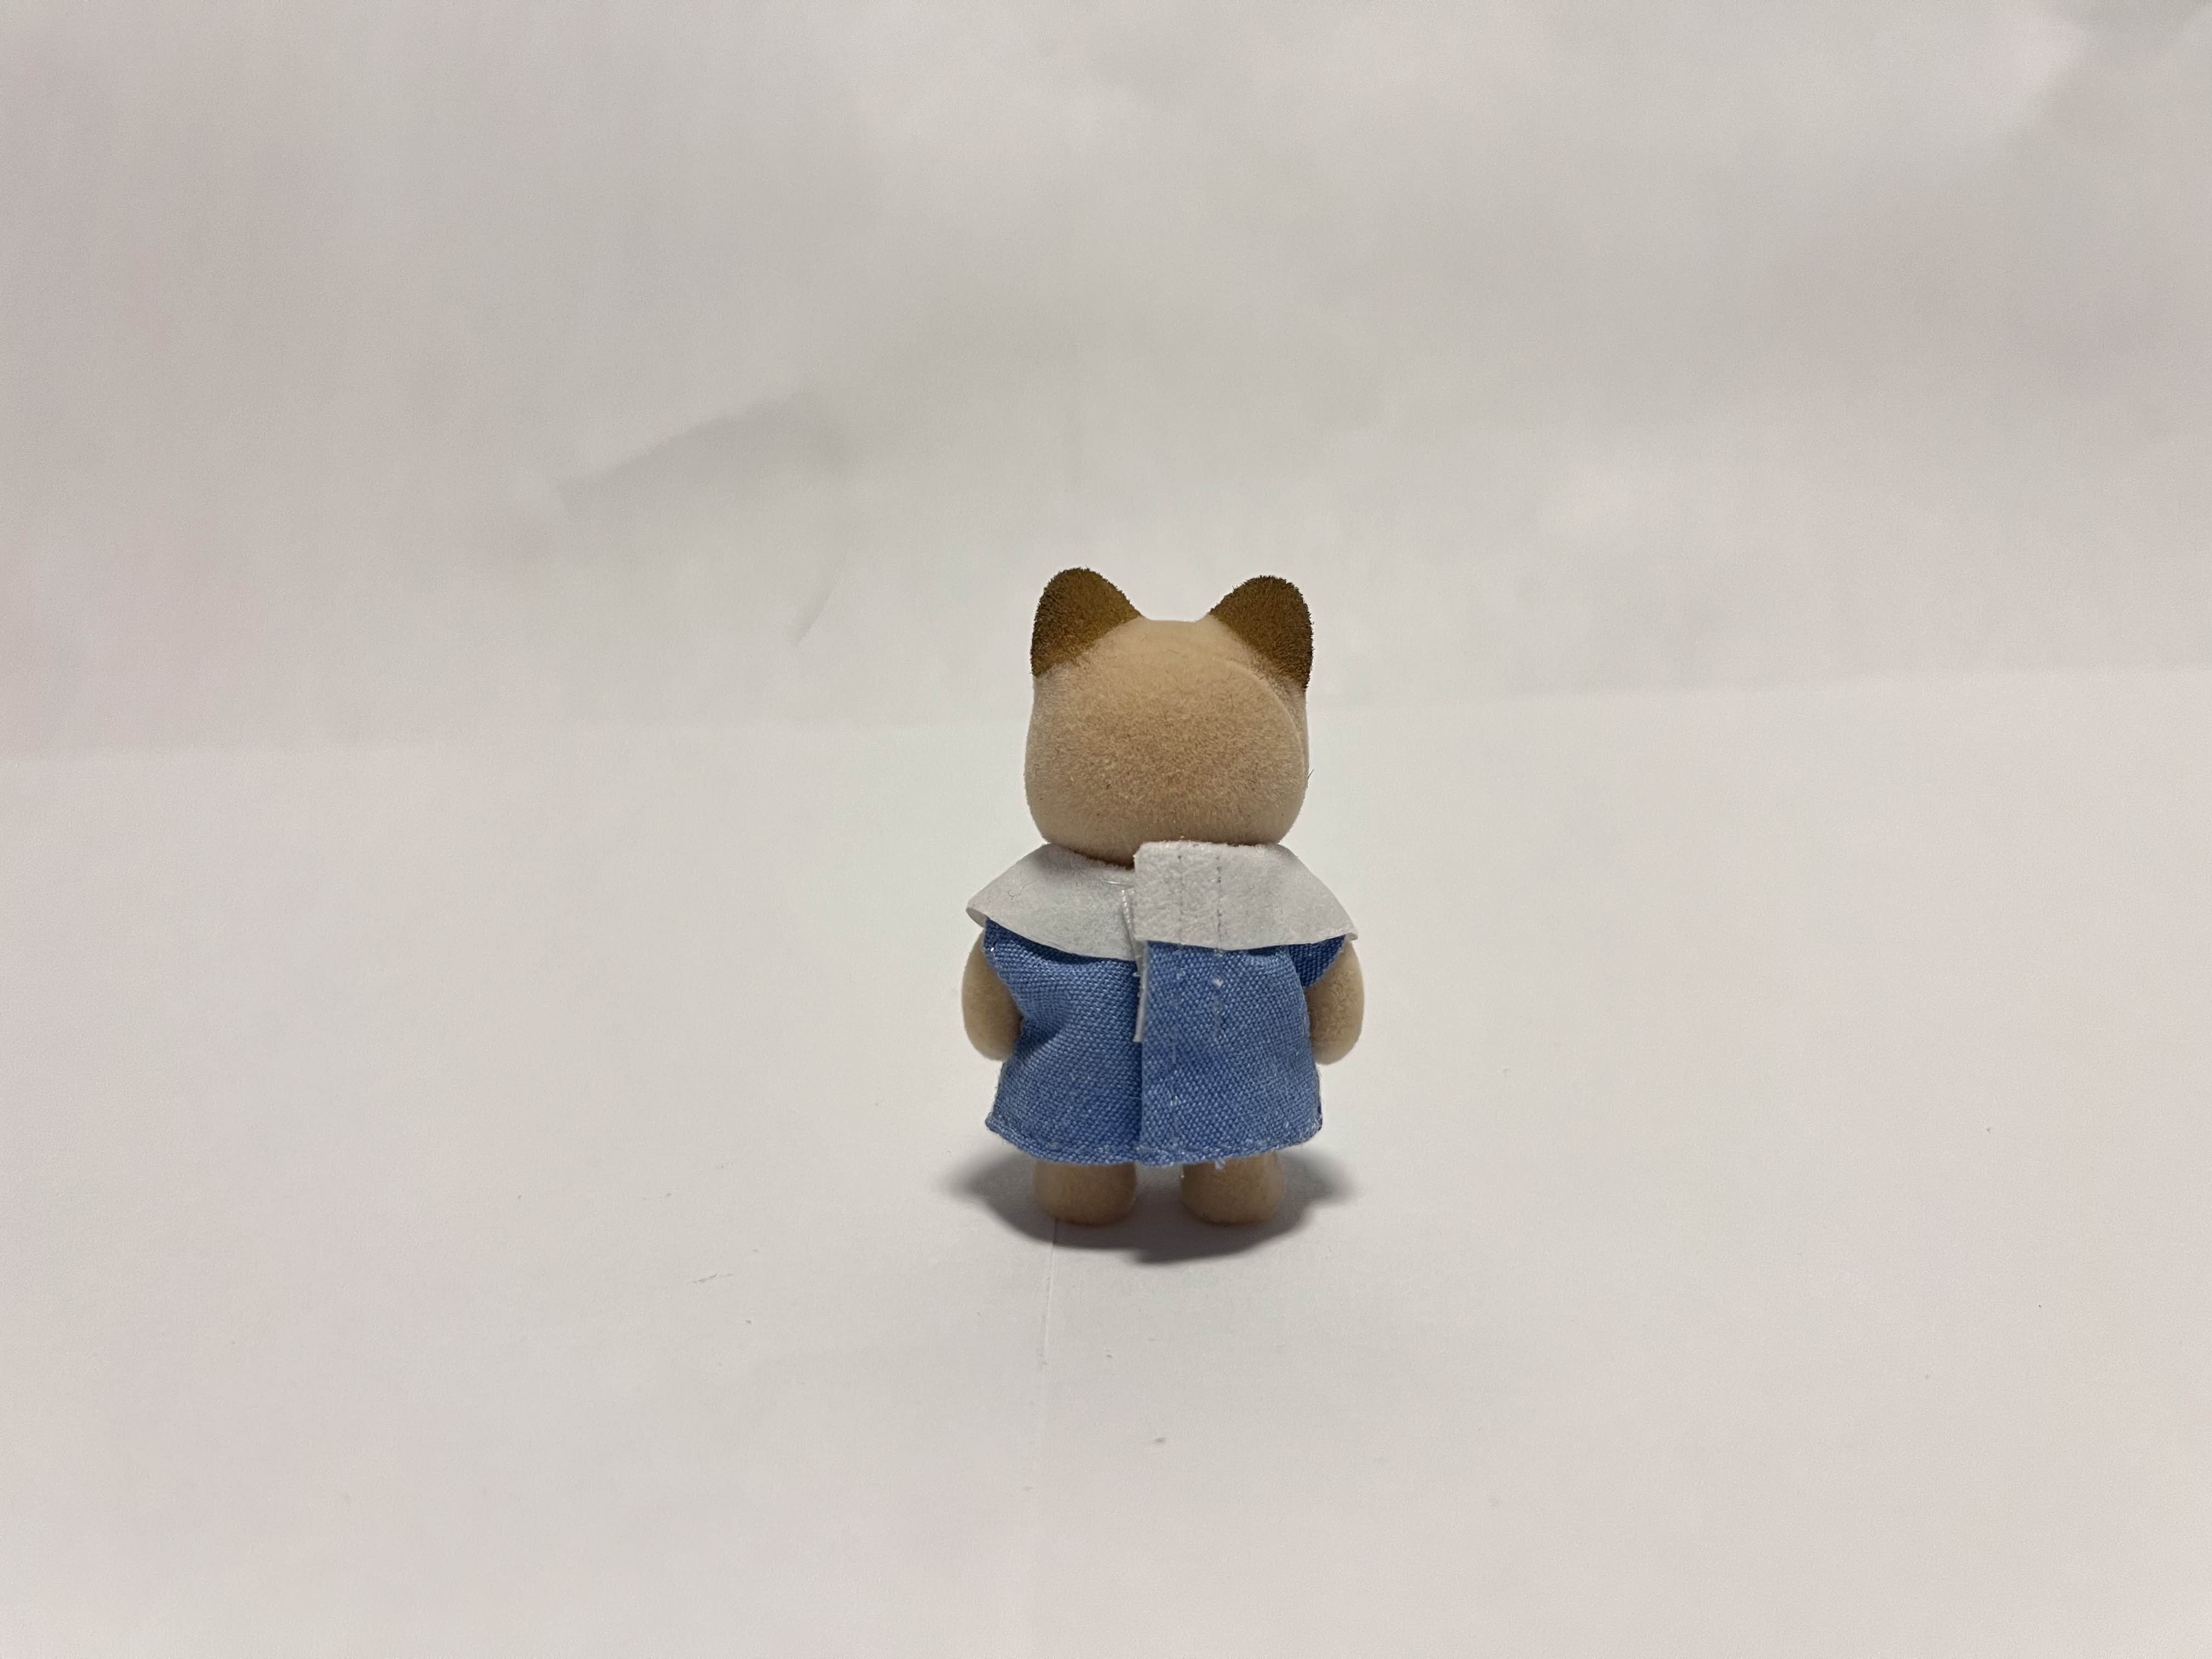
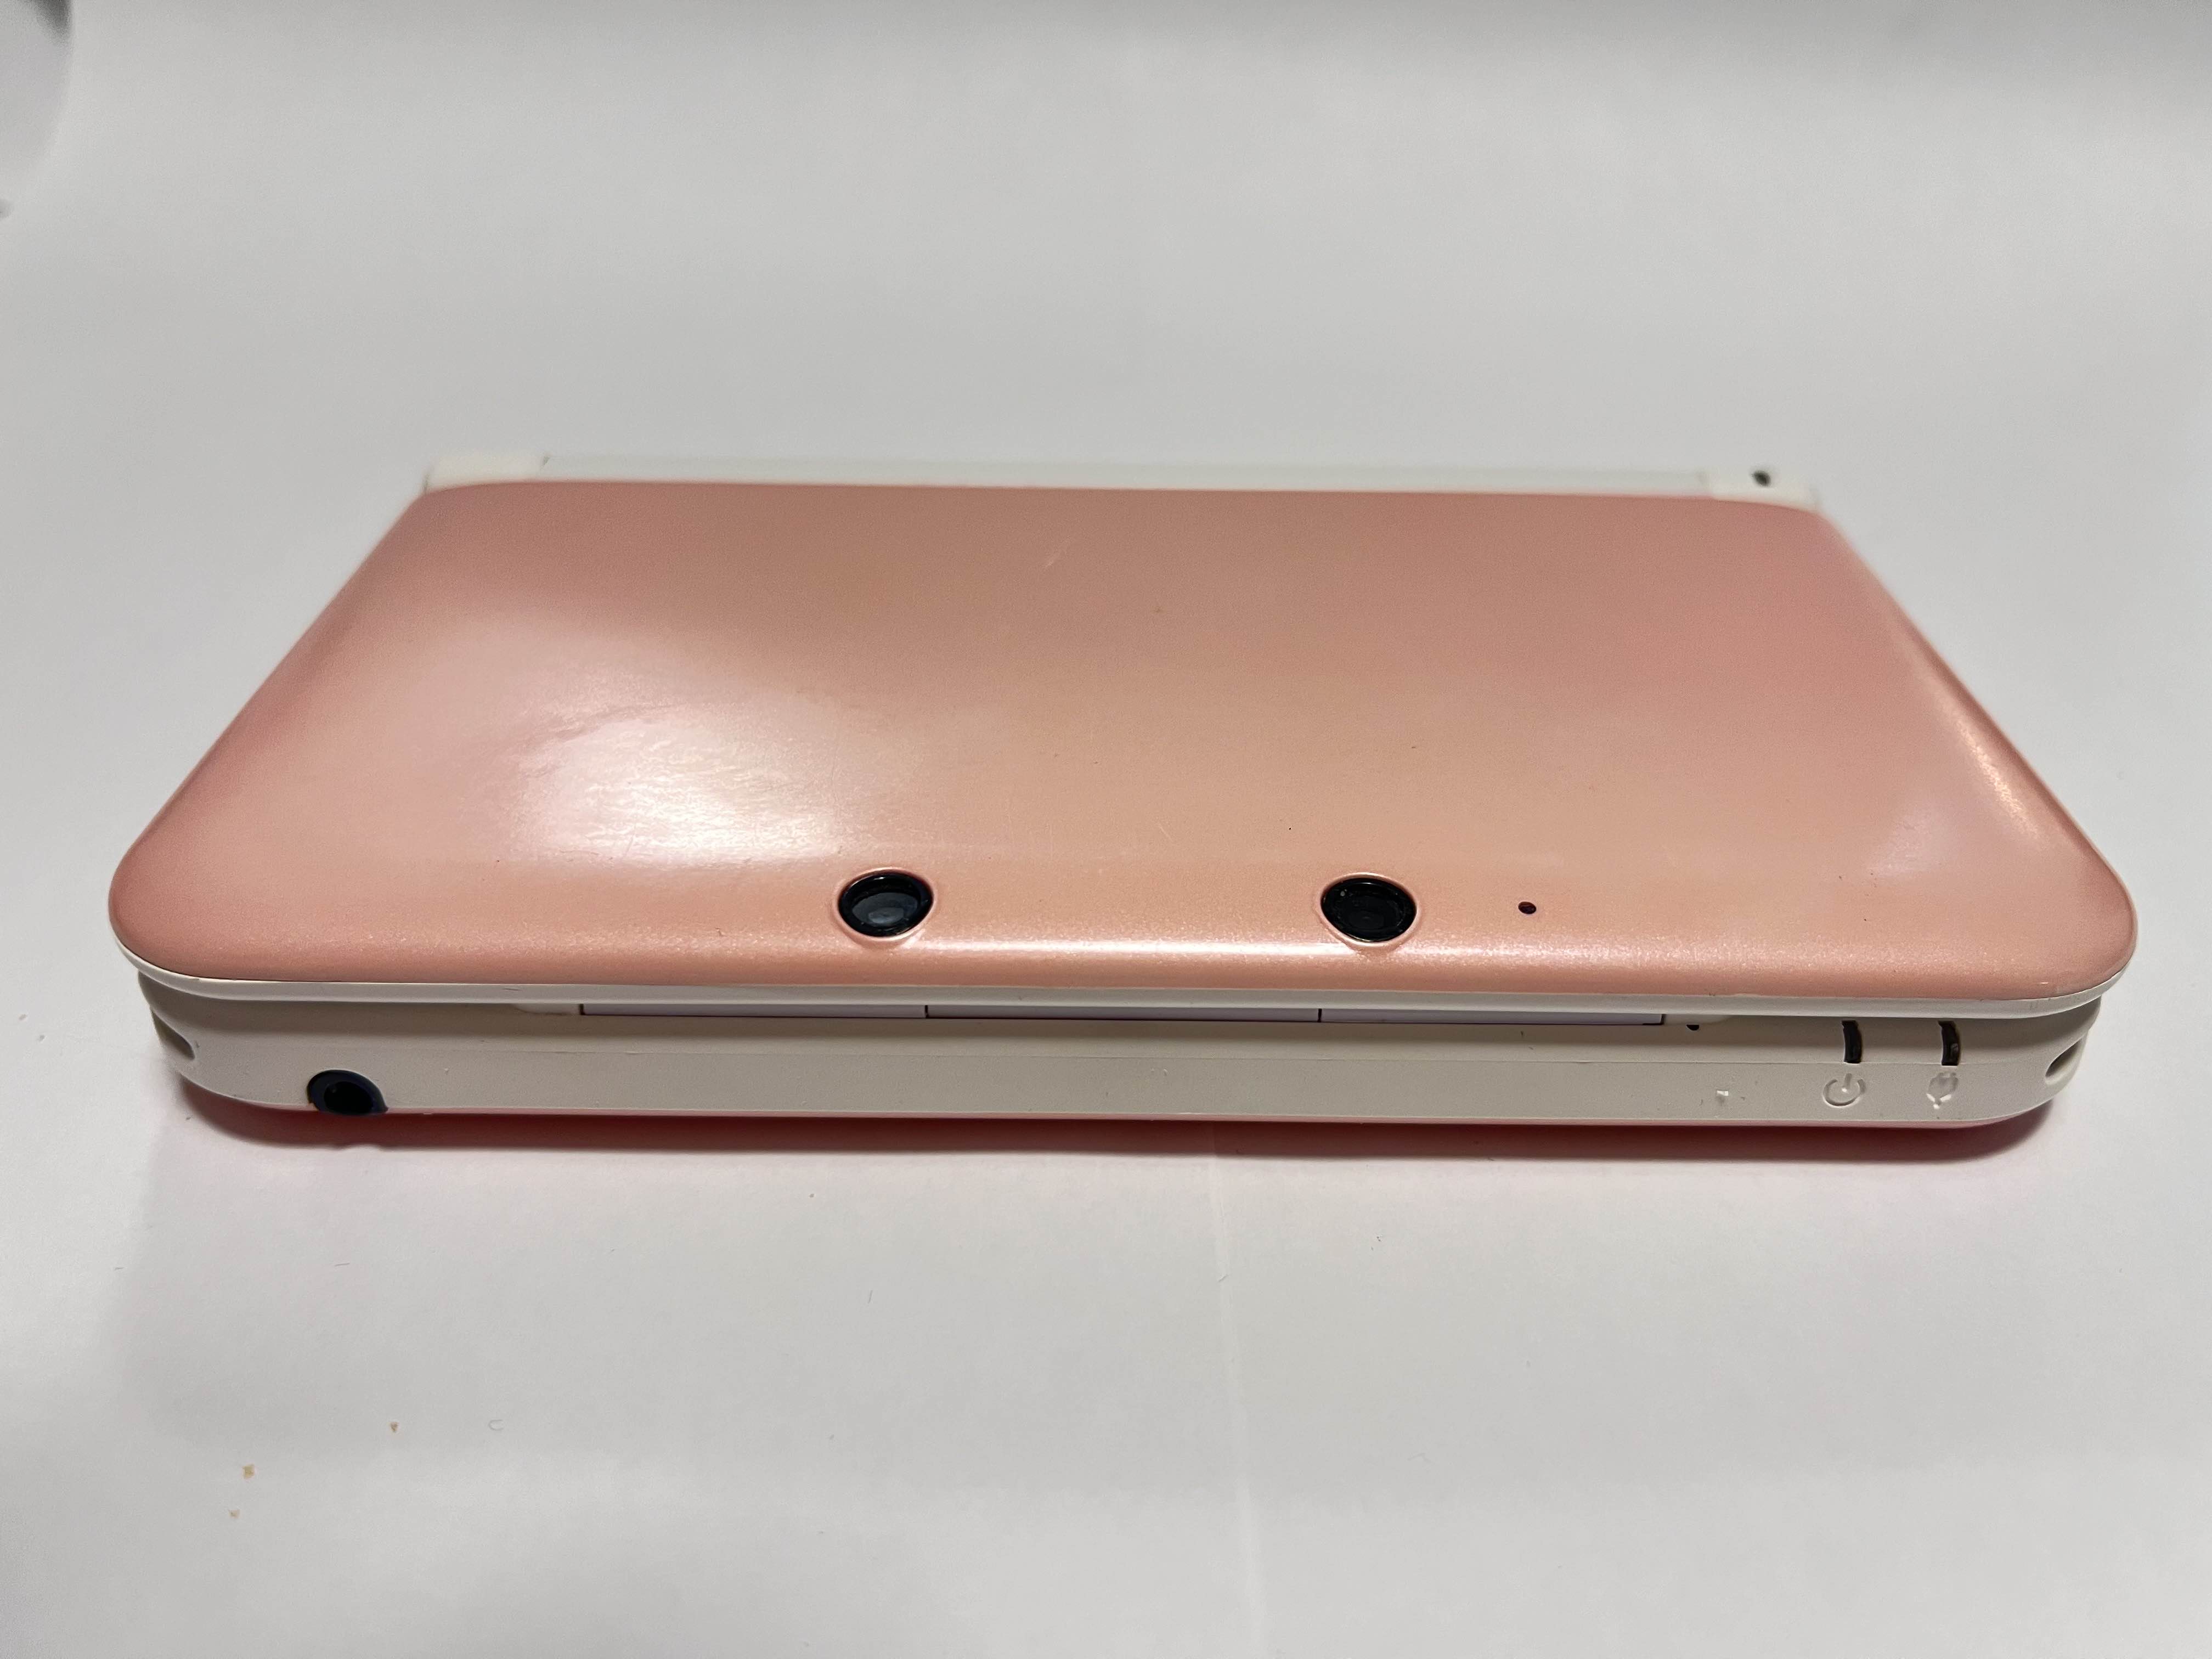
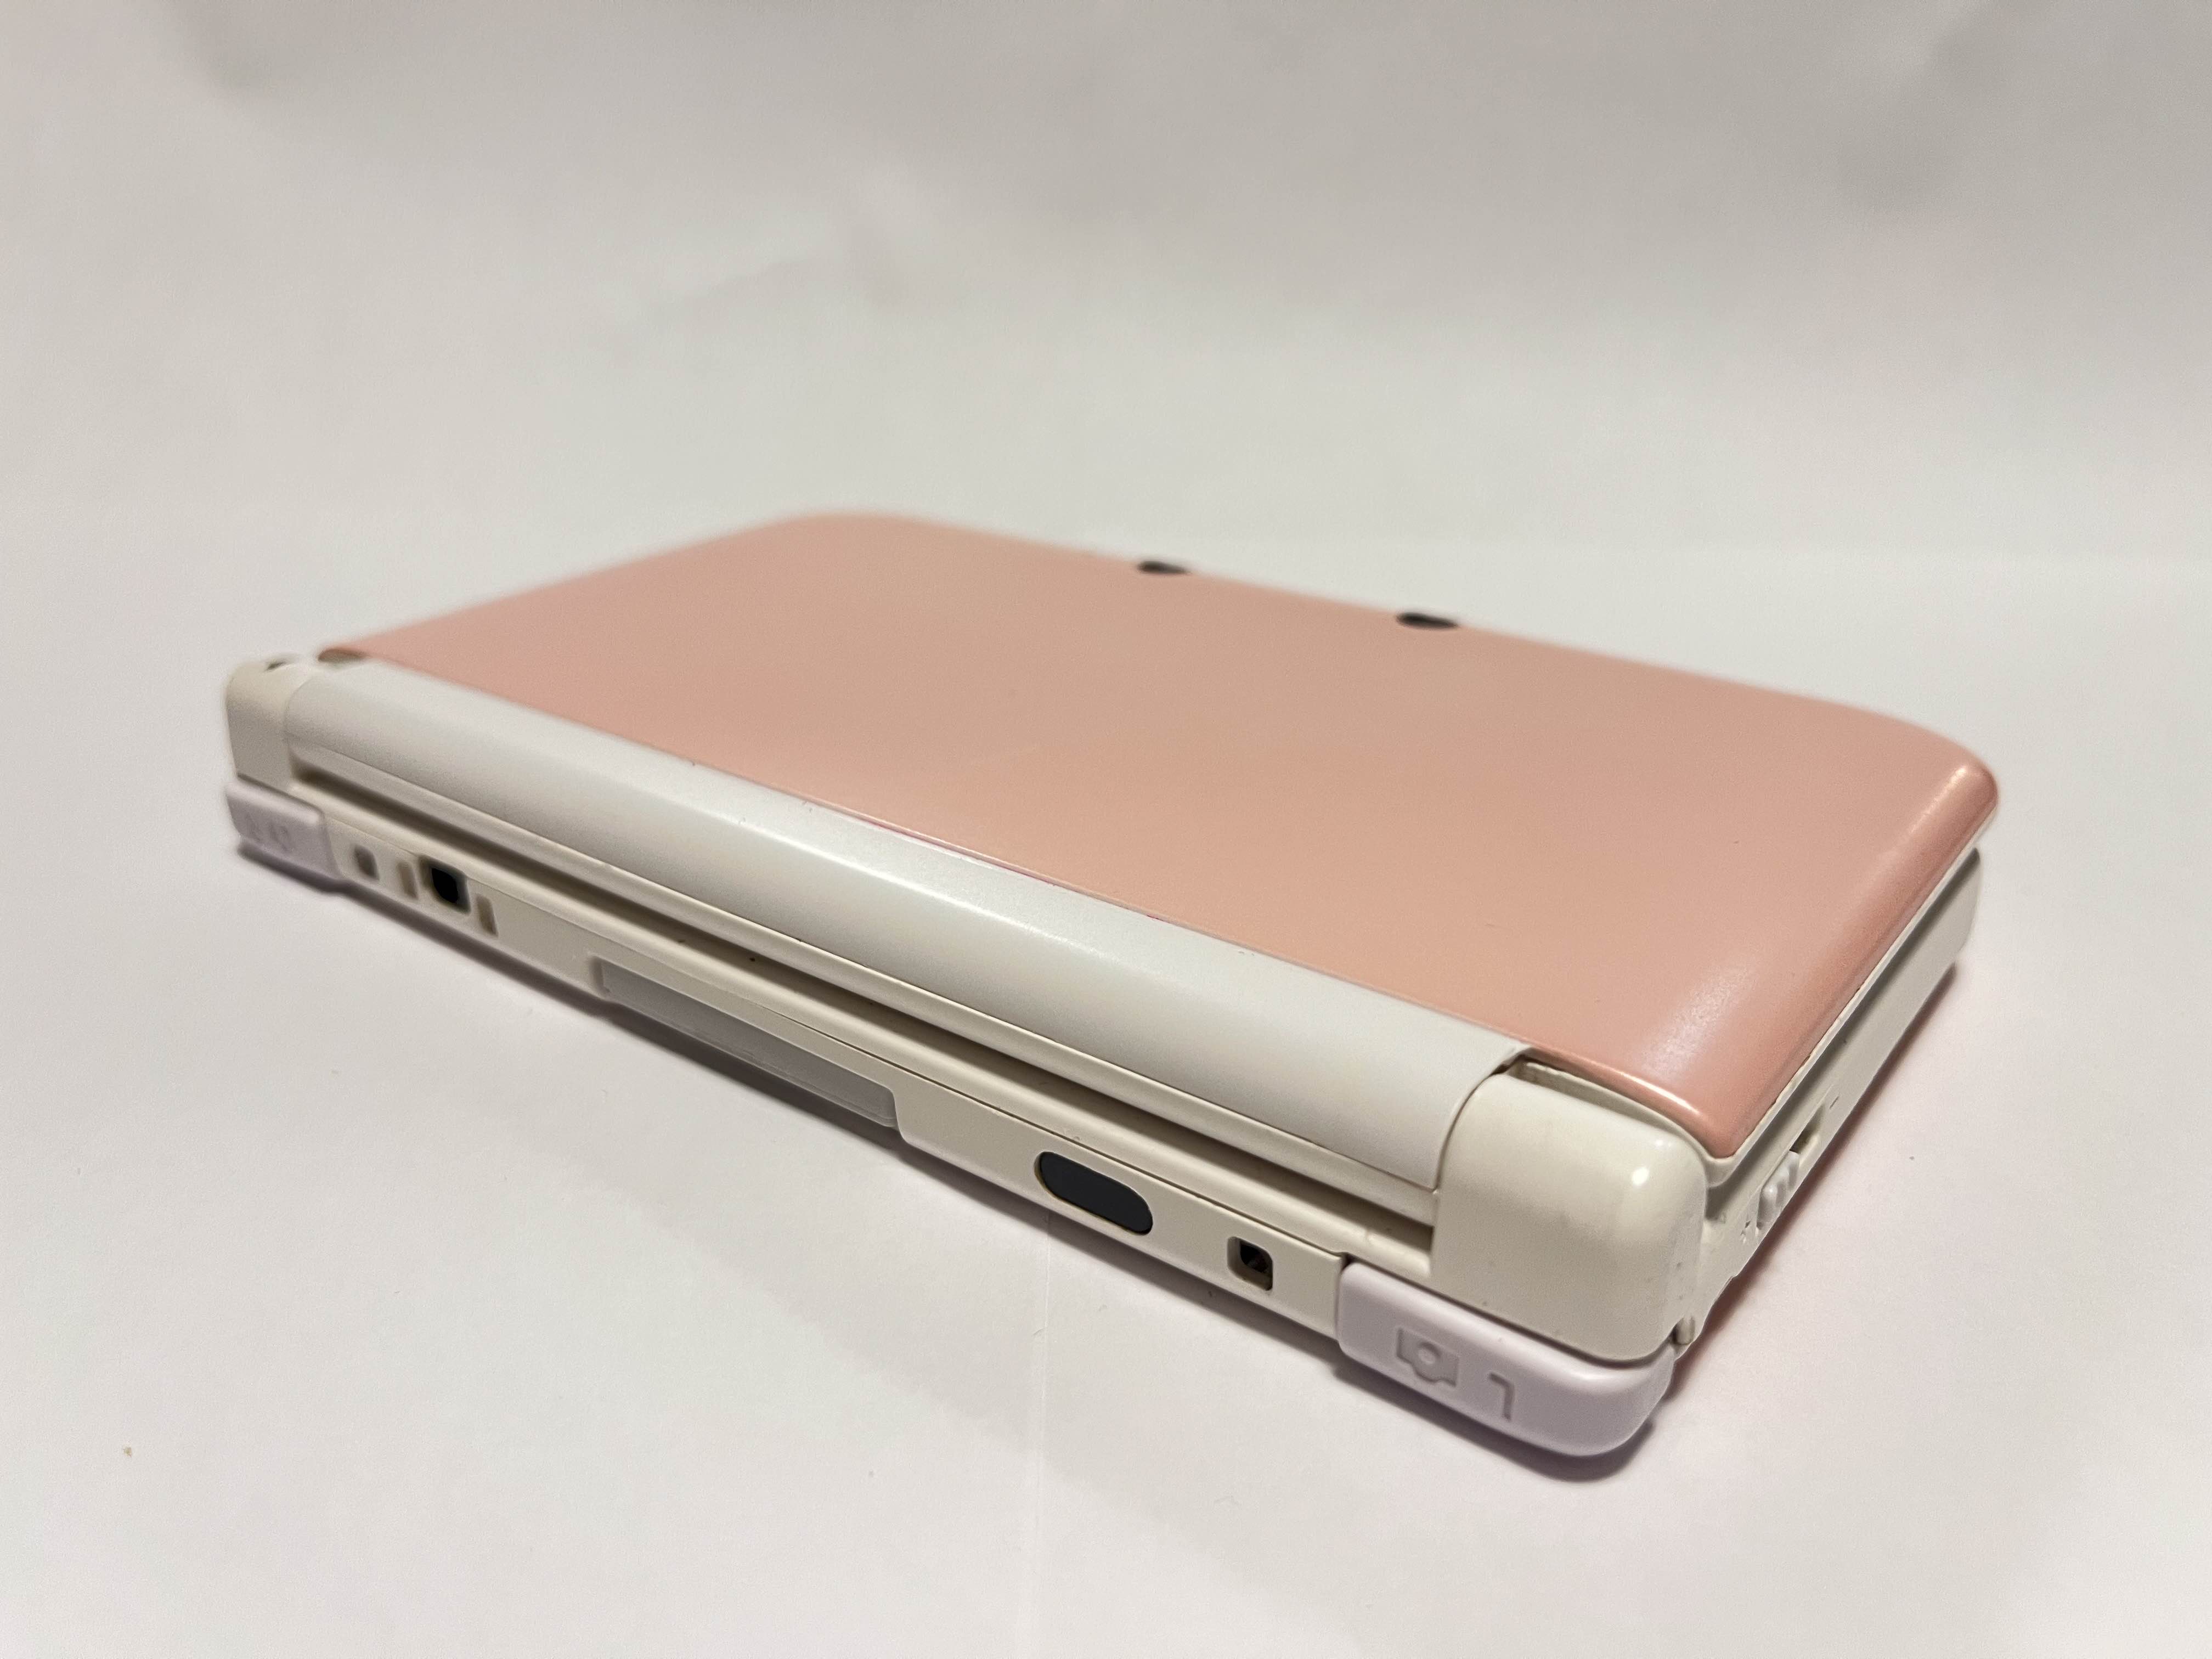
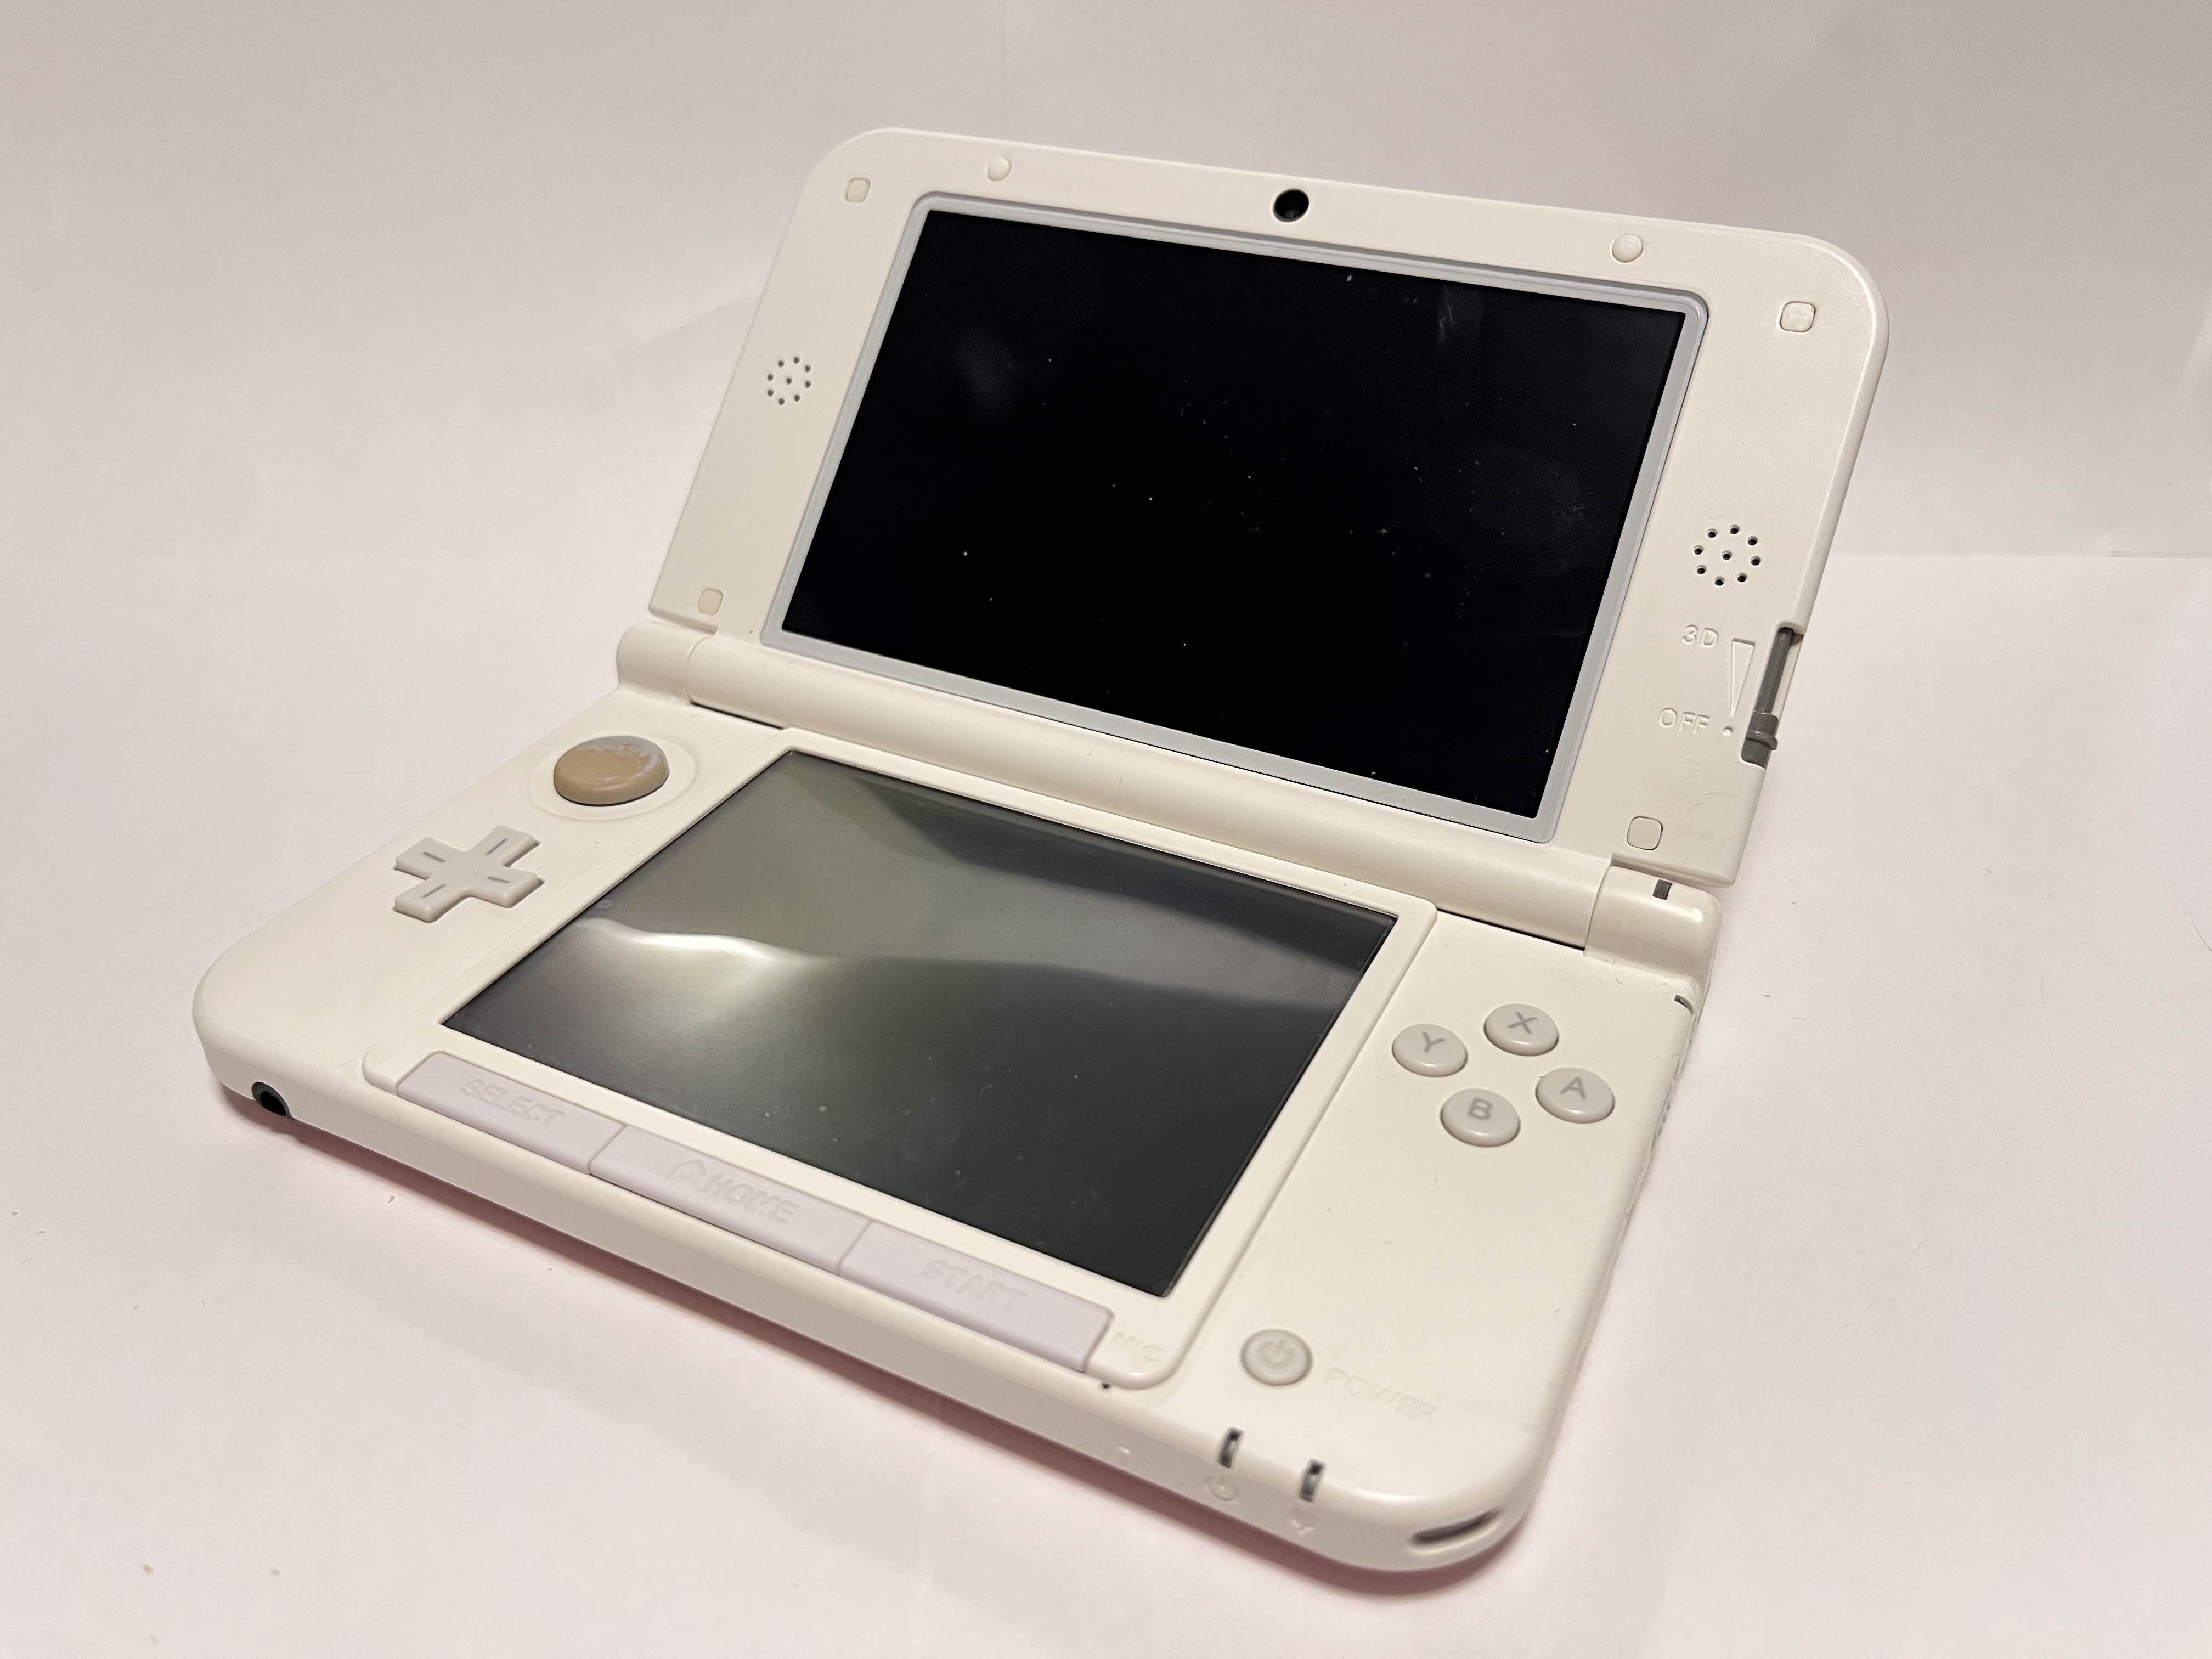
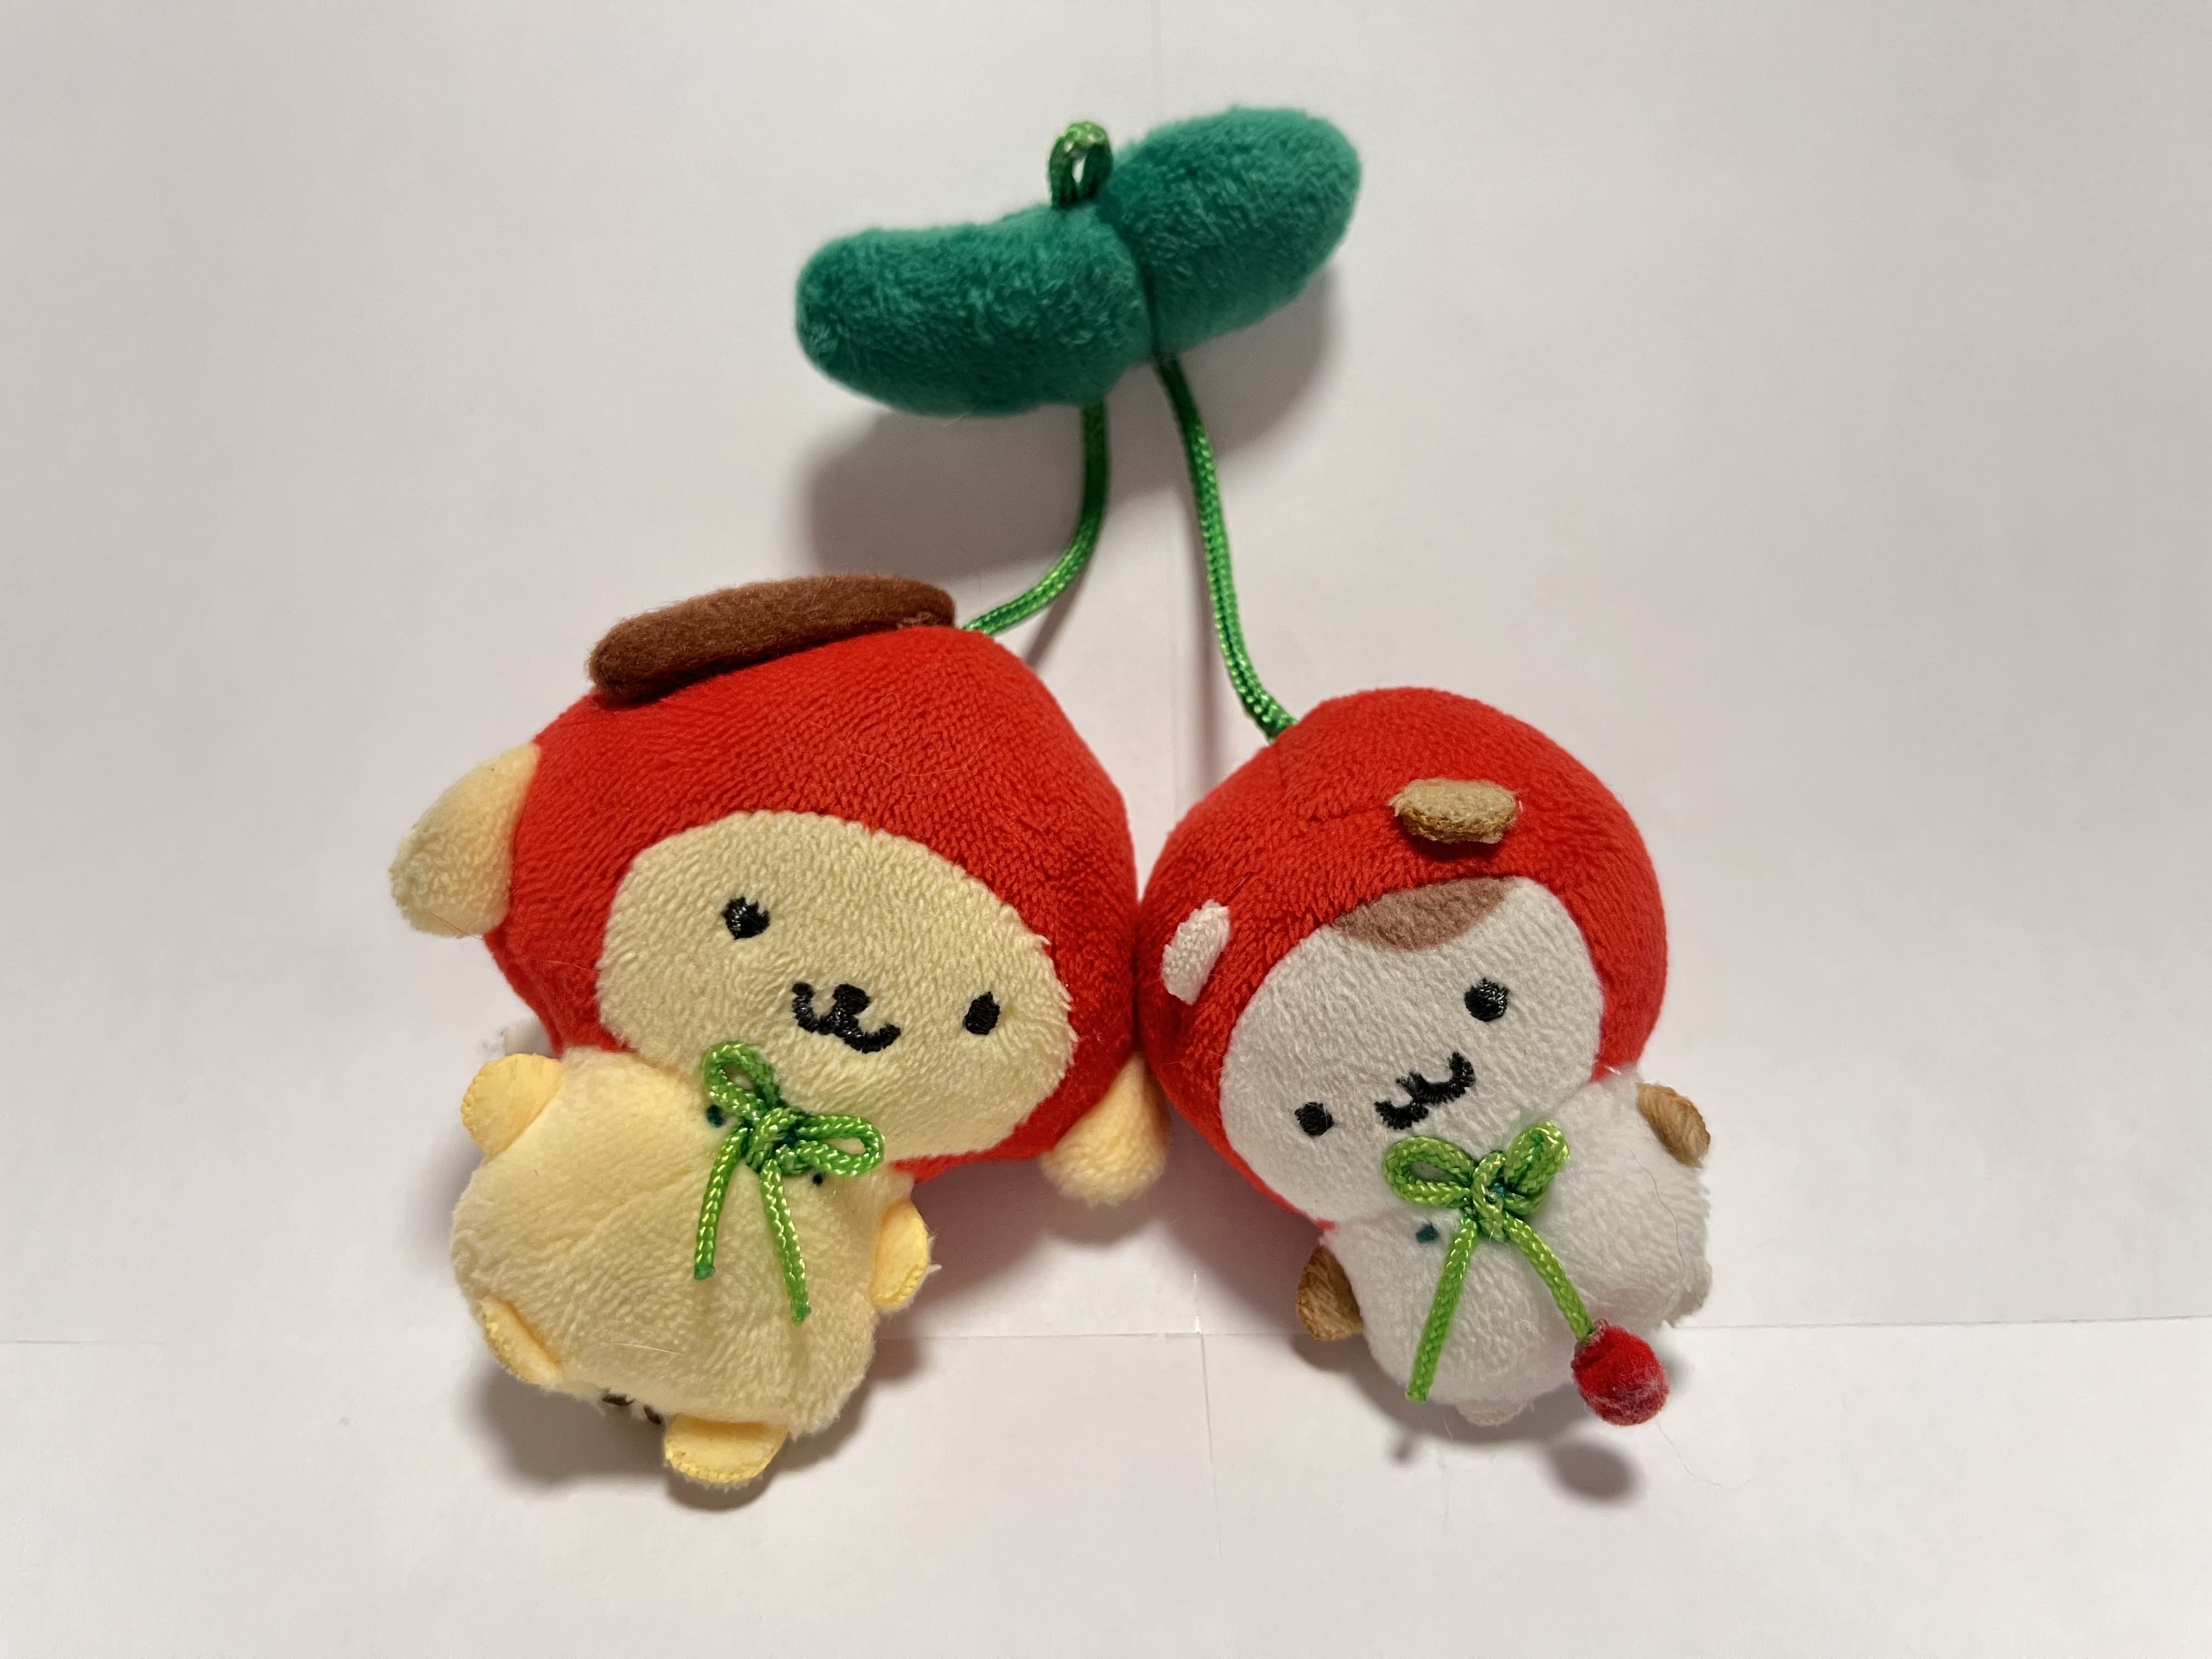
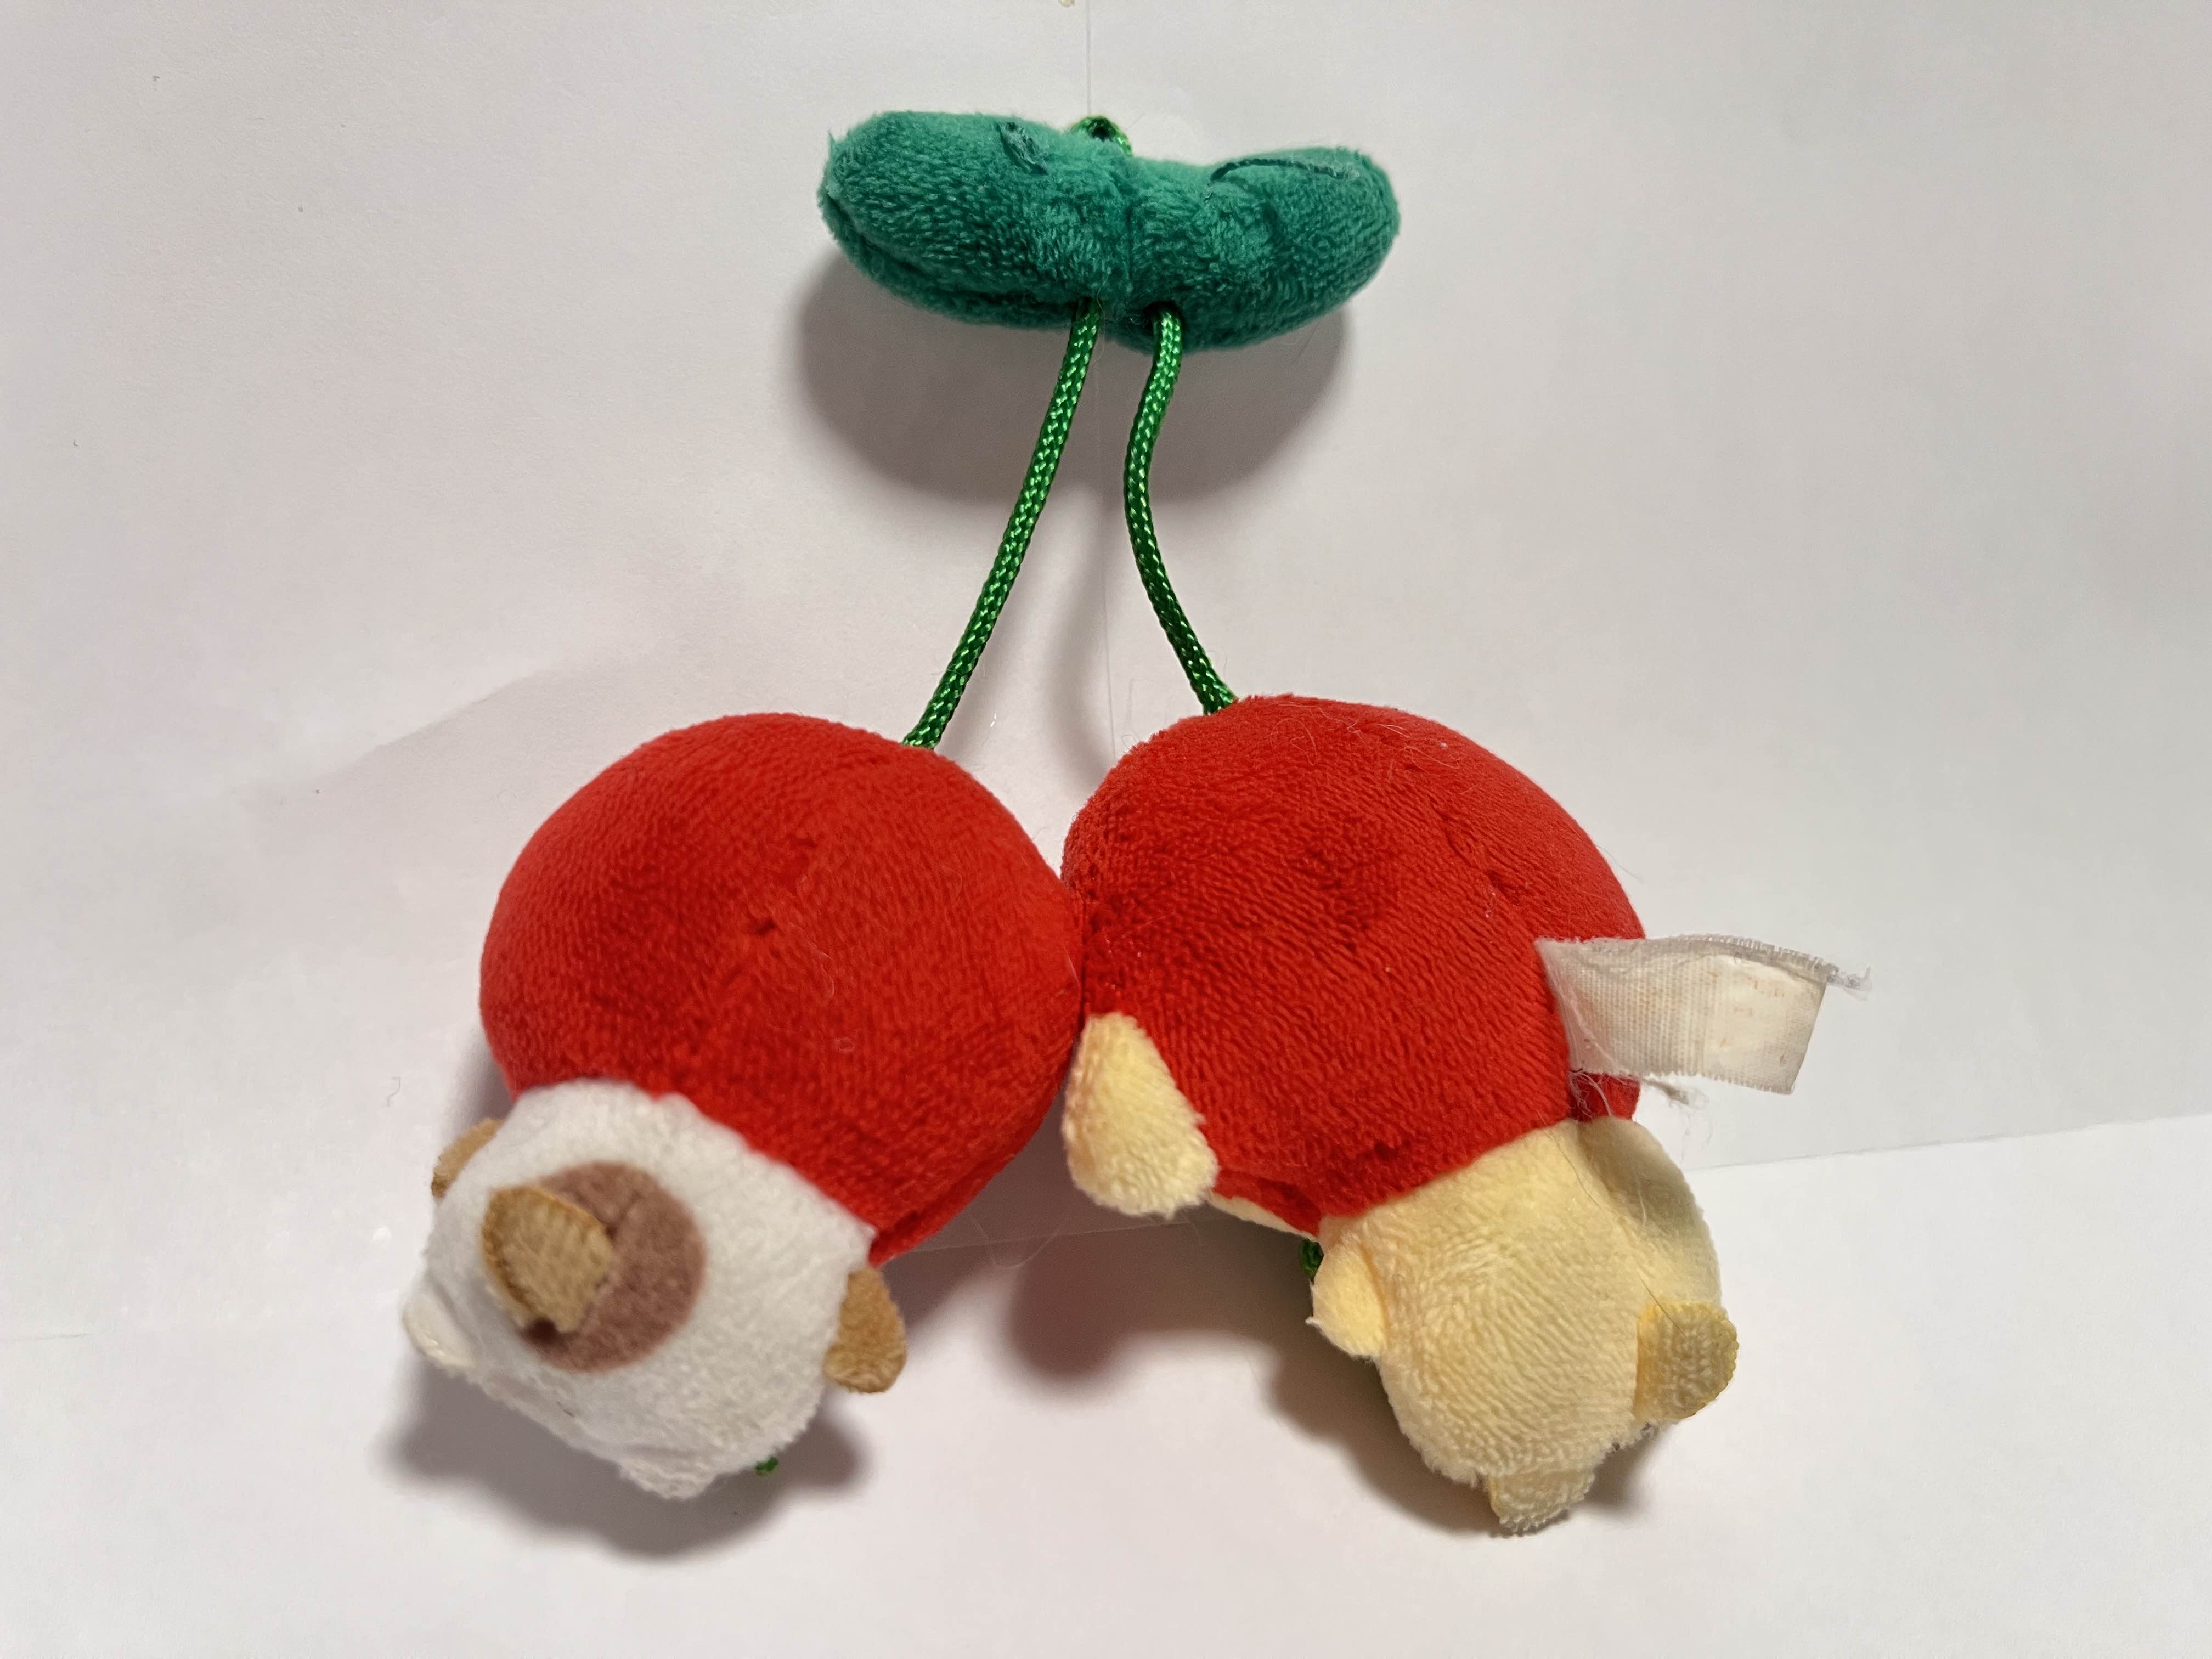
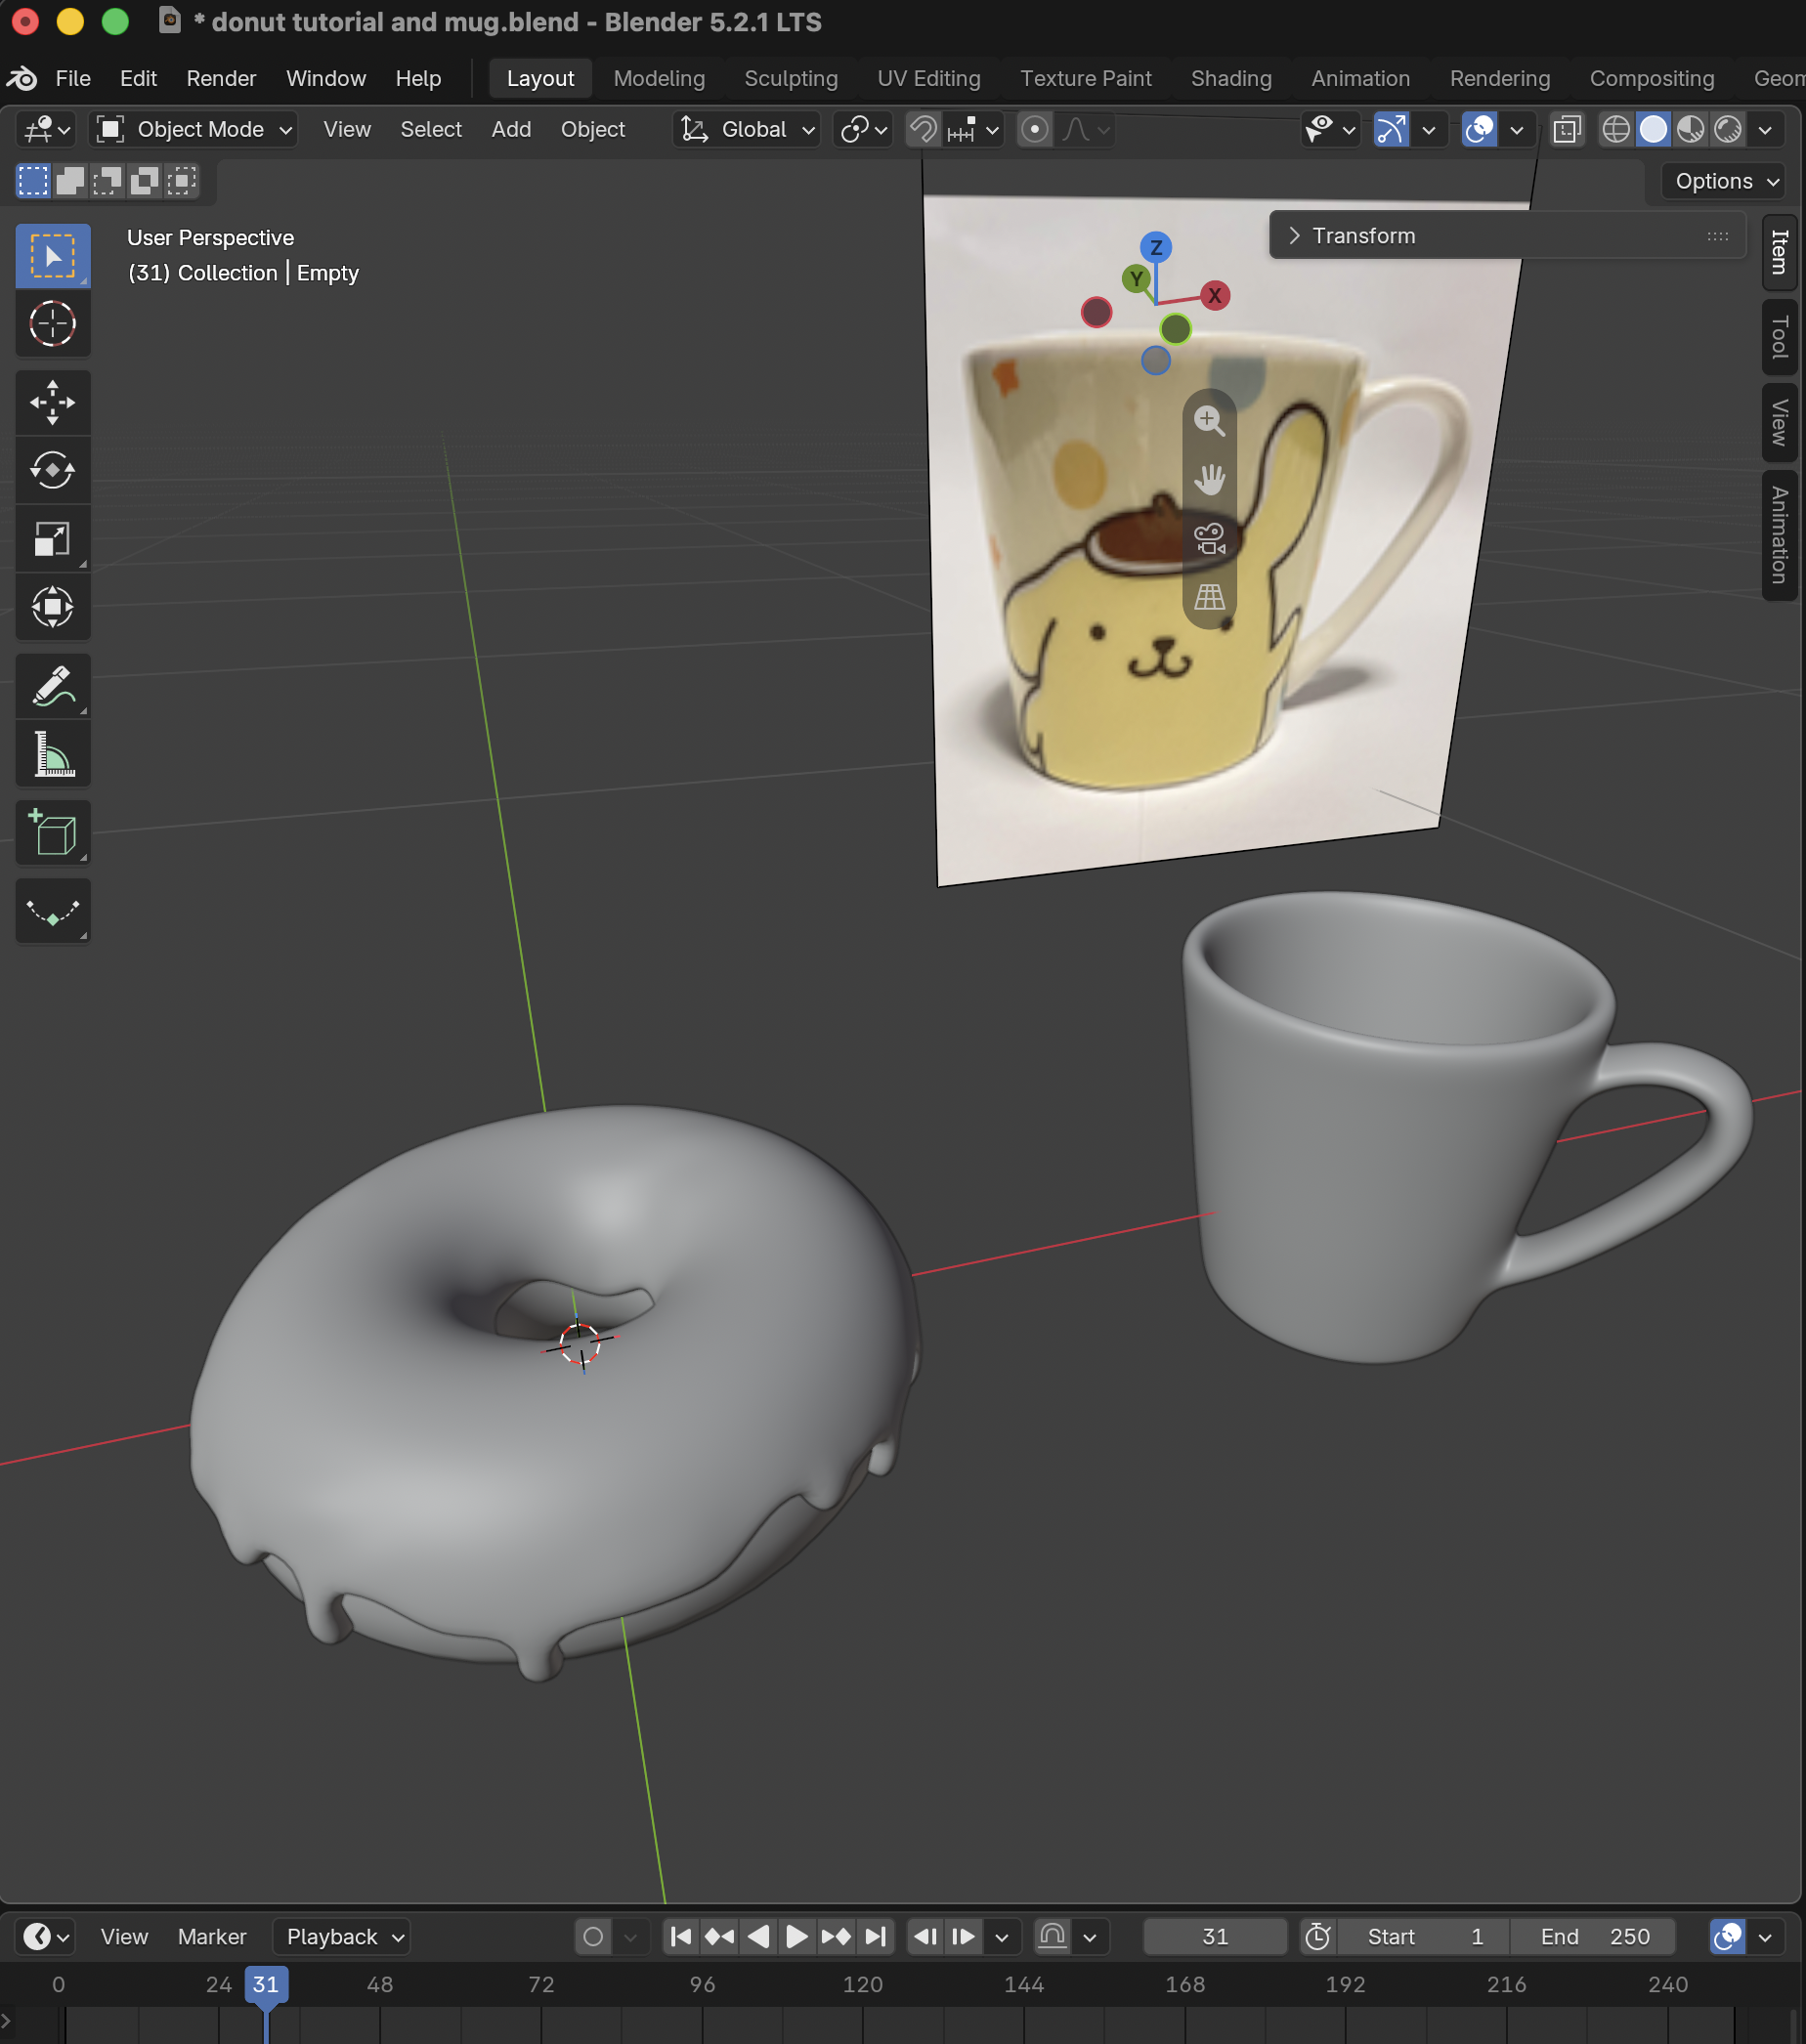
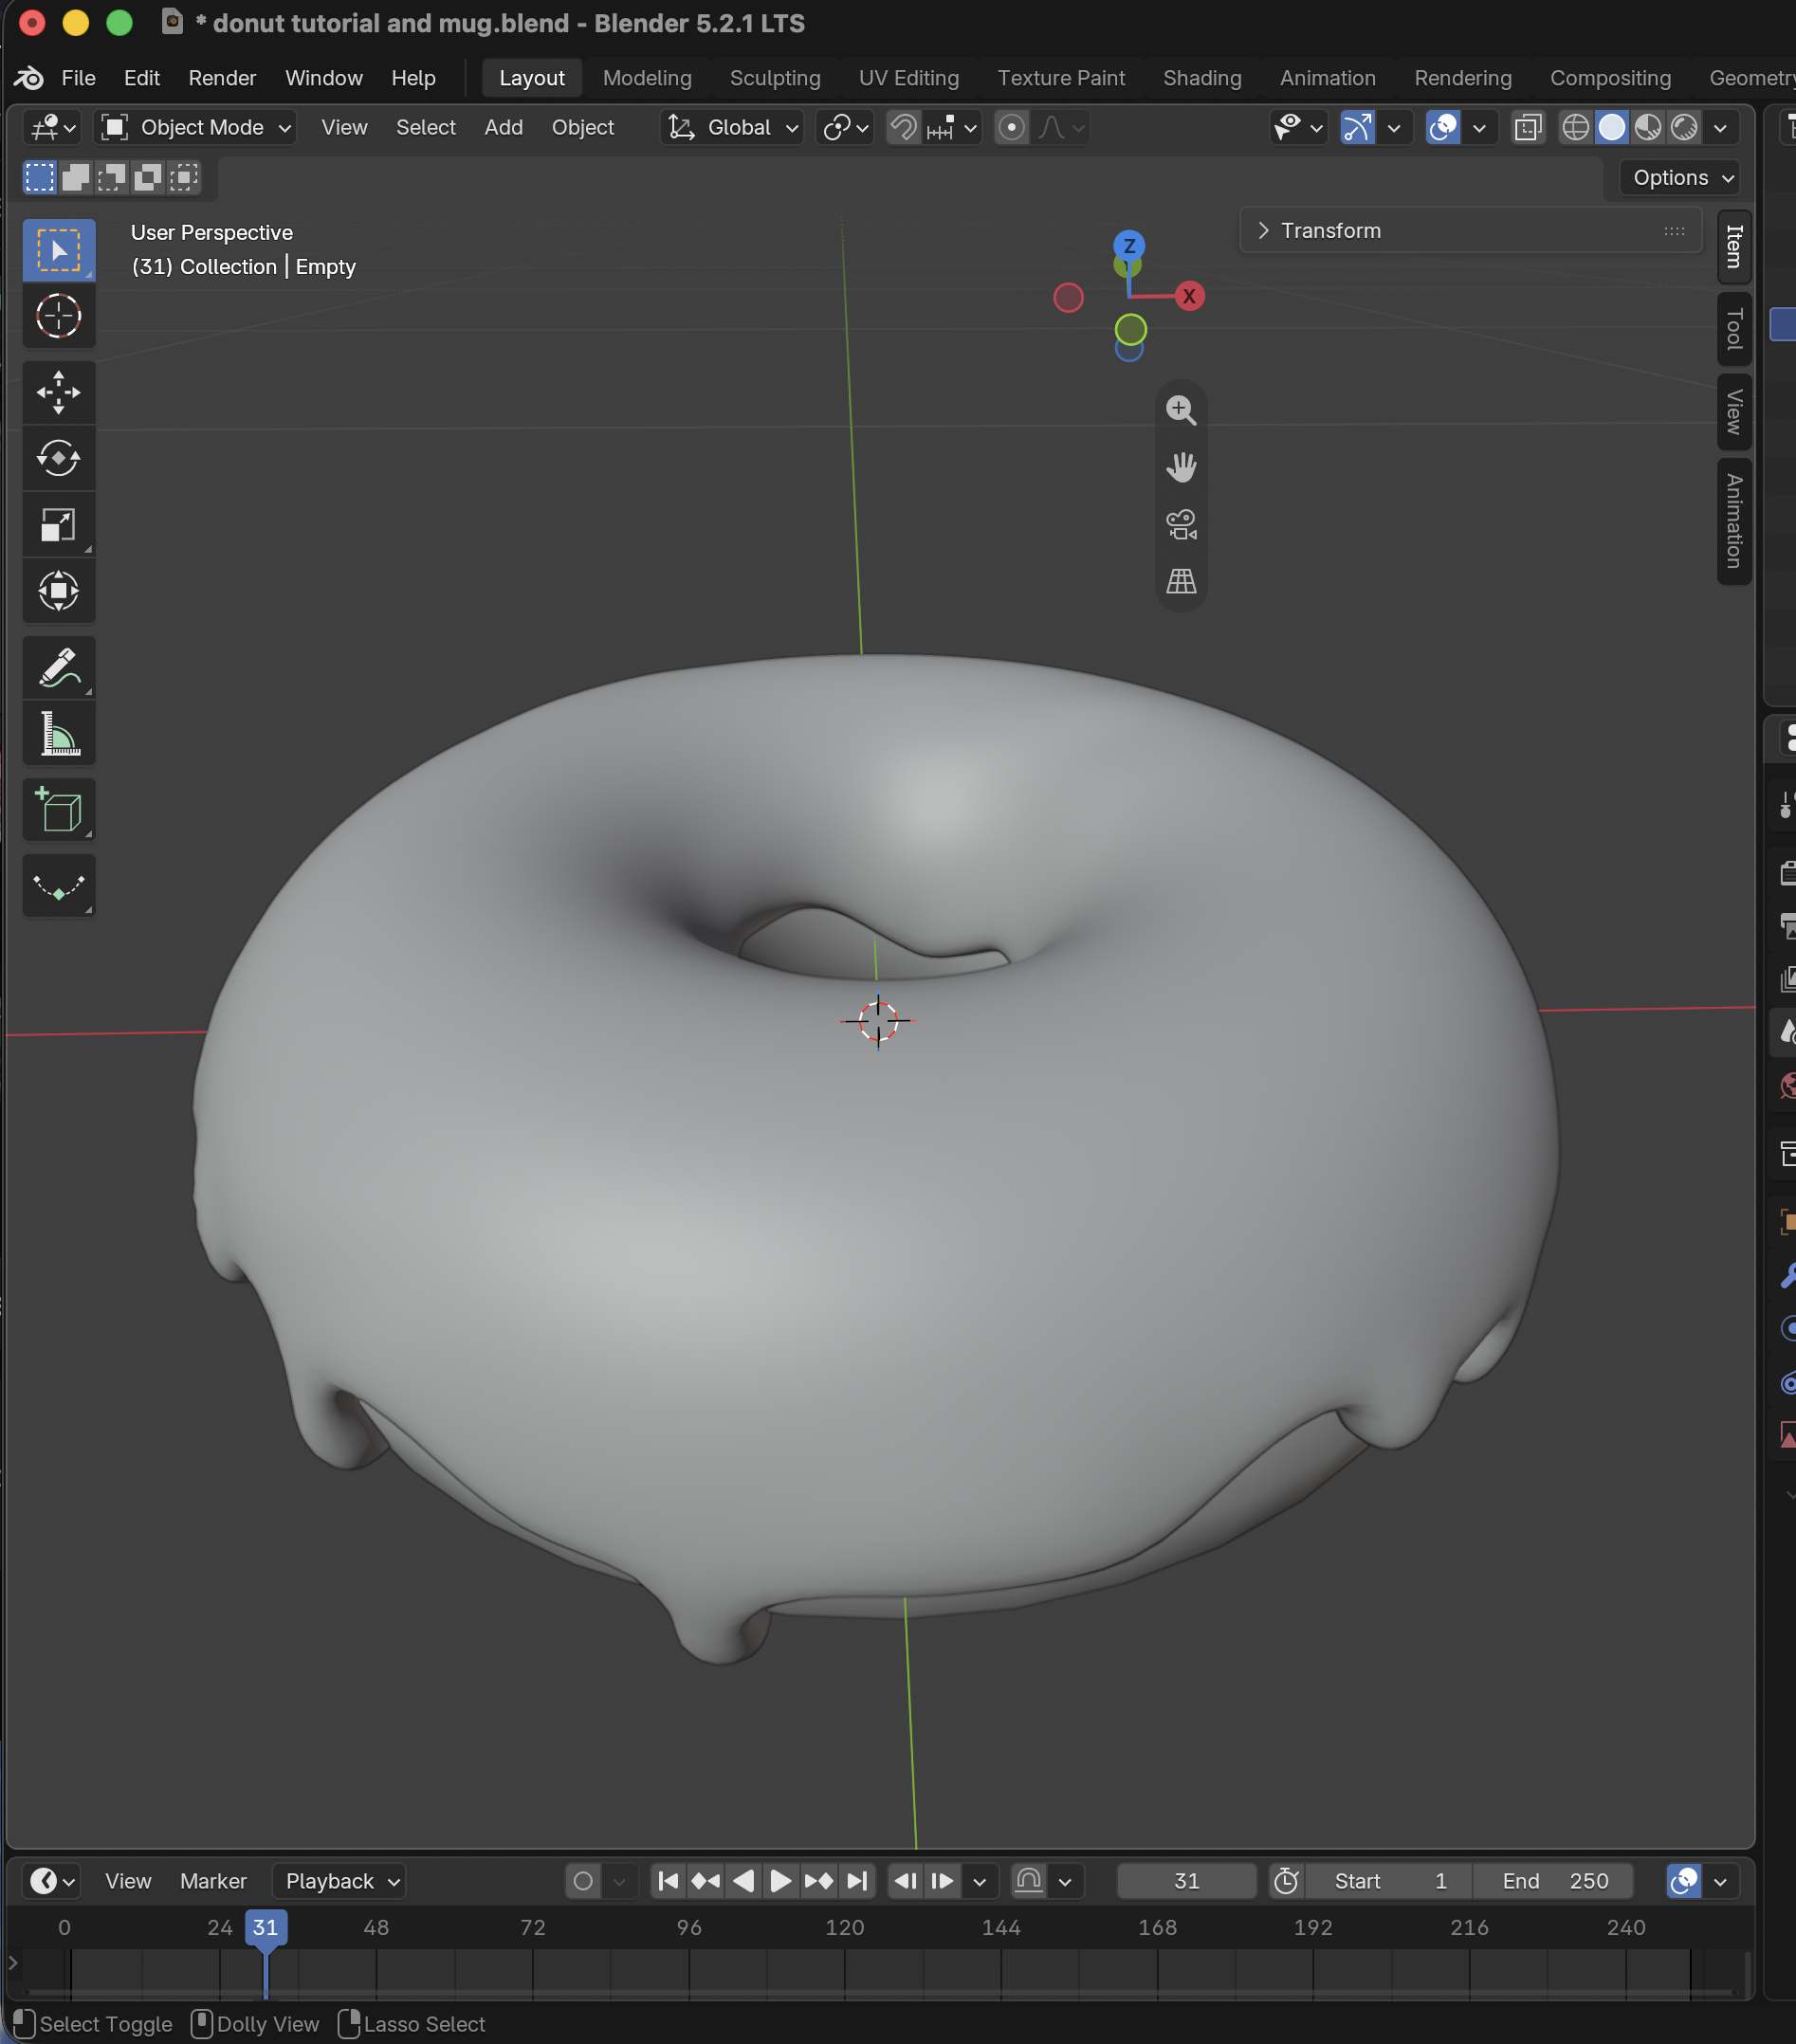
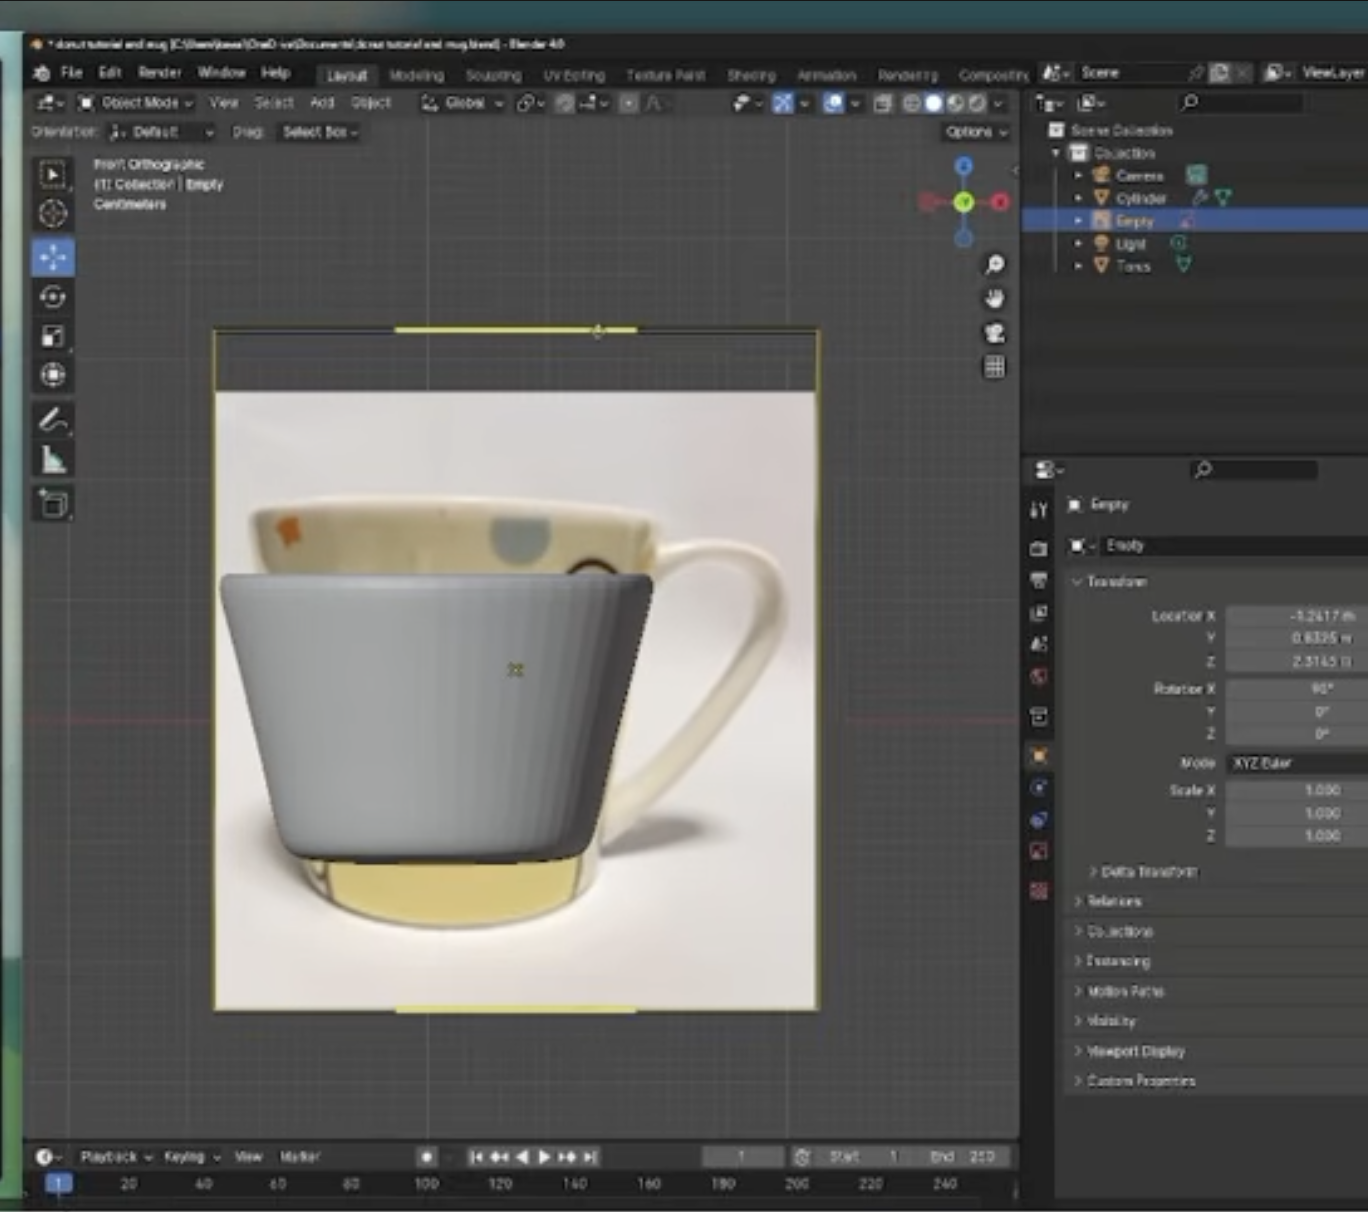
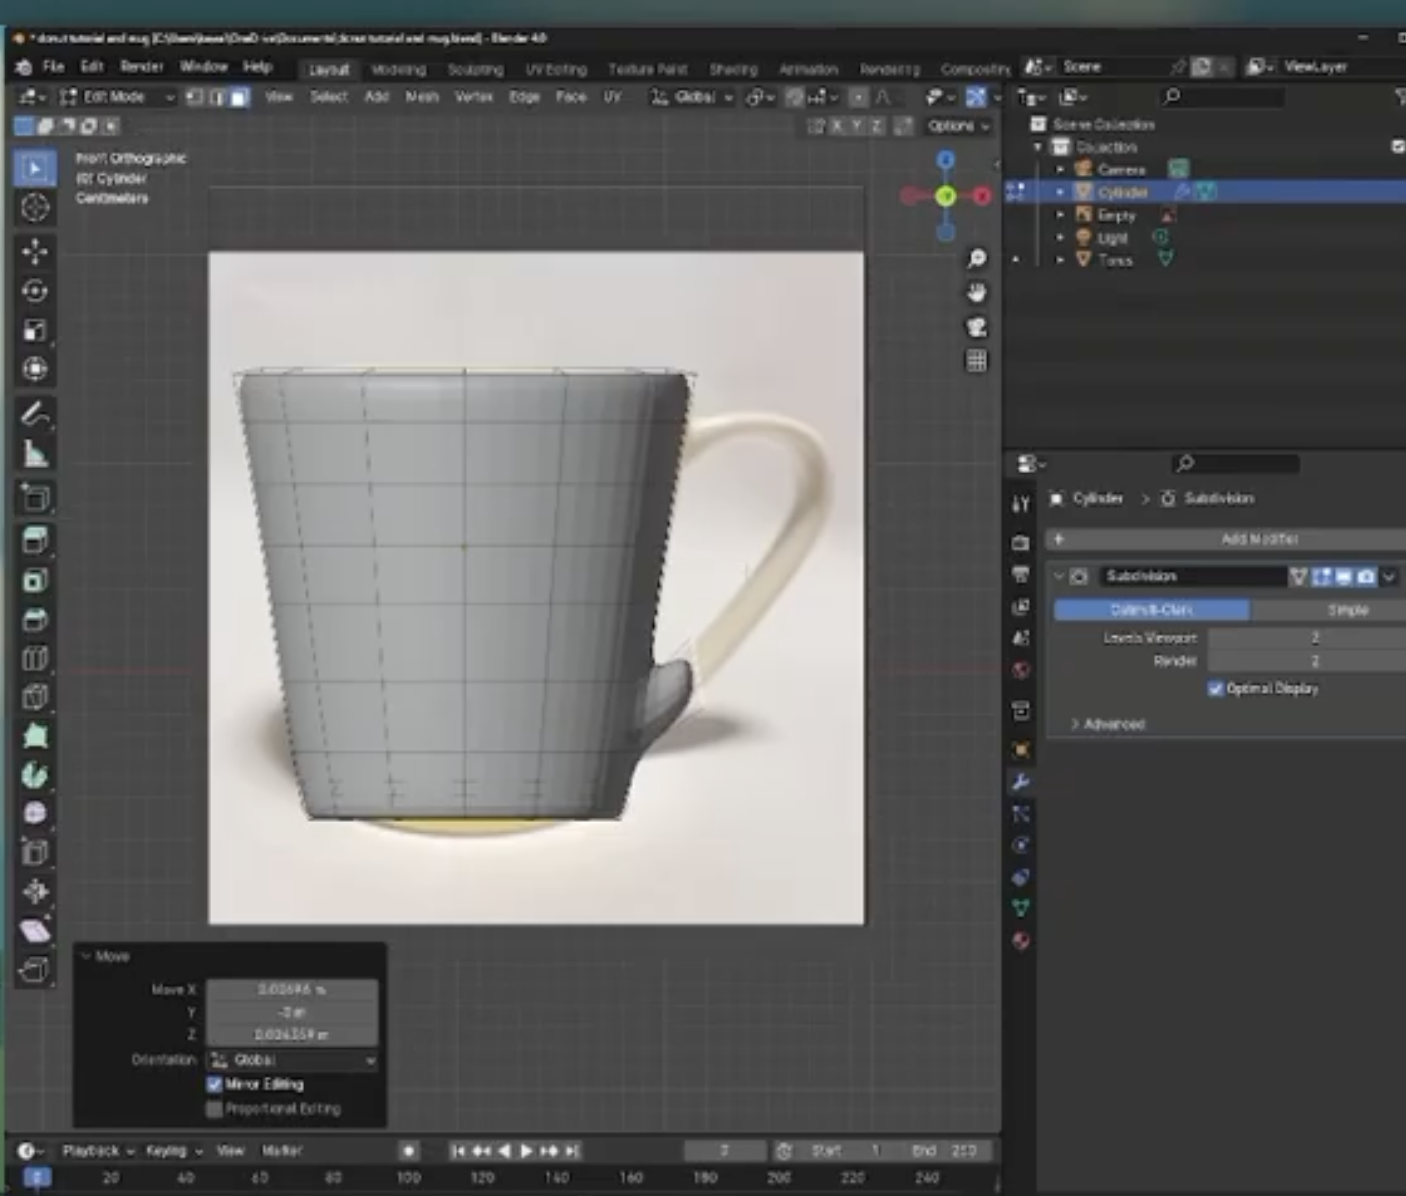
Bright yellow Pompompurin bandaid box, front view Bright yellow Pompompurin bandaid box, top view Bright yellow Pompompurin bandaid box, back view Light yellow Pompompurin mug, top view Light yellow Pompompurin mug, front view Jamieson iron vitamin pill bottle, front view Jamieson iron vitamin pill bottle, side view Jamieson iron vitamin pill bottle, top view Purina pro plan cat canned food, front view Purina pro plan cat canned food, top view Bright red apple with barcode sticker, front view Bright red apple with barcode sticker, top view Sylvanian family cat toy with collared denim dress, front view Sylvanian family cat toy with collared denim dress, side view Sylvanian family cat toy with collared denim dress, back view Pink Nintendo 3DS XL closed, front view Pink Nintendo 3DS XL closed, back view Pink Nintendo 3DS XL opened, front view Cherry Pompompurin plush toy, front view Cherry Pompompurin plush toy, back view Cherry Pompompurin plush toy, side view Basic 3D model of a donut and mug I made in blender following Blender Gurus tutorial A youtube video of my process making the donut glaze <div class='container'><iframe class='responsive-iframe' src='https://www.youtube.com/embed/YHpTzr63kQg'></iframe></div> A youtube video of my process shaping the Pompompurin mug <div class='container'><iframe class='responsive-iframe' src='https://www.youtube.com/embed/ygR7WHS7Ydc?si=cJLnLhdoRs1TTXeS'></iframe></div> A youtube video of my process shaping the Pompompurin mug handle <div class='container'><iframe class='responsive-iframe' src='https://www.youtube.com/embed/YsD5ineabog?si=SO-SjlRjcPd7MOYw'></iframe></div>

Design Challenge 2
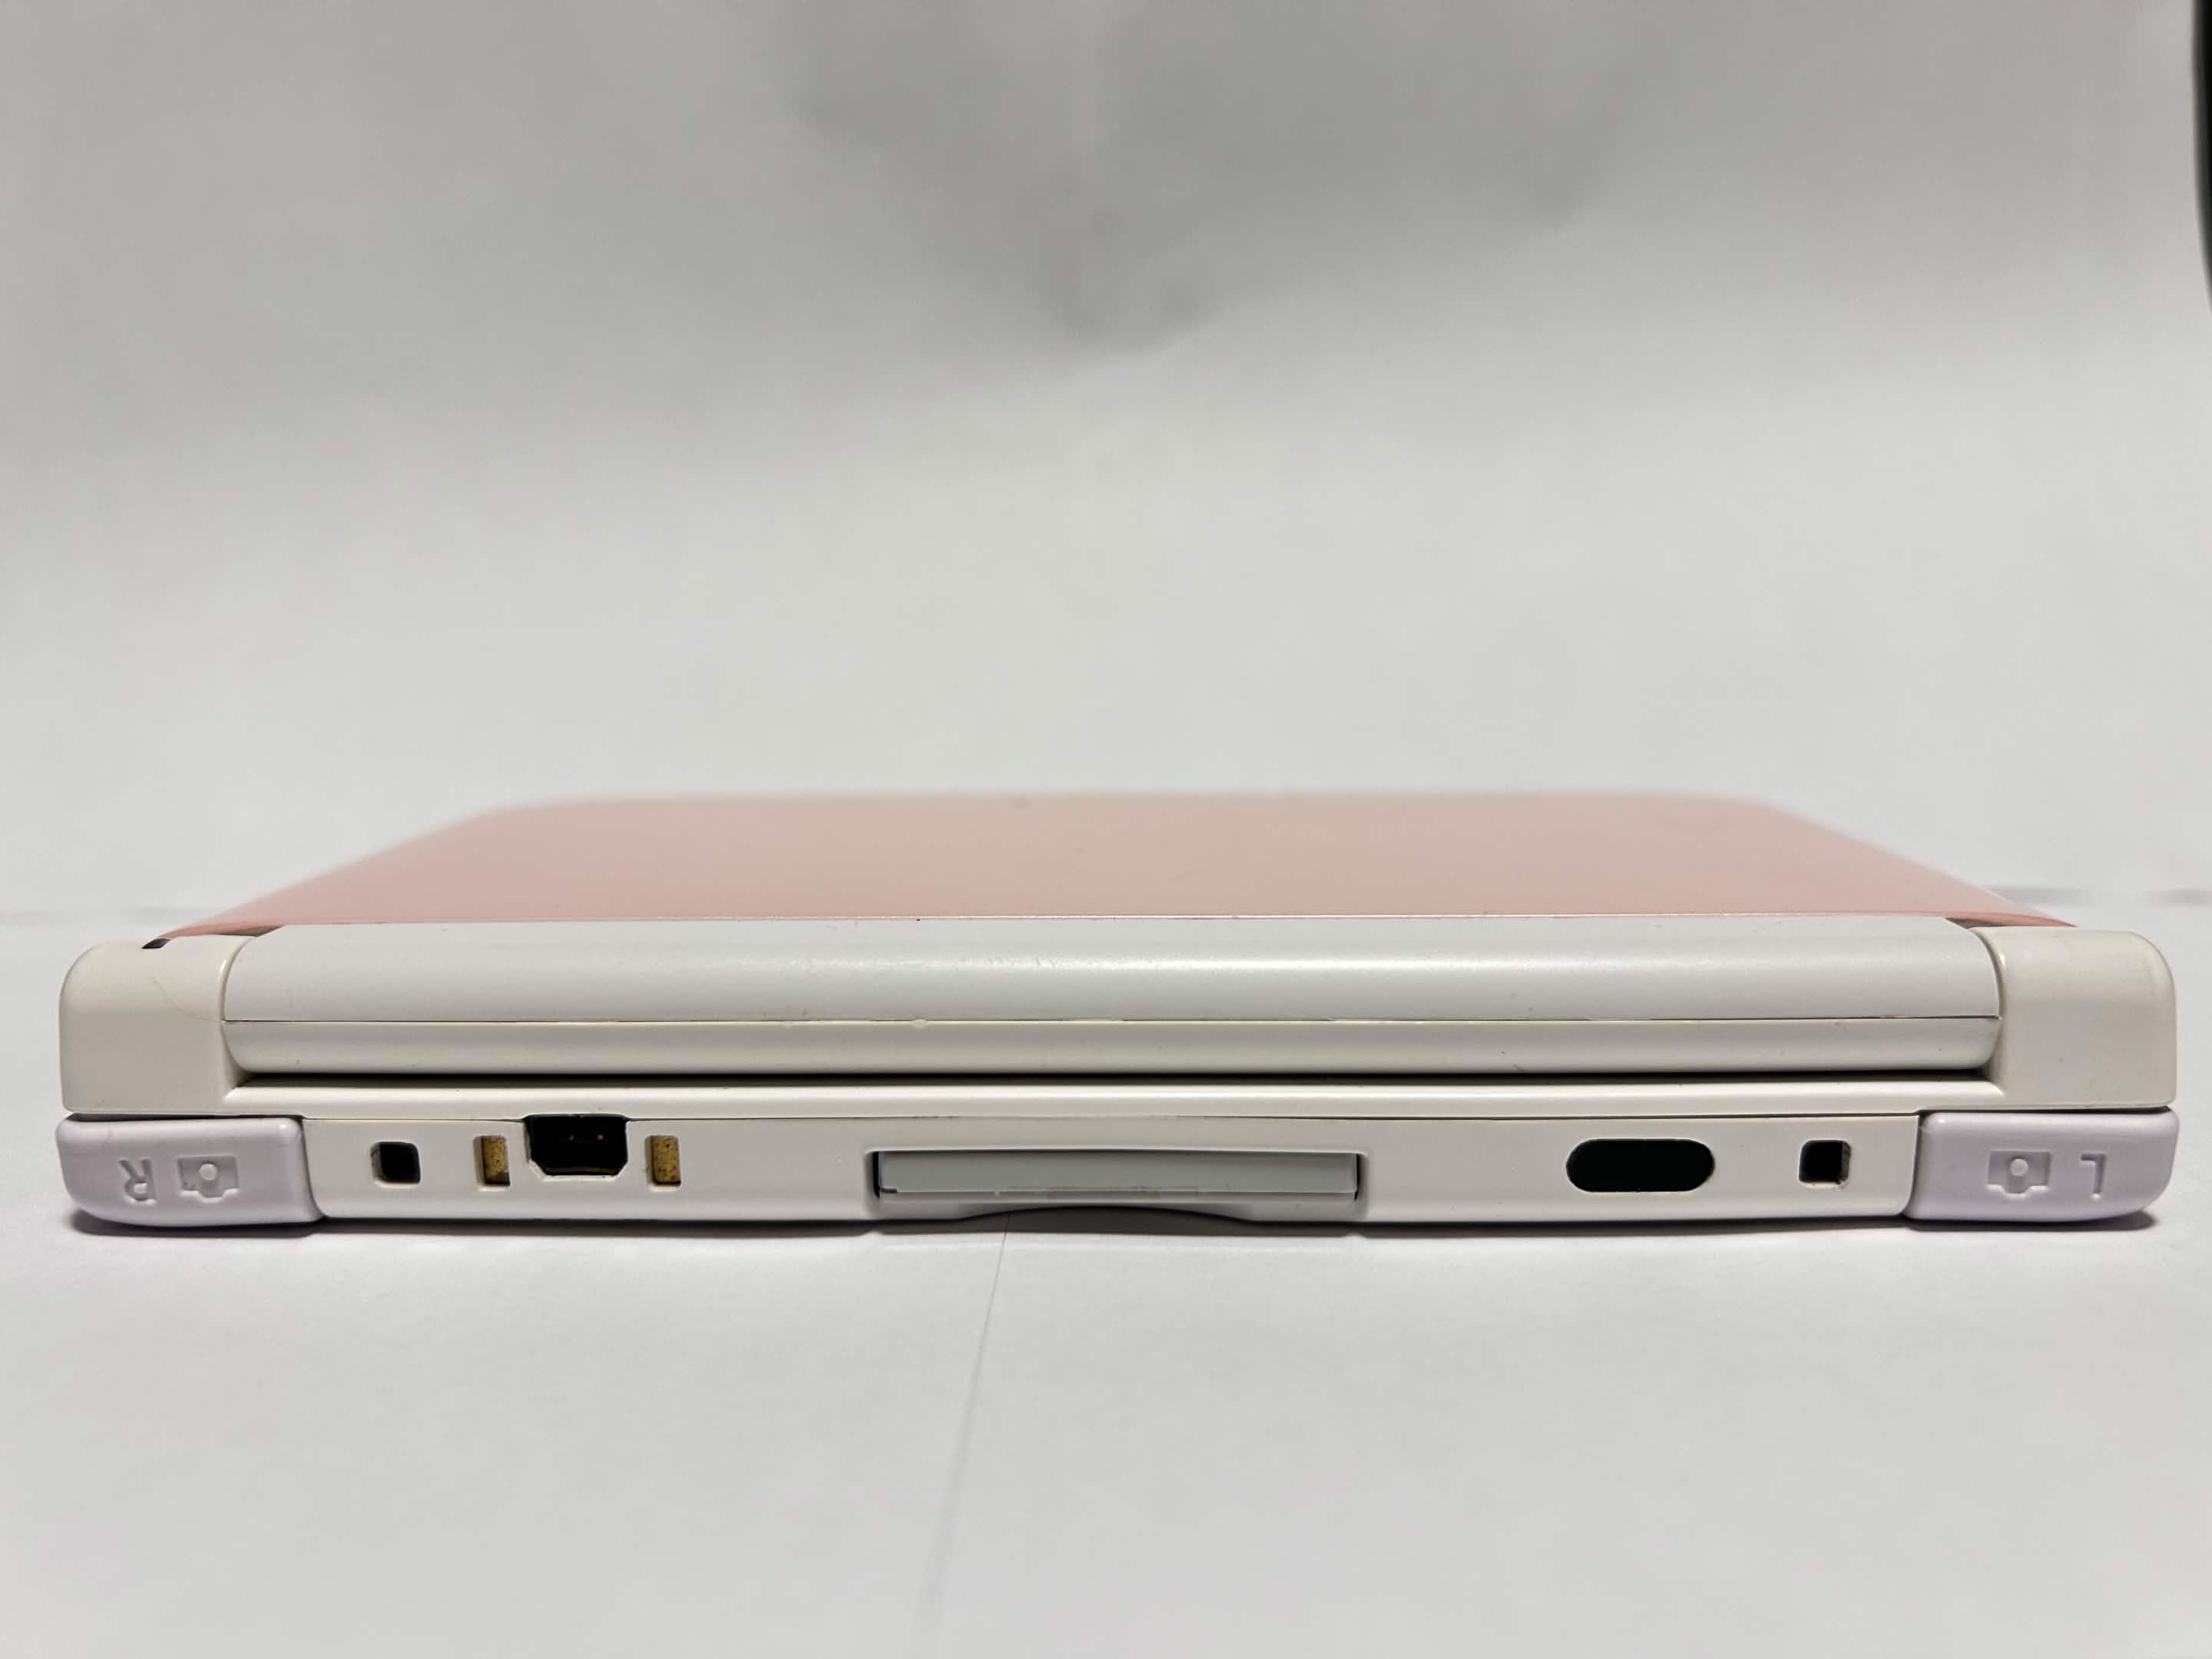
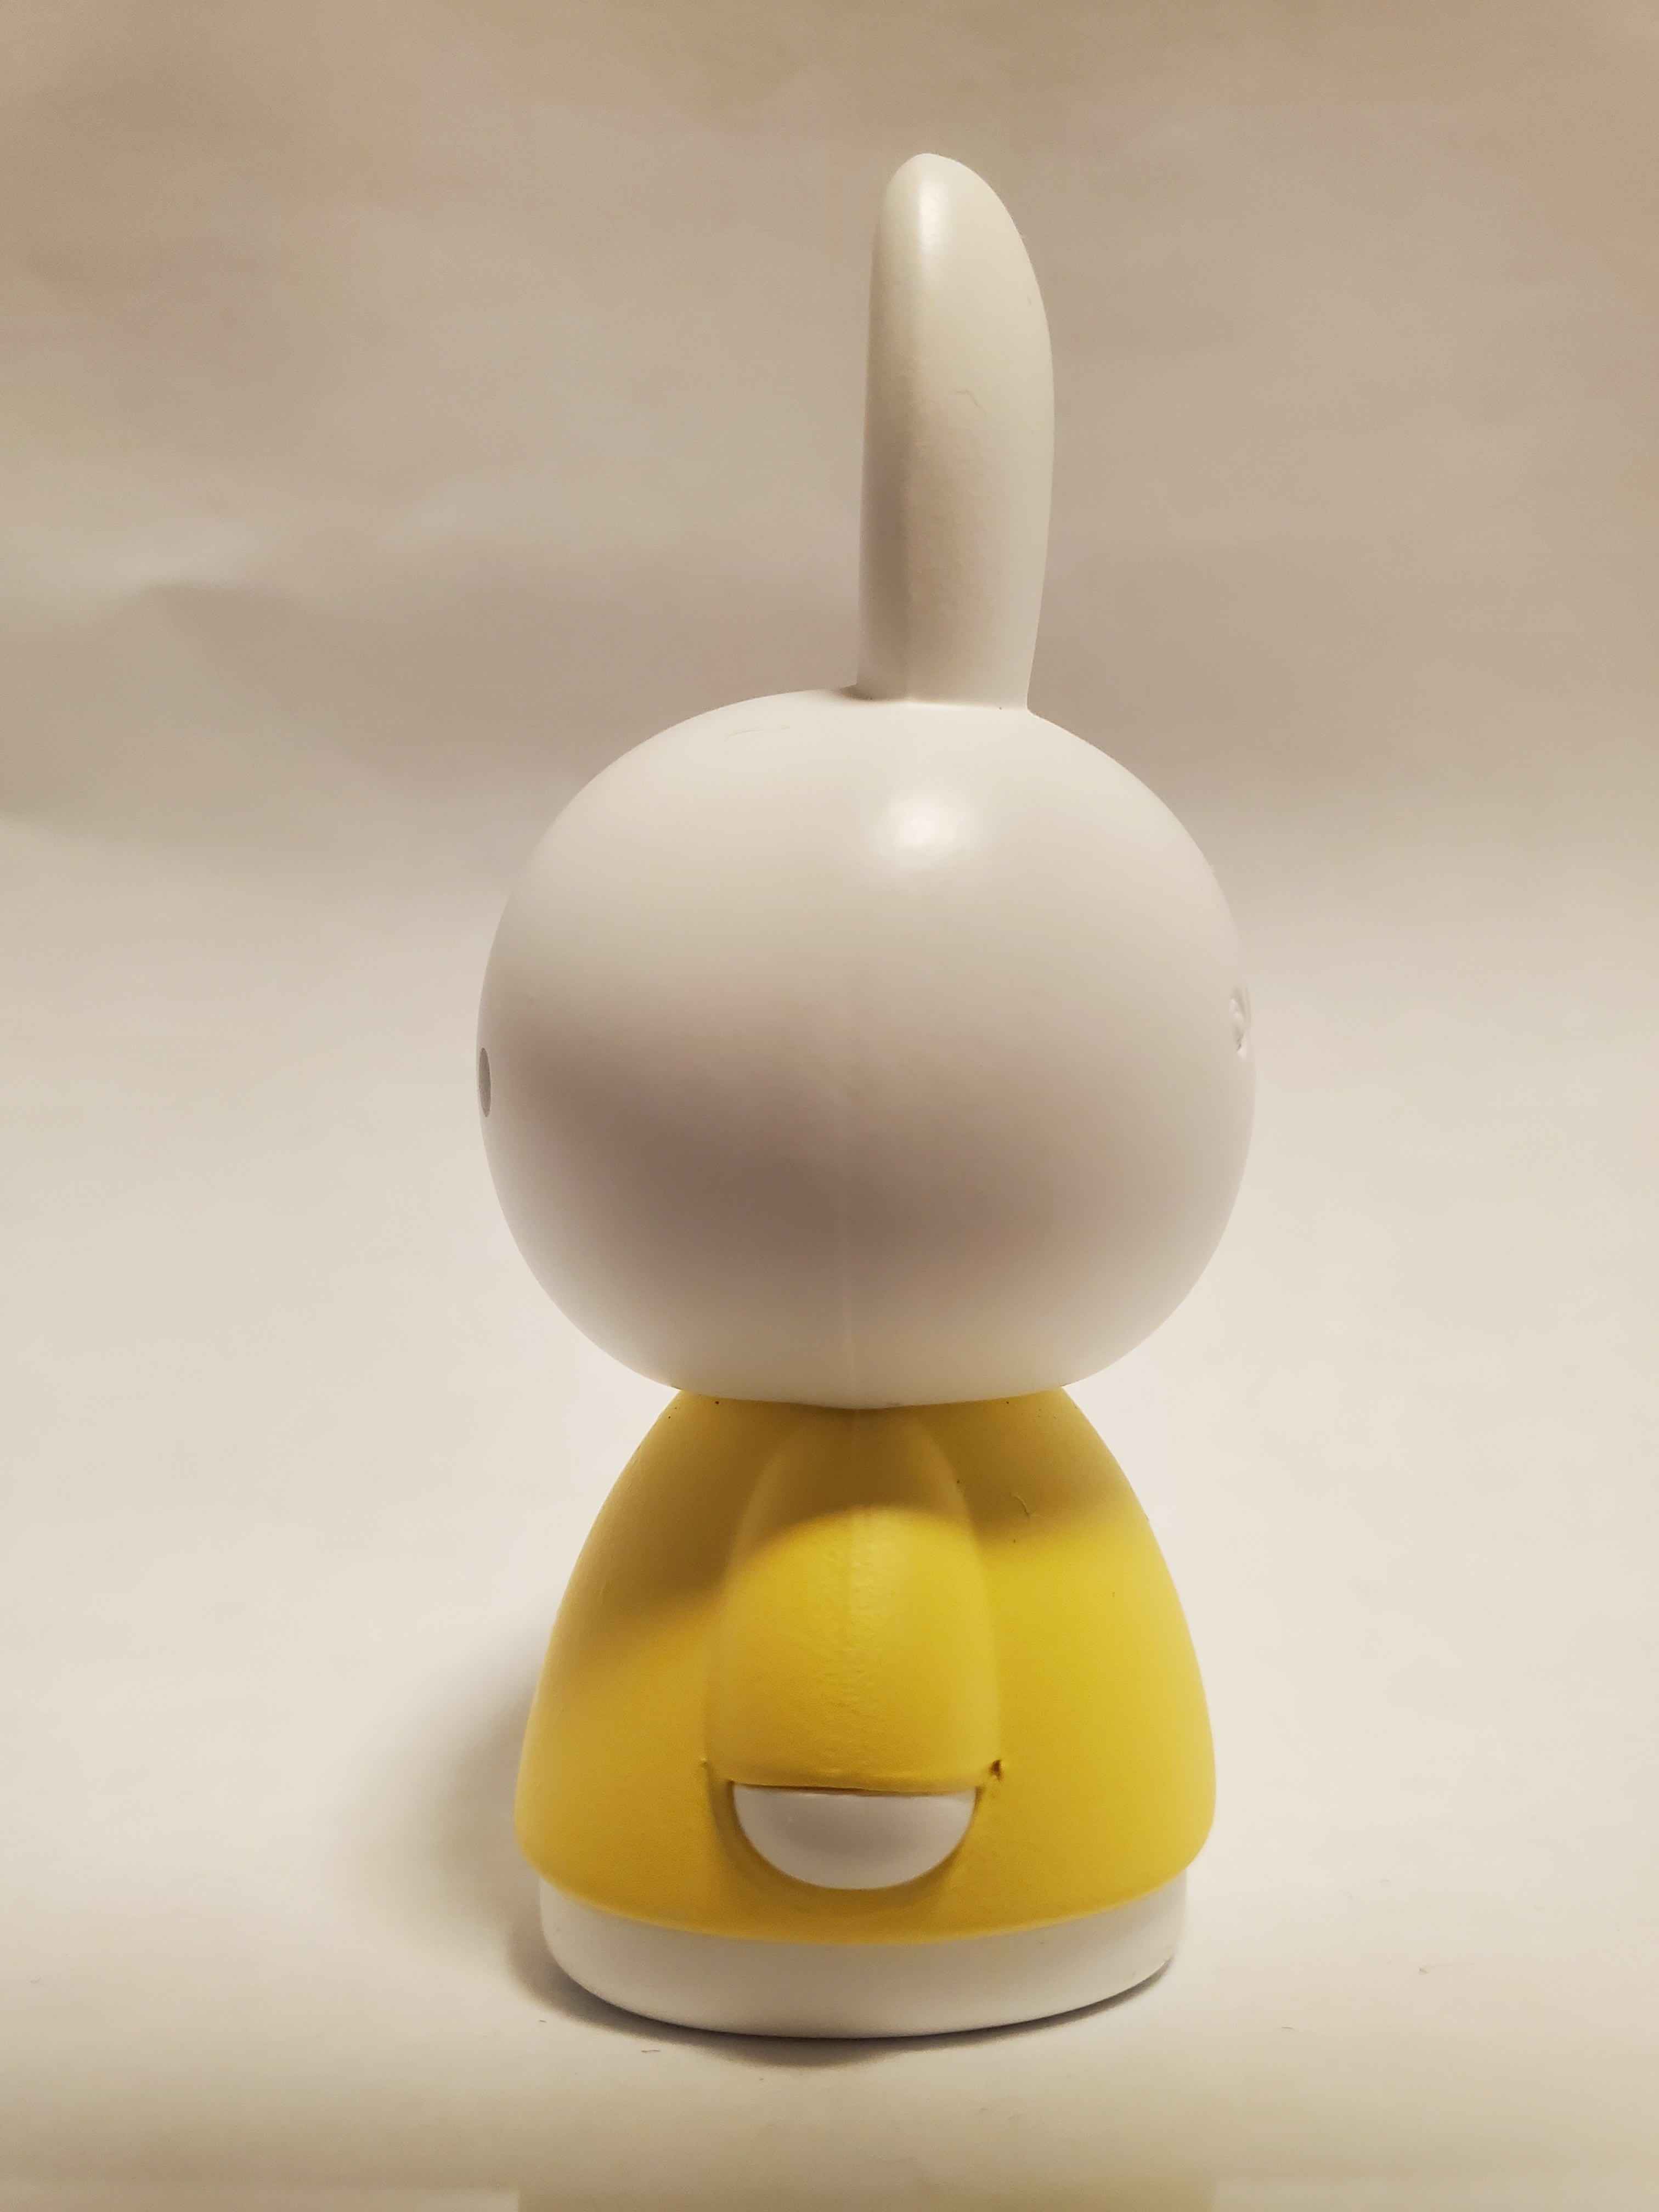
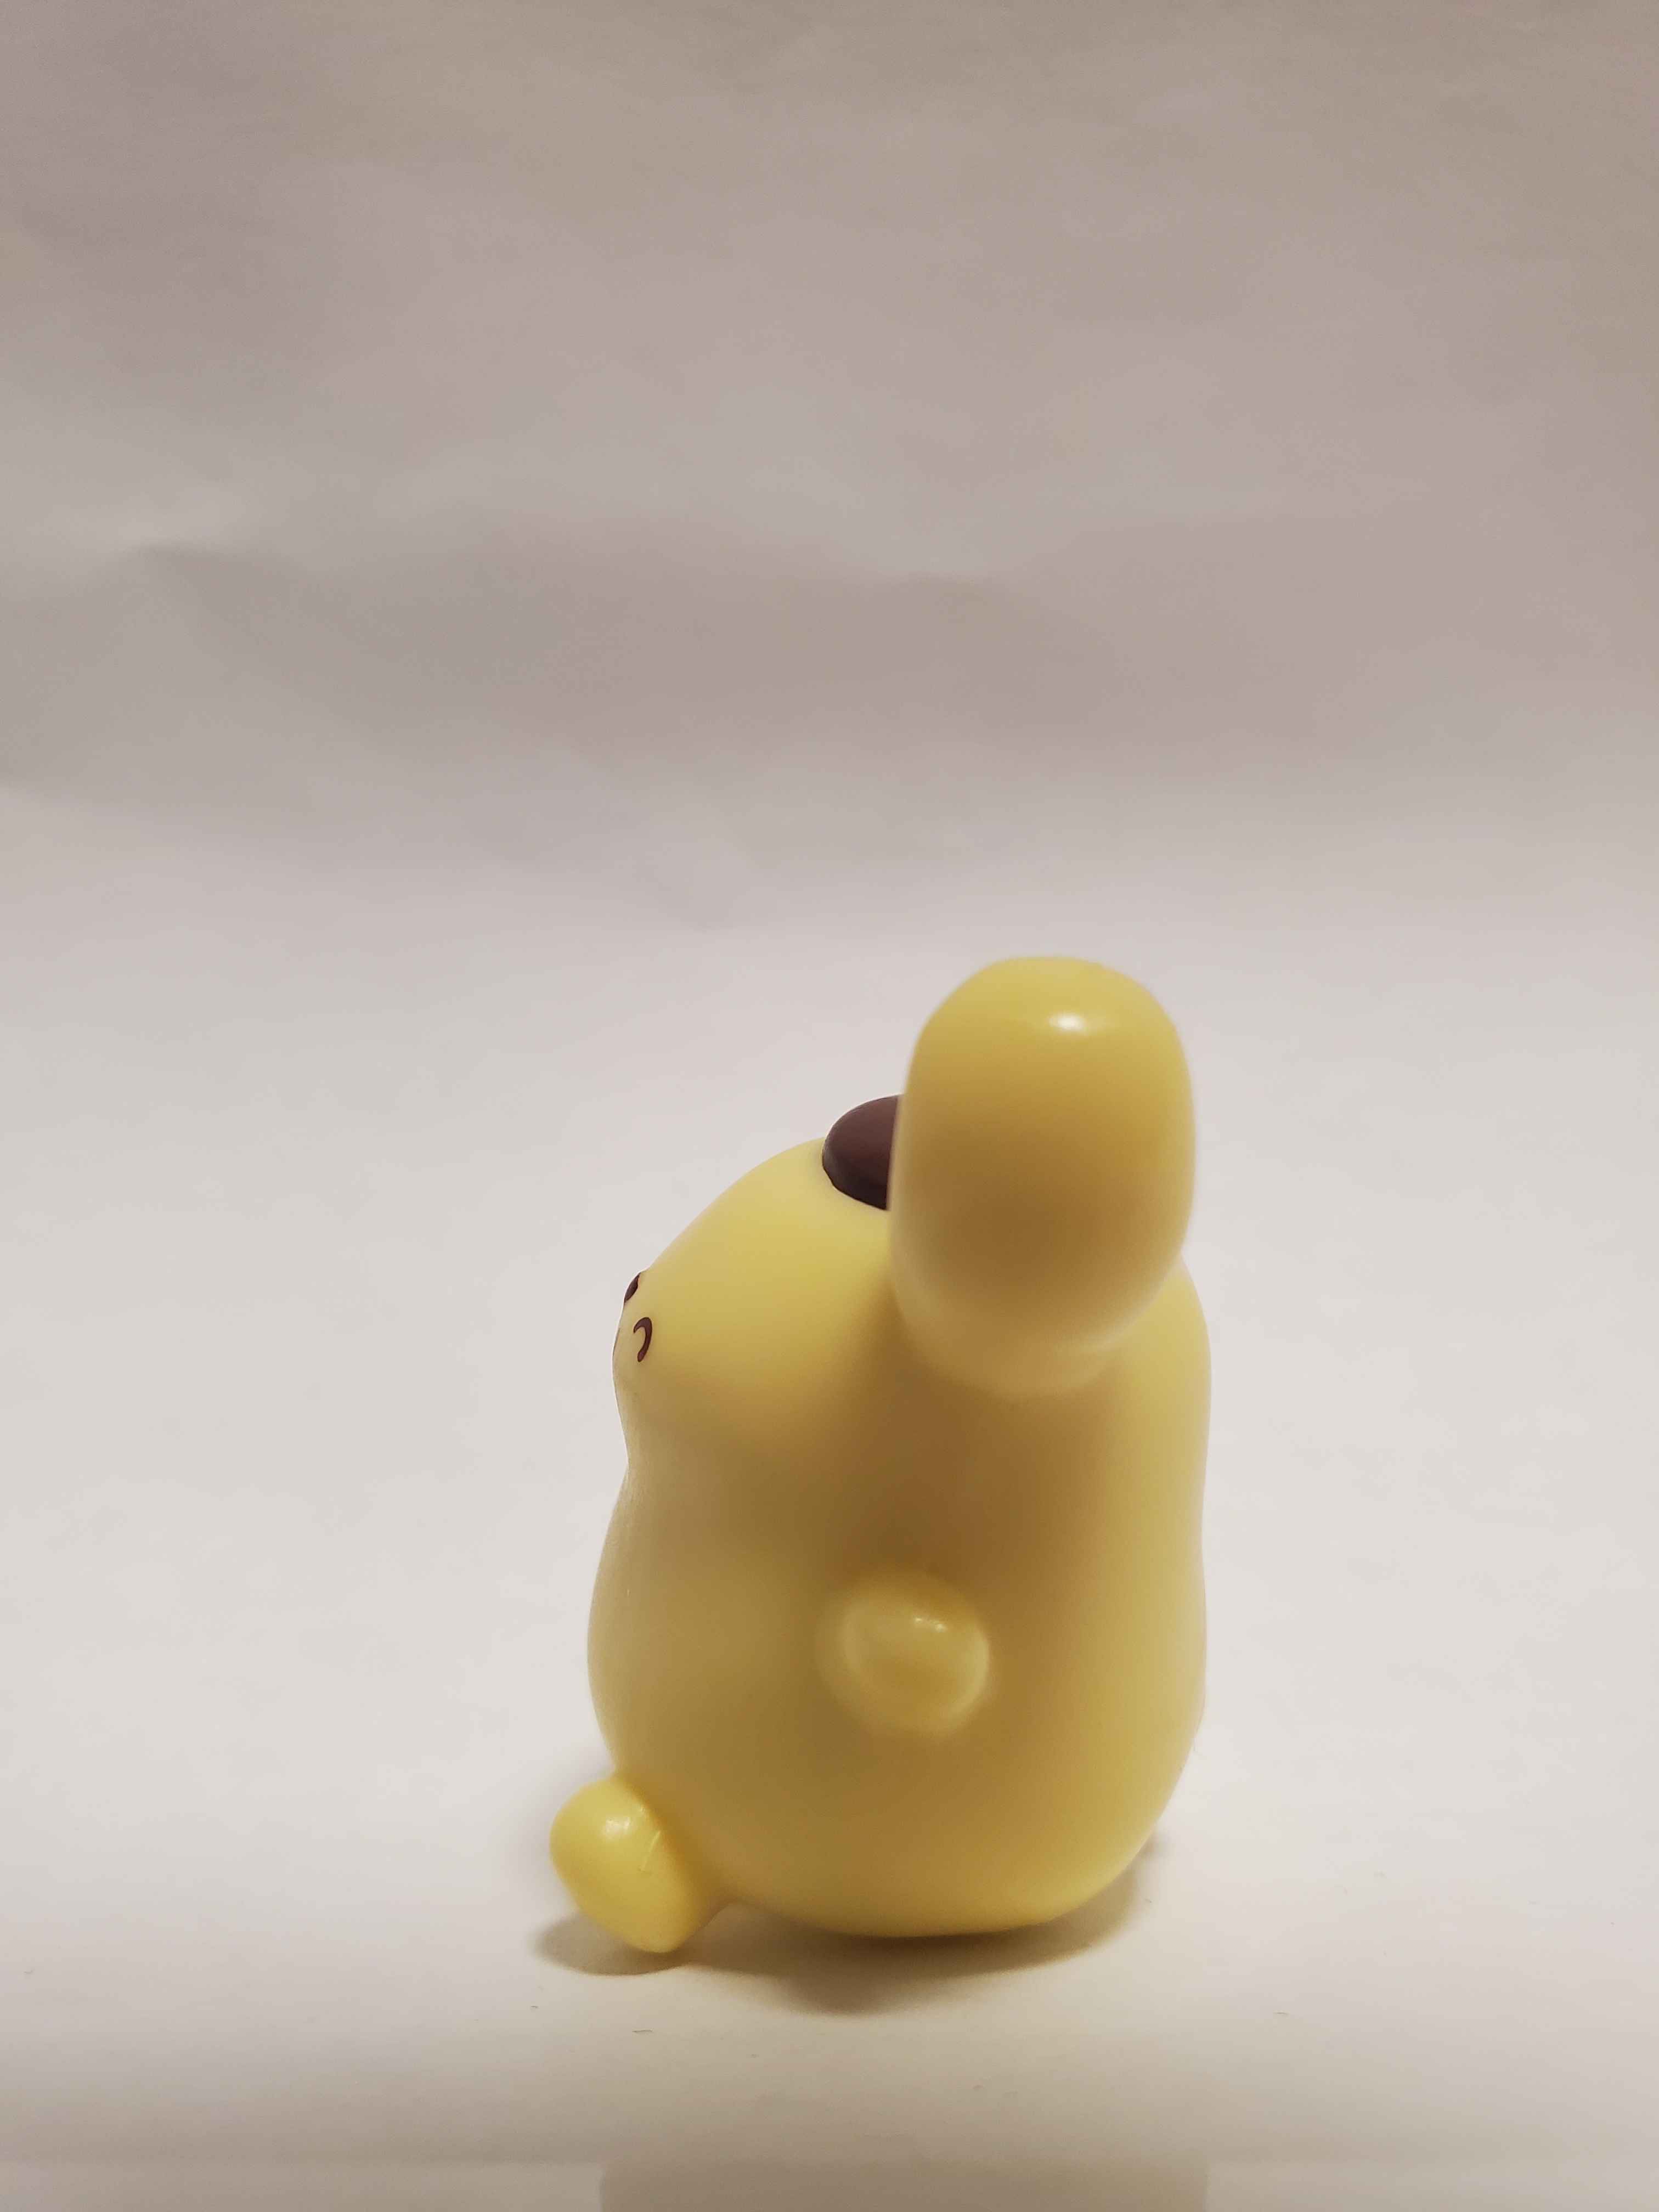
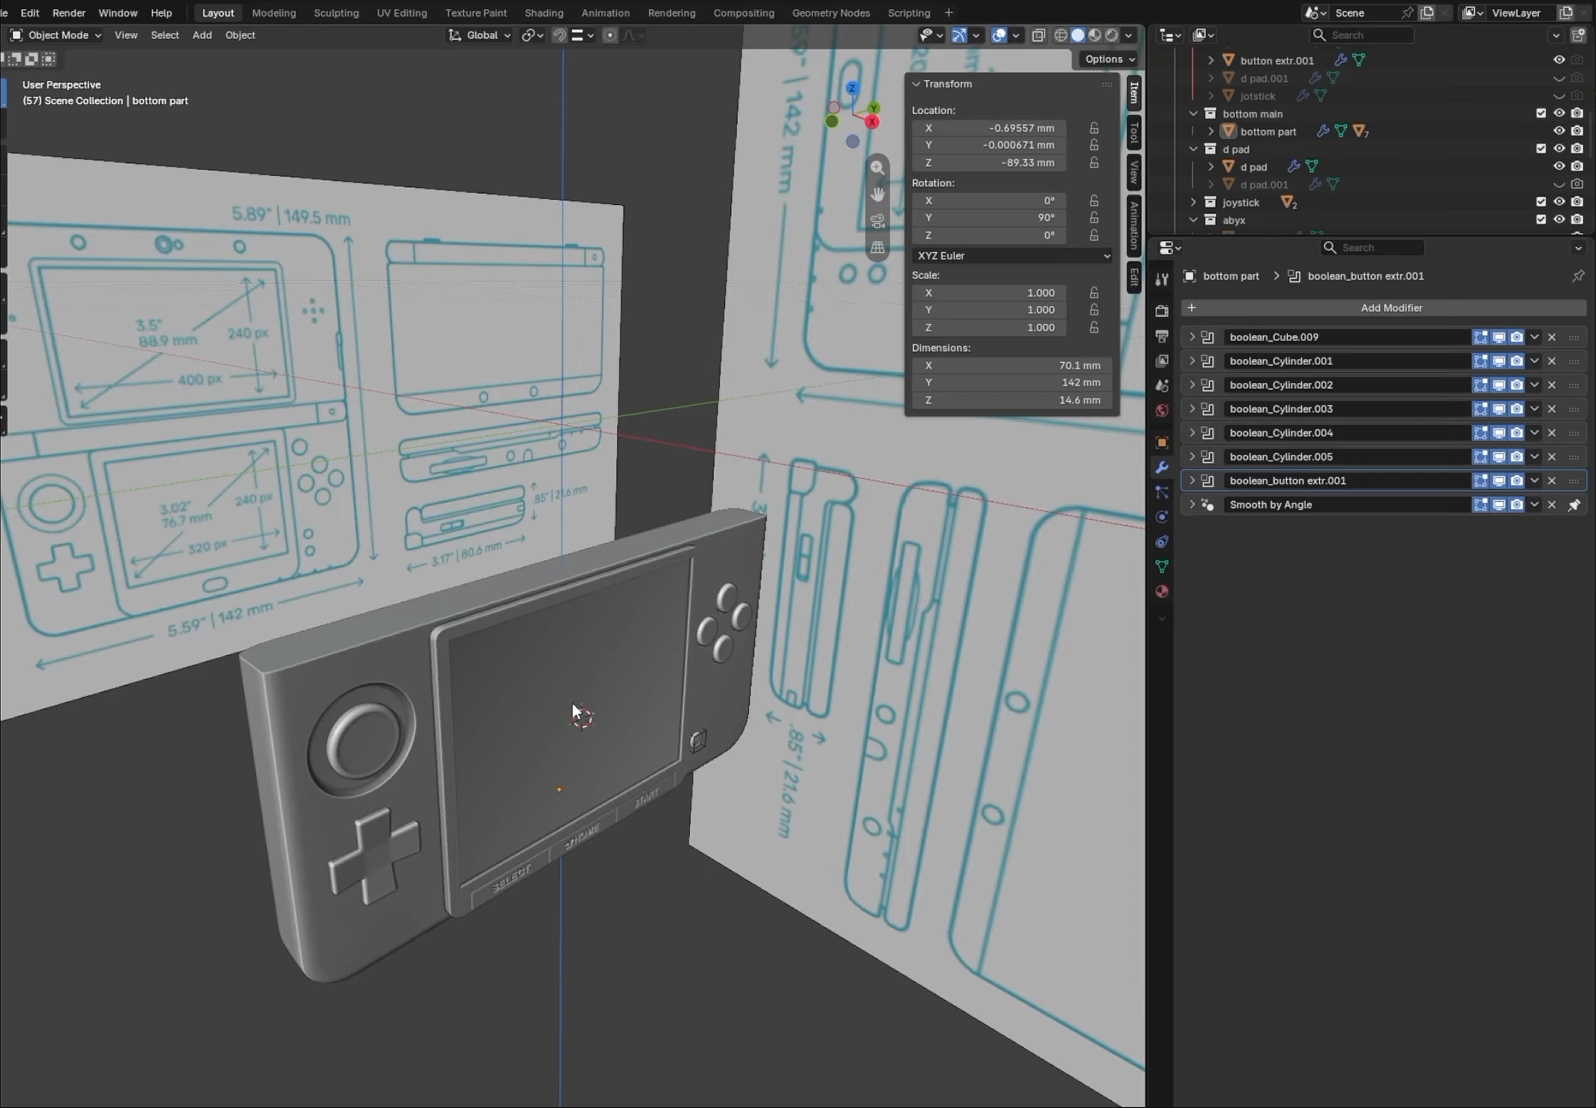
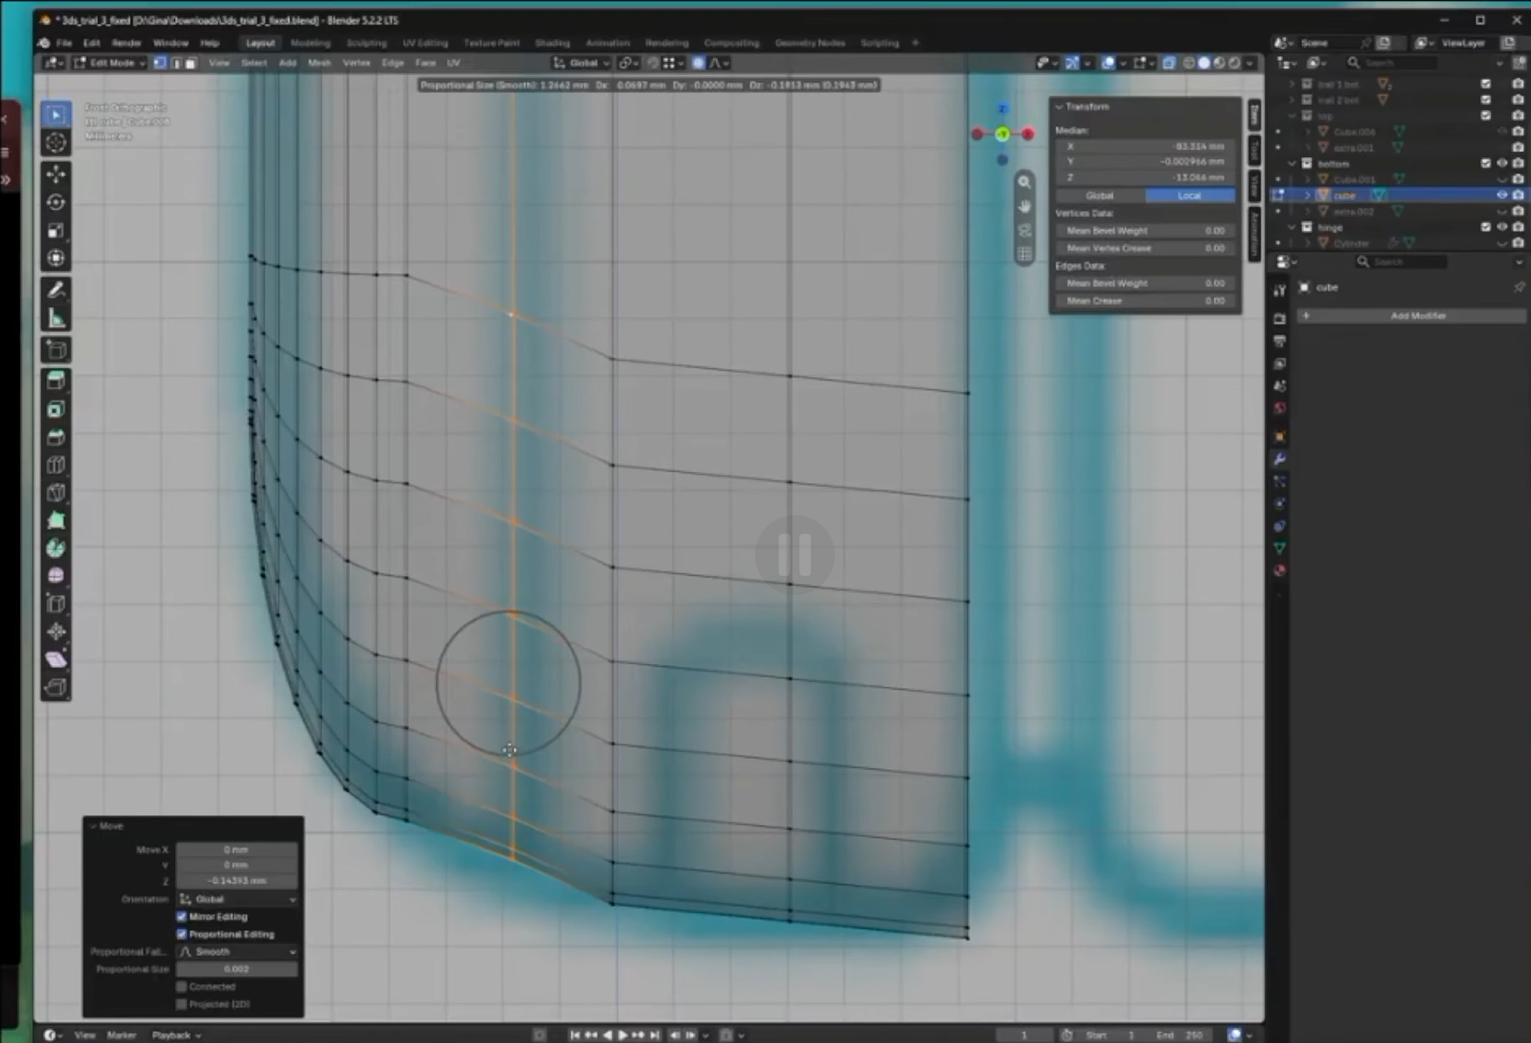
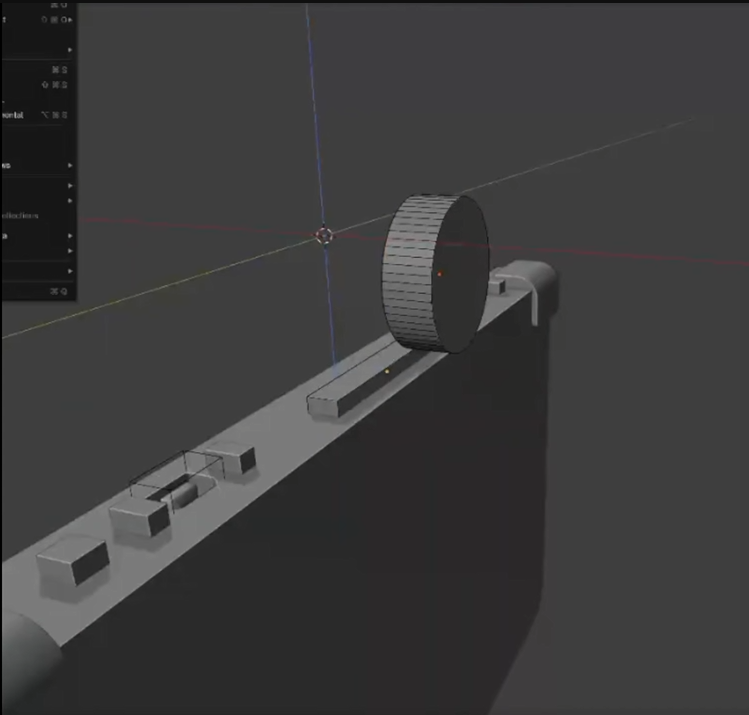
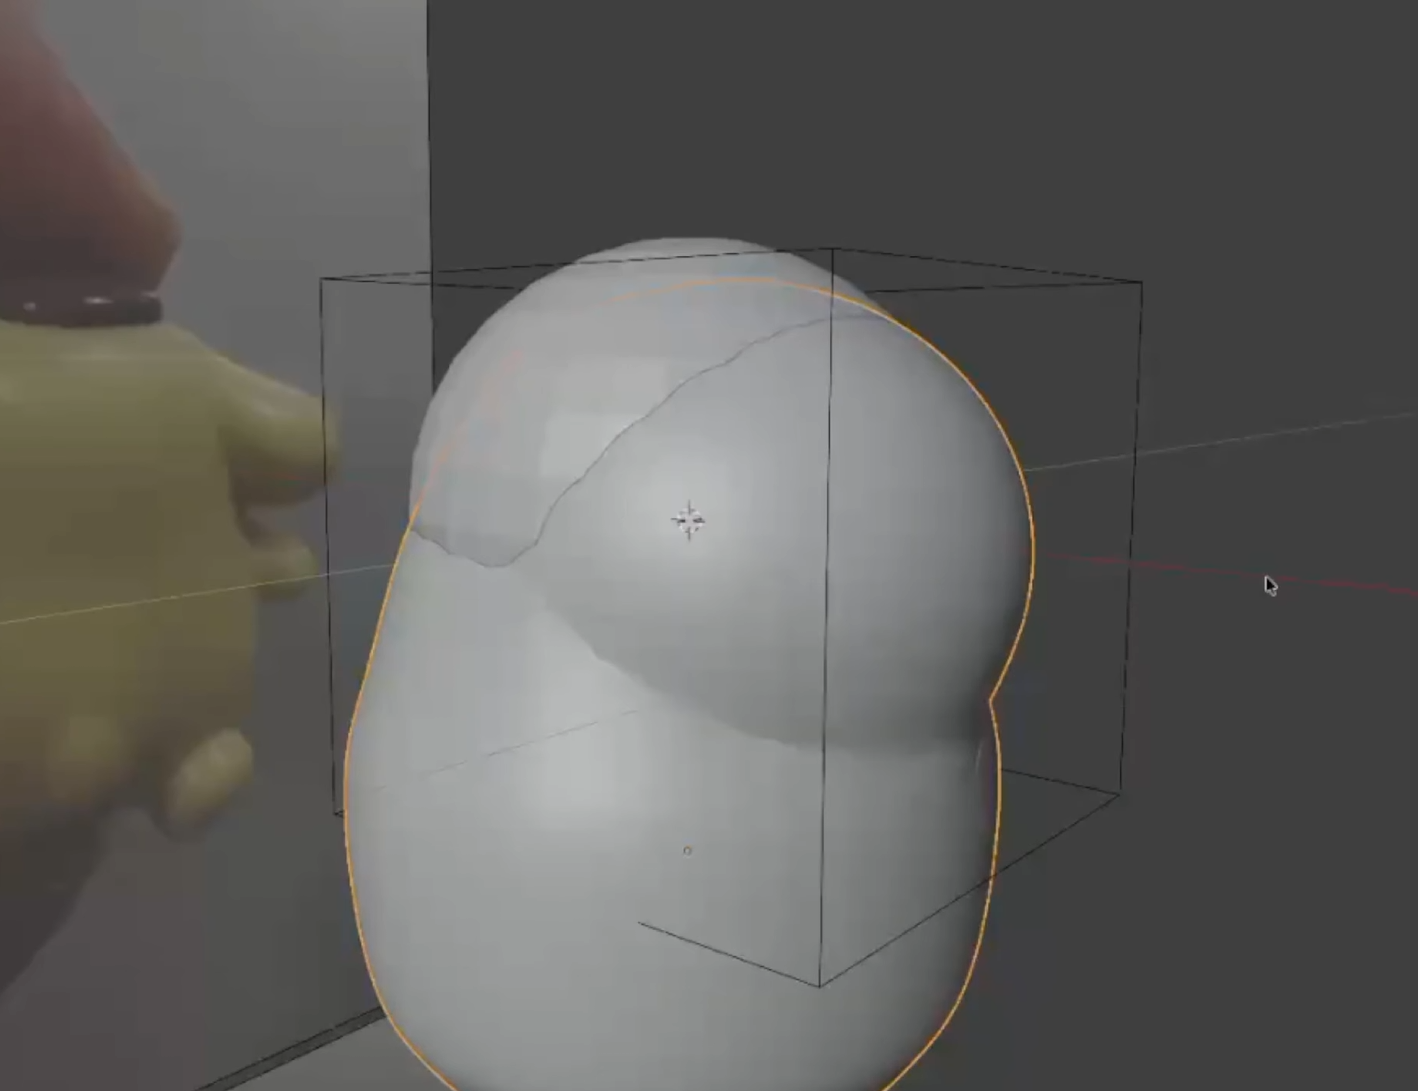
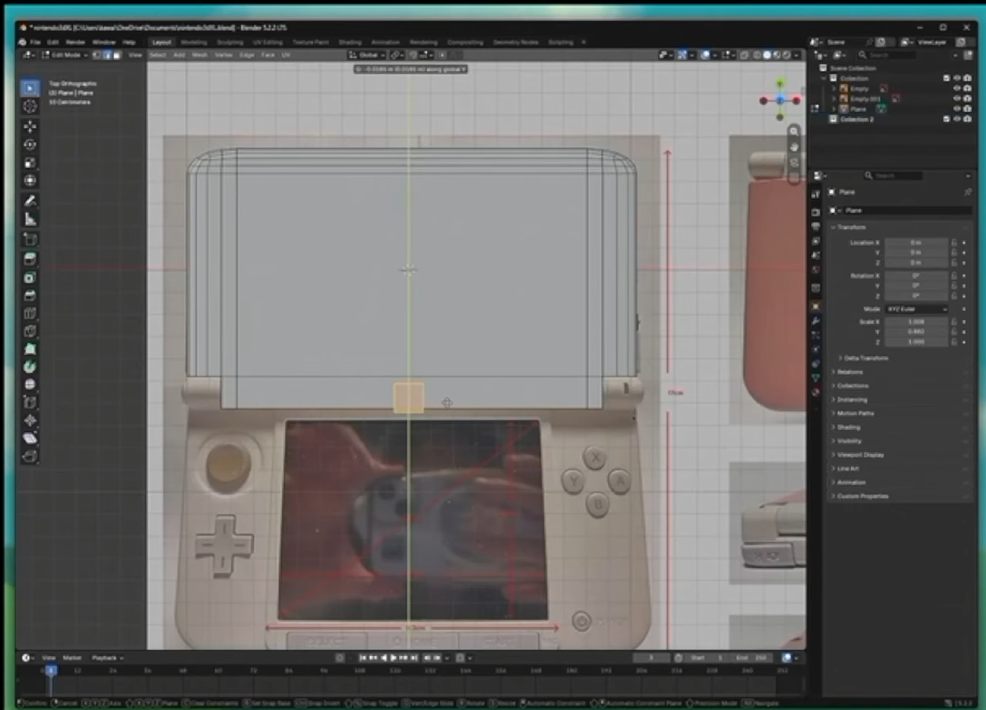
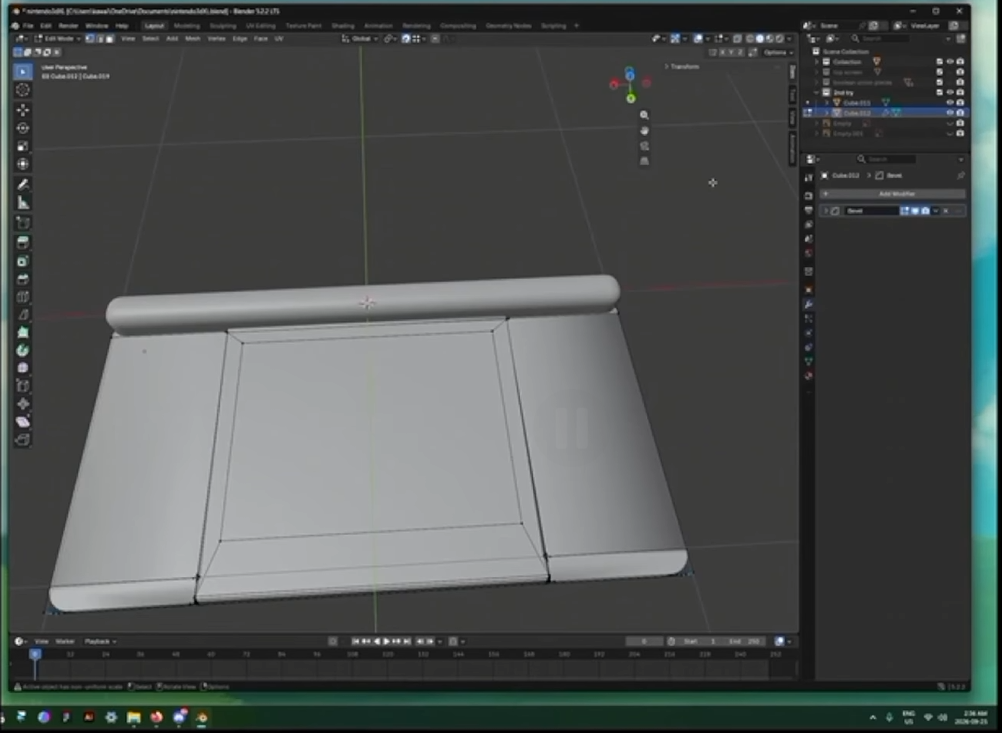
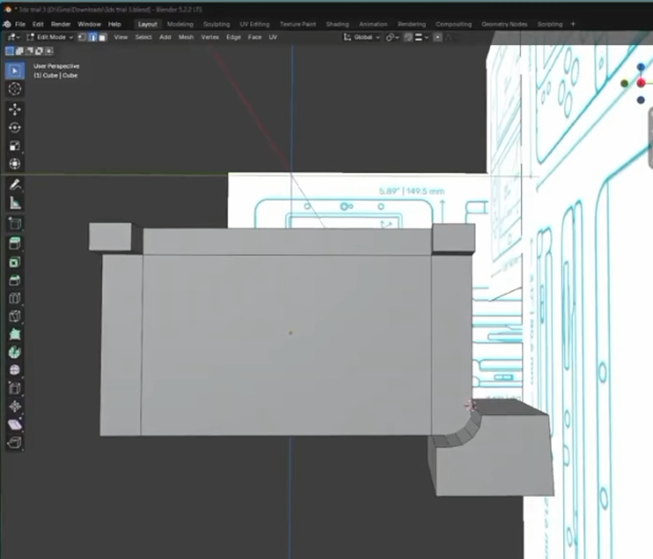
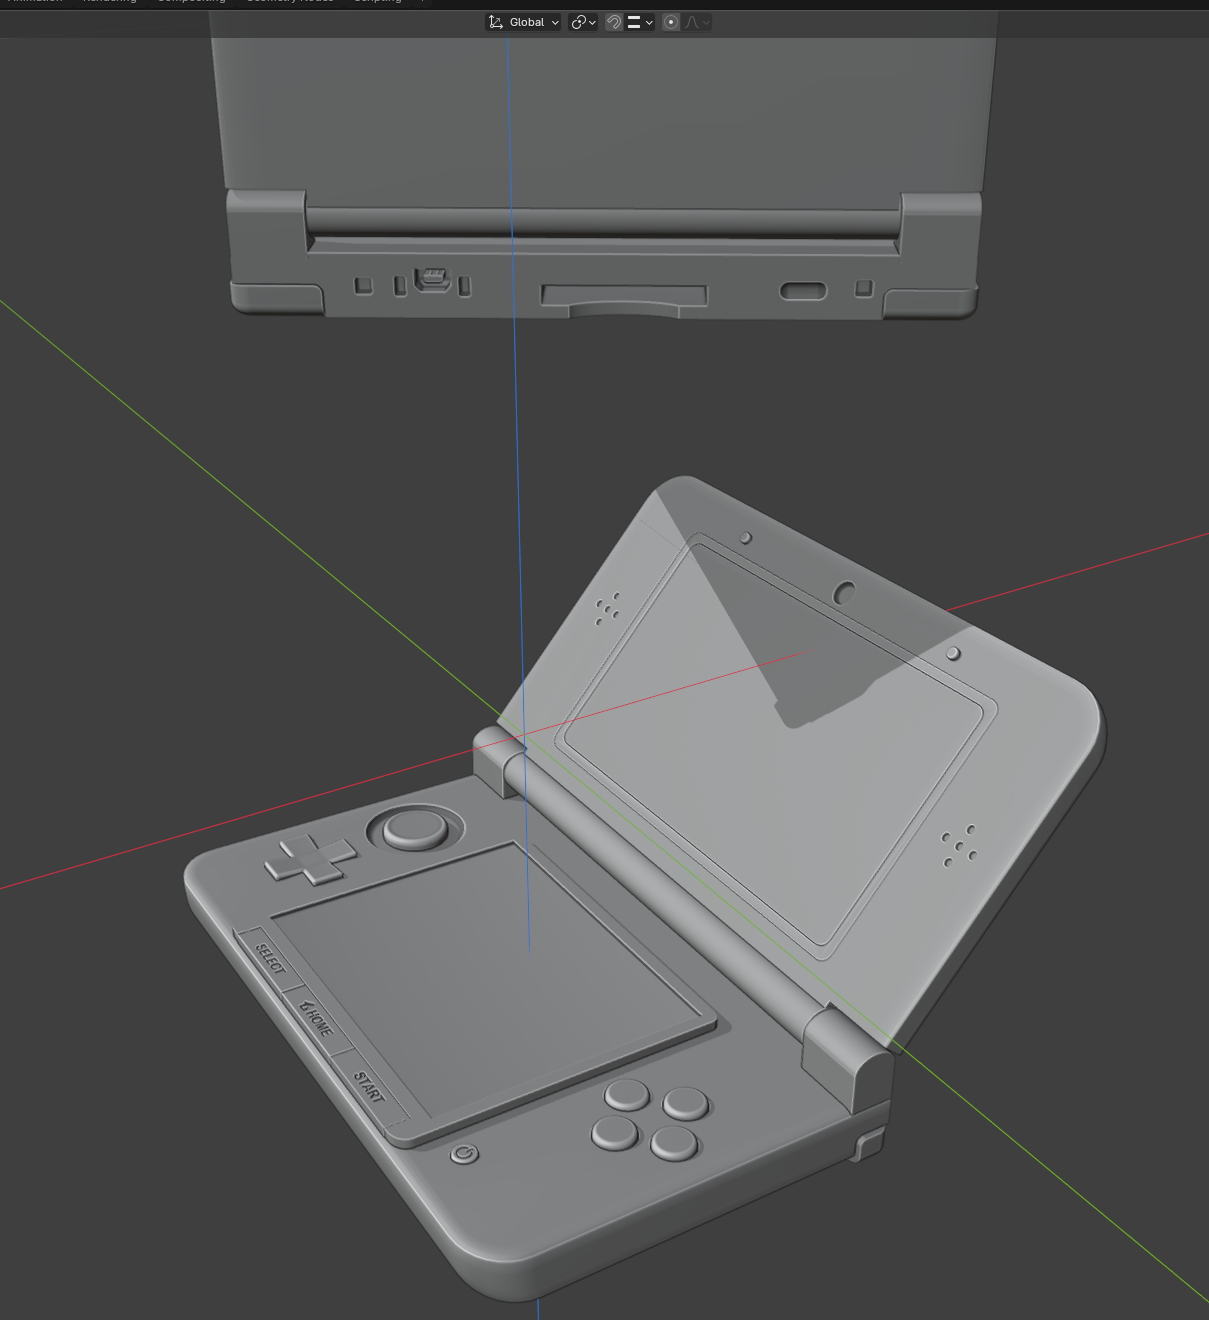
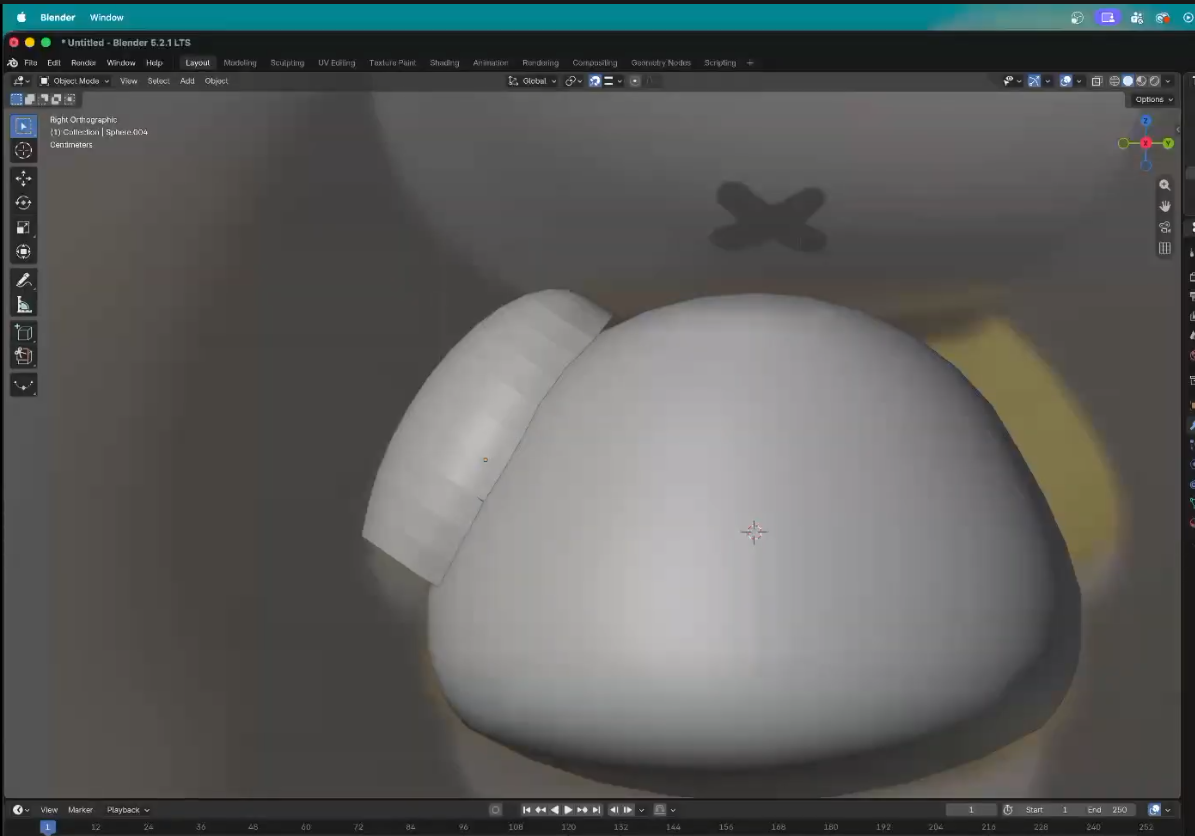
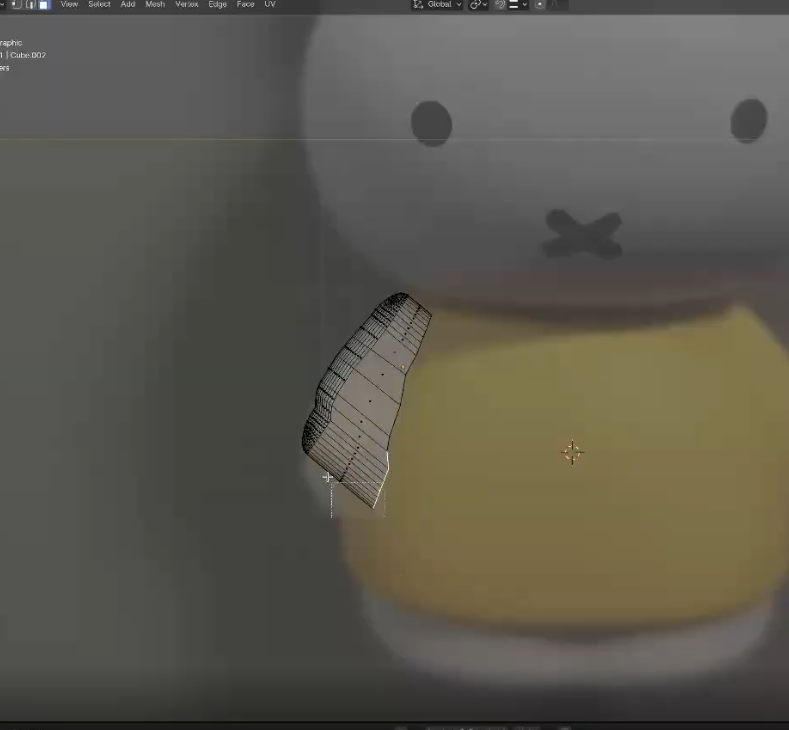
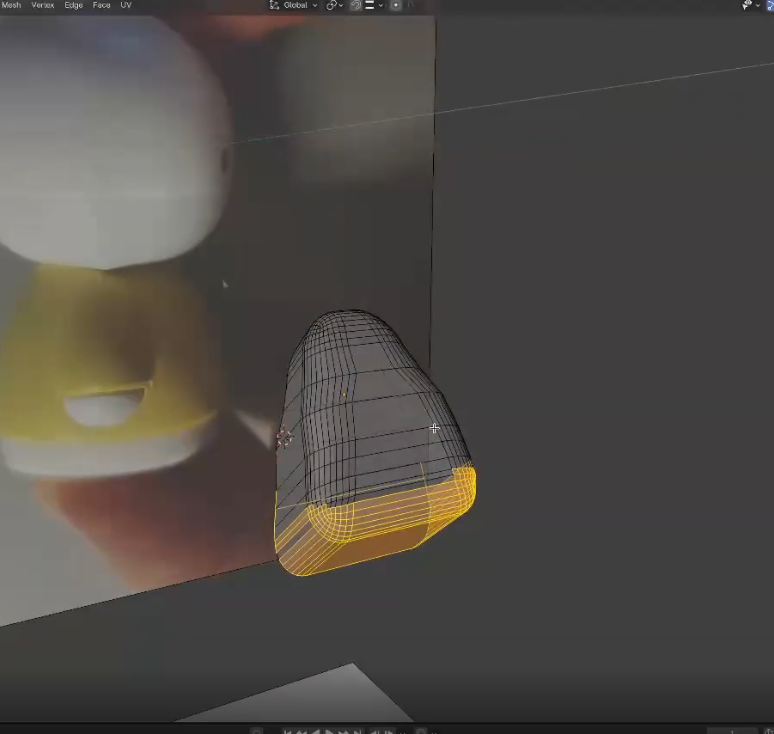
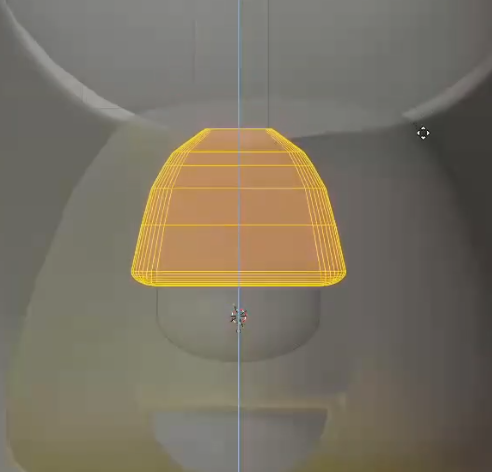
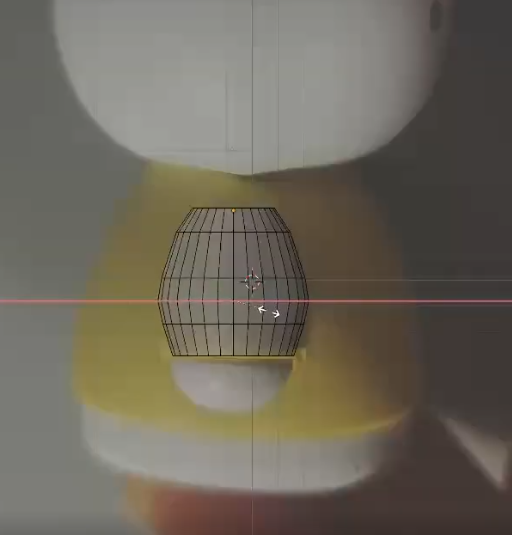
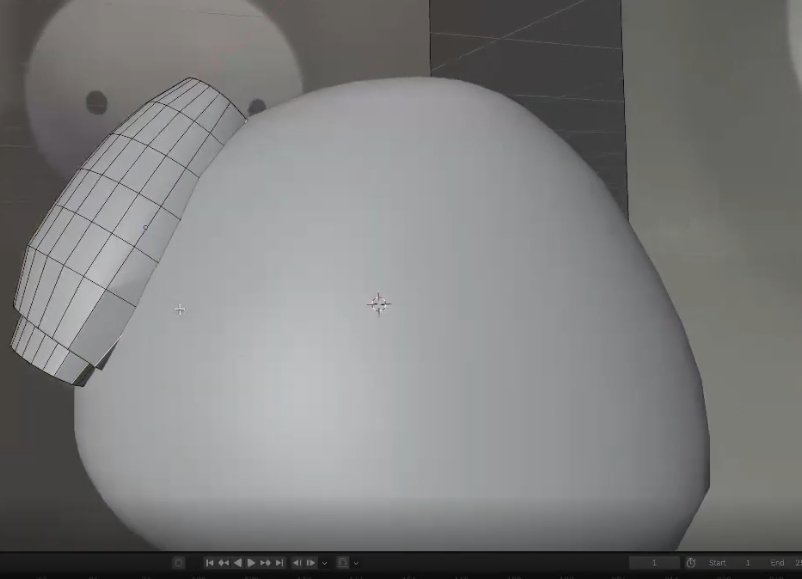
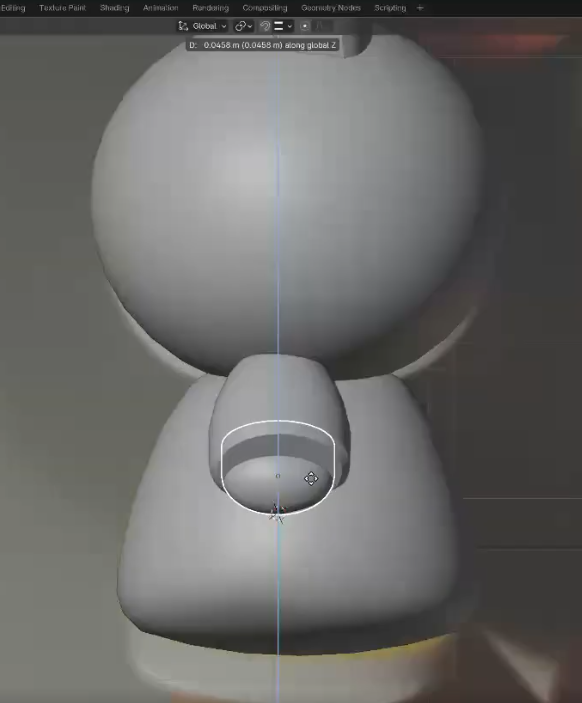
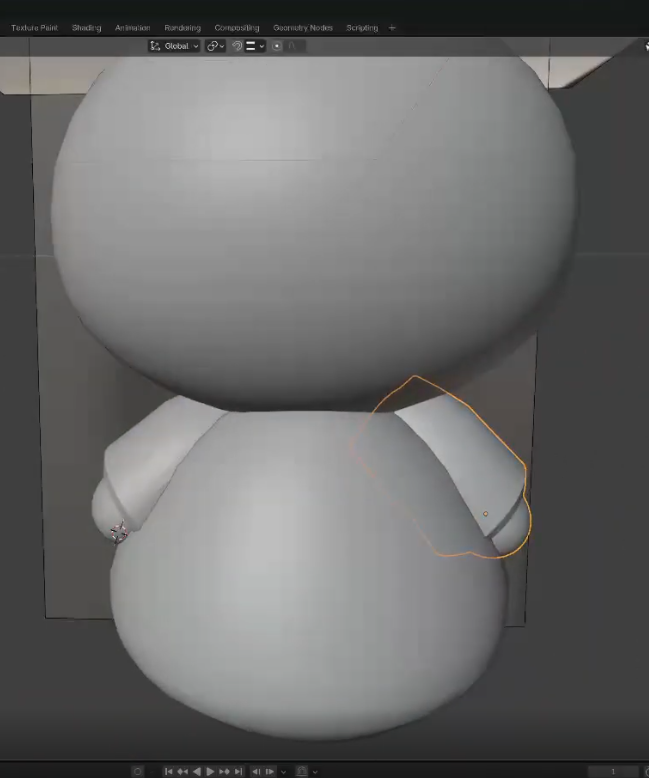
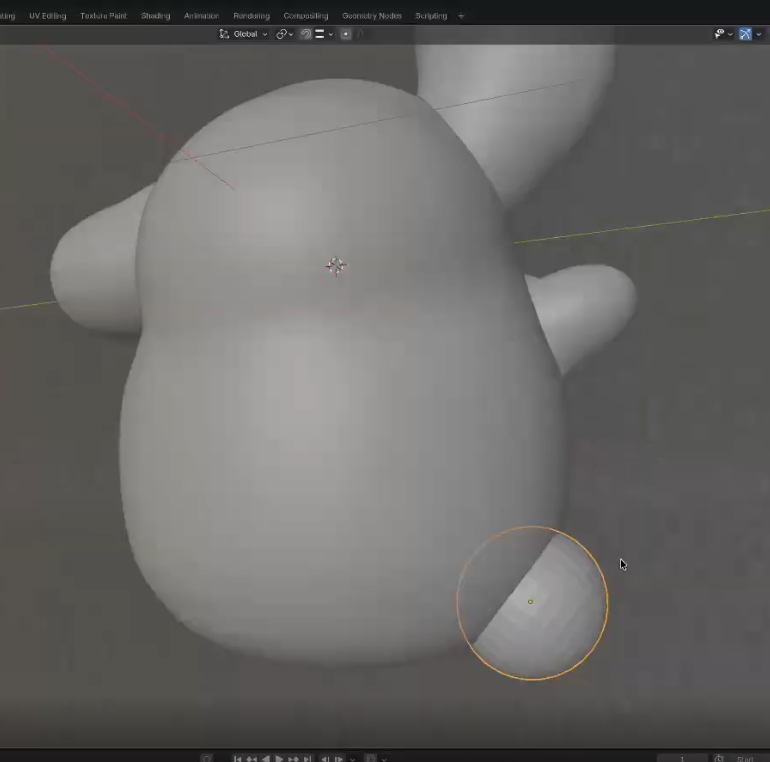
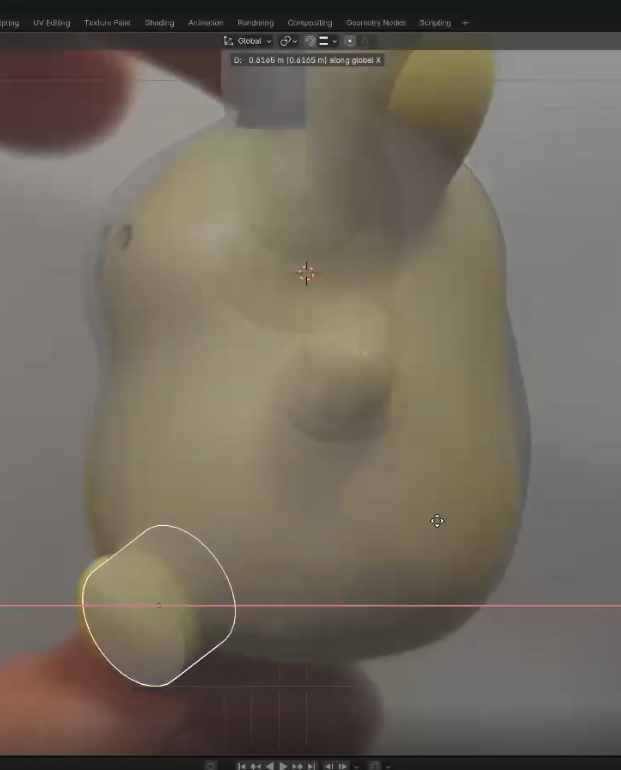
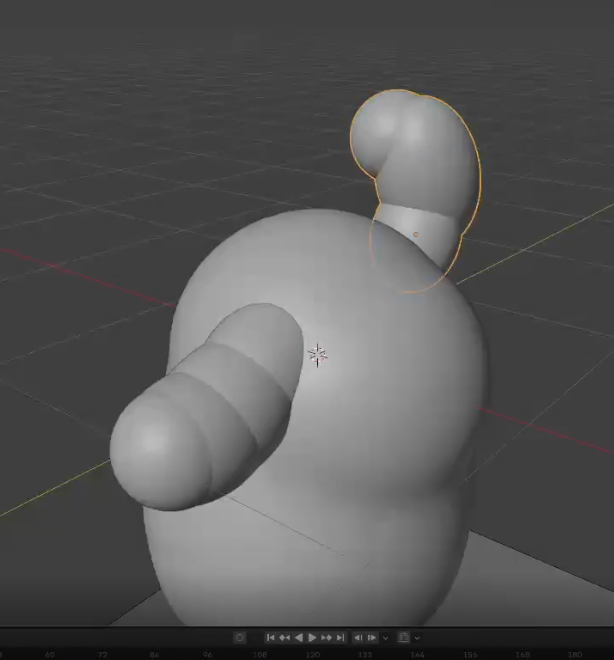
3ds back view 3ds fully open front view Miffy - front view Miffy - side view Pompompurin - front view Pompompurin - side view A youtube video of my process using extrusions to account for the space the hinge sits on <div class='container'><iframe class='responsive-iframe' src='https://www.youtube.com/embed/anewnX96t8k'></iframe></div> A youtube video of my process using loop cuts and proportional editing <div class='container'><iframe class='responsive-iframe' src='https://www.youtube.com/embed/z4_1T00RqiQ'></iframe></div> A youtube video of my process using the difference tool to make detailed engravings on buttons and the back of the 3DS model <div class='container'><iframe class='responsive-iframe' src='https://www.youtube.com/embed/xsb857zqd-I?si=5vespyOxlweWXB1q'></iframe></div> A youtube video of my process modeling Pompompurin using subdivision surfaces <div class='container'><iframe class='responsive-iframe' src='https://www.youtube.com/embed/ROj1vbXj0ns'></iframe></div> A youtube video of my 1st attempt making the 3DS model - very rudimentary attempt focused on understanding structure, explored using bevel tool <div class='container'><iframe class='responsive-iframe' src='https://www.youtube.com/embed/KRgZOq-ht5c'></iframe></div> A youtube video of my 2nd attempt making the 3DS model - explored loop cuts and learning to break up object into main components (bottom, hinge, top) <div class='container'><iframe class='responsive-iframe' src='https://www.youtube.com/embed/rMQXpJqdo9w'></iframe></div> A youtube video of my 3rd attempt at making the 3DS model - introduced to subtracting shapes to create new complex shapes <div class='container'><iframe class='responsive-iframe' src='https://www.youtube.com/embed/anewnX96t8k'></iframe></div> A youtube video of my final attempt at making the 3DS model - refined shape using Bool Tool <div class='container'><iframe class='responsive-iframe' src='https://www.youtube.com/embed/q7SgxAFA-8A?si=azab_QnazrtqfNx7'></iframe></div> 1st iteration of Miffy's arm starting with a sphere - hard to get same curvature as body due to more faces 2nd iteration of Miffy's arm starting with a cube - after bevelling, adding loop cuts, and cutting in half, it made it hard to contorl the rotation of each face touching the body without distrupting the top rounded mesh as seen 2nd iteration of Miffy's arm at a different angle = clearer to see that mesh is hard to work with 2nd iteration repeated but I tried to make the mesh of the cube mroe simple, however, it still was hard to create the correct rounded shape when looking at the front view of the arm 3rd iteration of Miffy's arm starting off with a cylinder - more accurately matched curvature of arm and easier to control rotation of edges to match body shape 3rd iteration with cylinder = made it too thin by over scaling and created a weird seam so I started over and made the cylinder shorter and thicker with more intention behind each loop cut and manual adjustment when creating the final arm Final Miffy' arm from the side view - used cylinder as starting shape and rotating each segment by increments. Looking back, I would porbablay try to use a Shink-wrap modifier instead if I were to try to make this object again since it would snap to the shape of the existing body allowing me to easily recreate the shape with lessmanual adjustments A youtube video of my process in modelling Miffy - helped me navigate making more complex shapes compared to the 3DS XL <div class='container'><iframe class='responsive-iframe' src='https://www.youtube.com/embed/xjYzycLormE?si=7Neu4as3d--Veoc-'></iframe></div> 1st iteration of making Pompompurin legs = started off with a sphere but on closer inspection I realized that the shape of the legs match closer to a rounded cylinder. Final form of Pompompurin's legs = adjusted with bevels, scaling and rotating to match the angle and curvature of the legs A youtube video of my process in modelling Pompompurin - allowed me to discover new techniques to create complex forms. Which was by stacking and arranging spheres to create the silouette of a form. Then, using the Sculp and Render tools I was able to create seamless transitions between the combined objects. <div class='container'><iframe class='responsive-iframe' src='https://www.youtube.com/embed/How2A1HPp88?si=sLhm8rtPDHy2dZ-8'></iframe></div>

Material Workshop 1

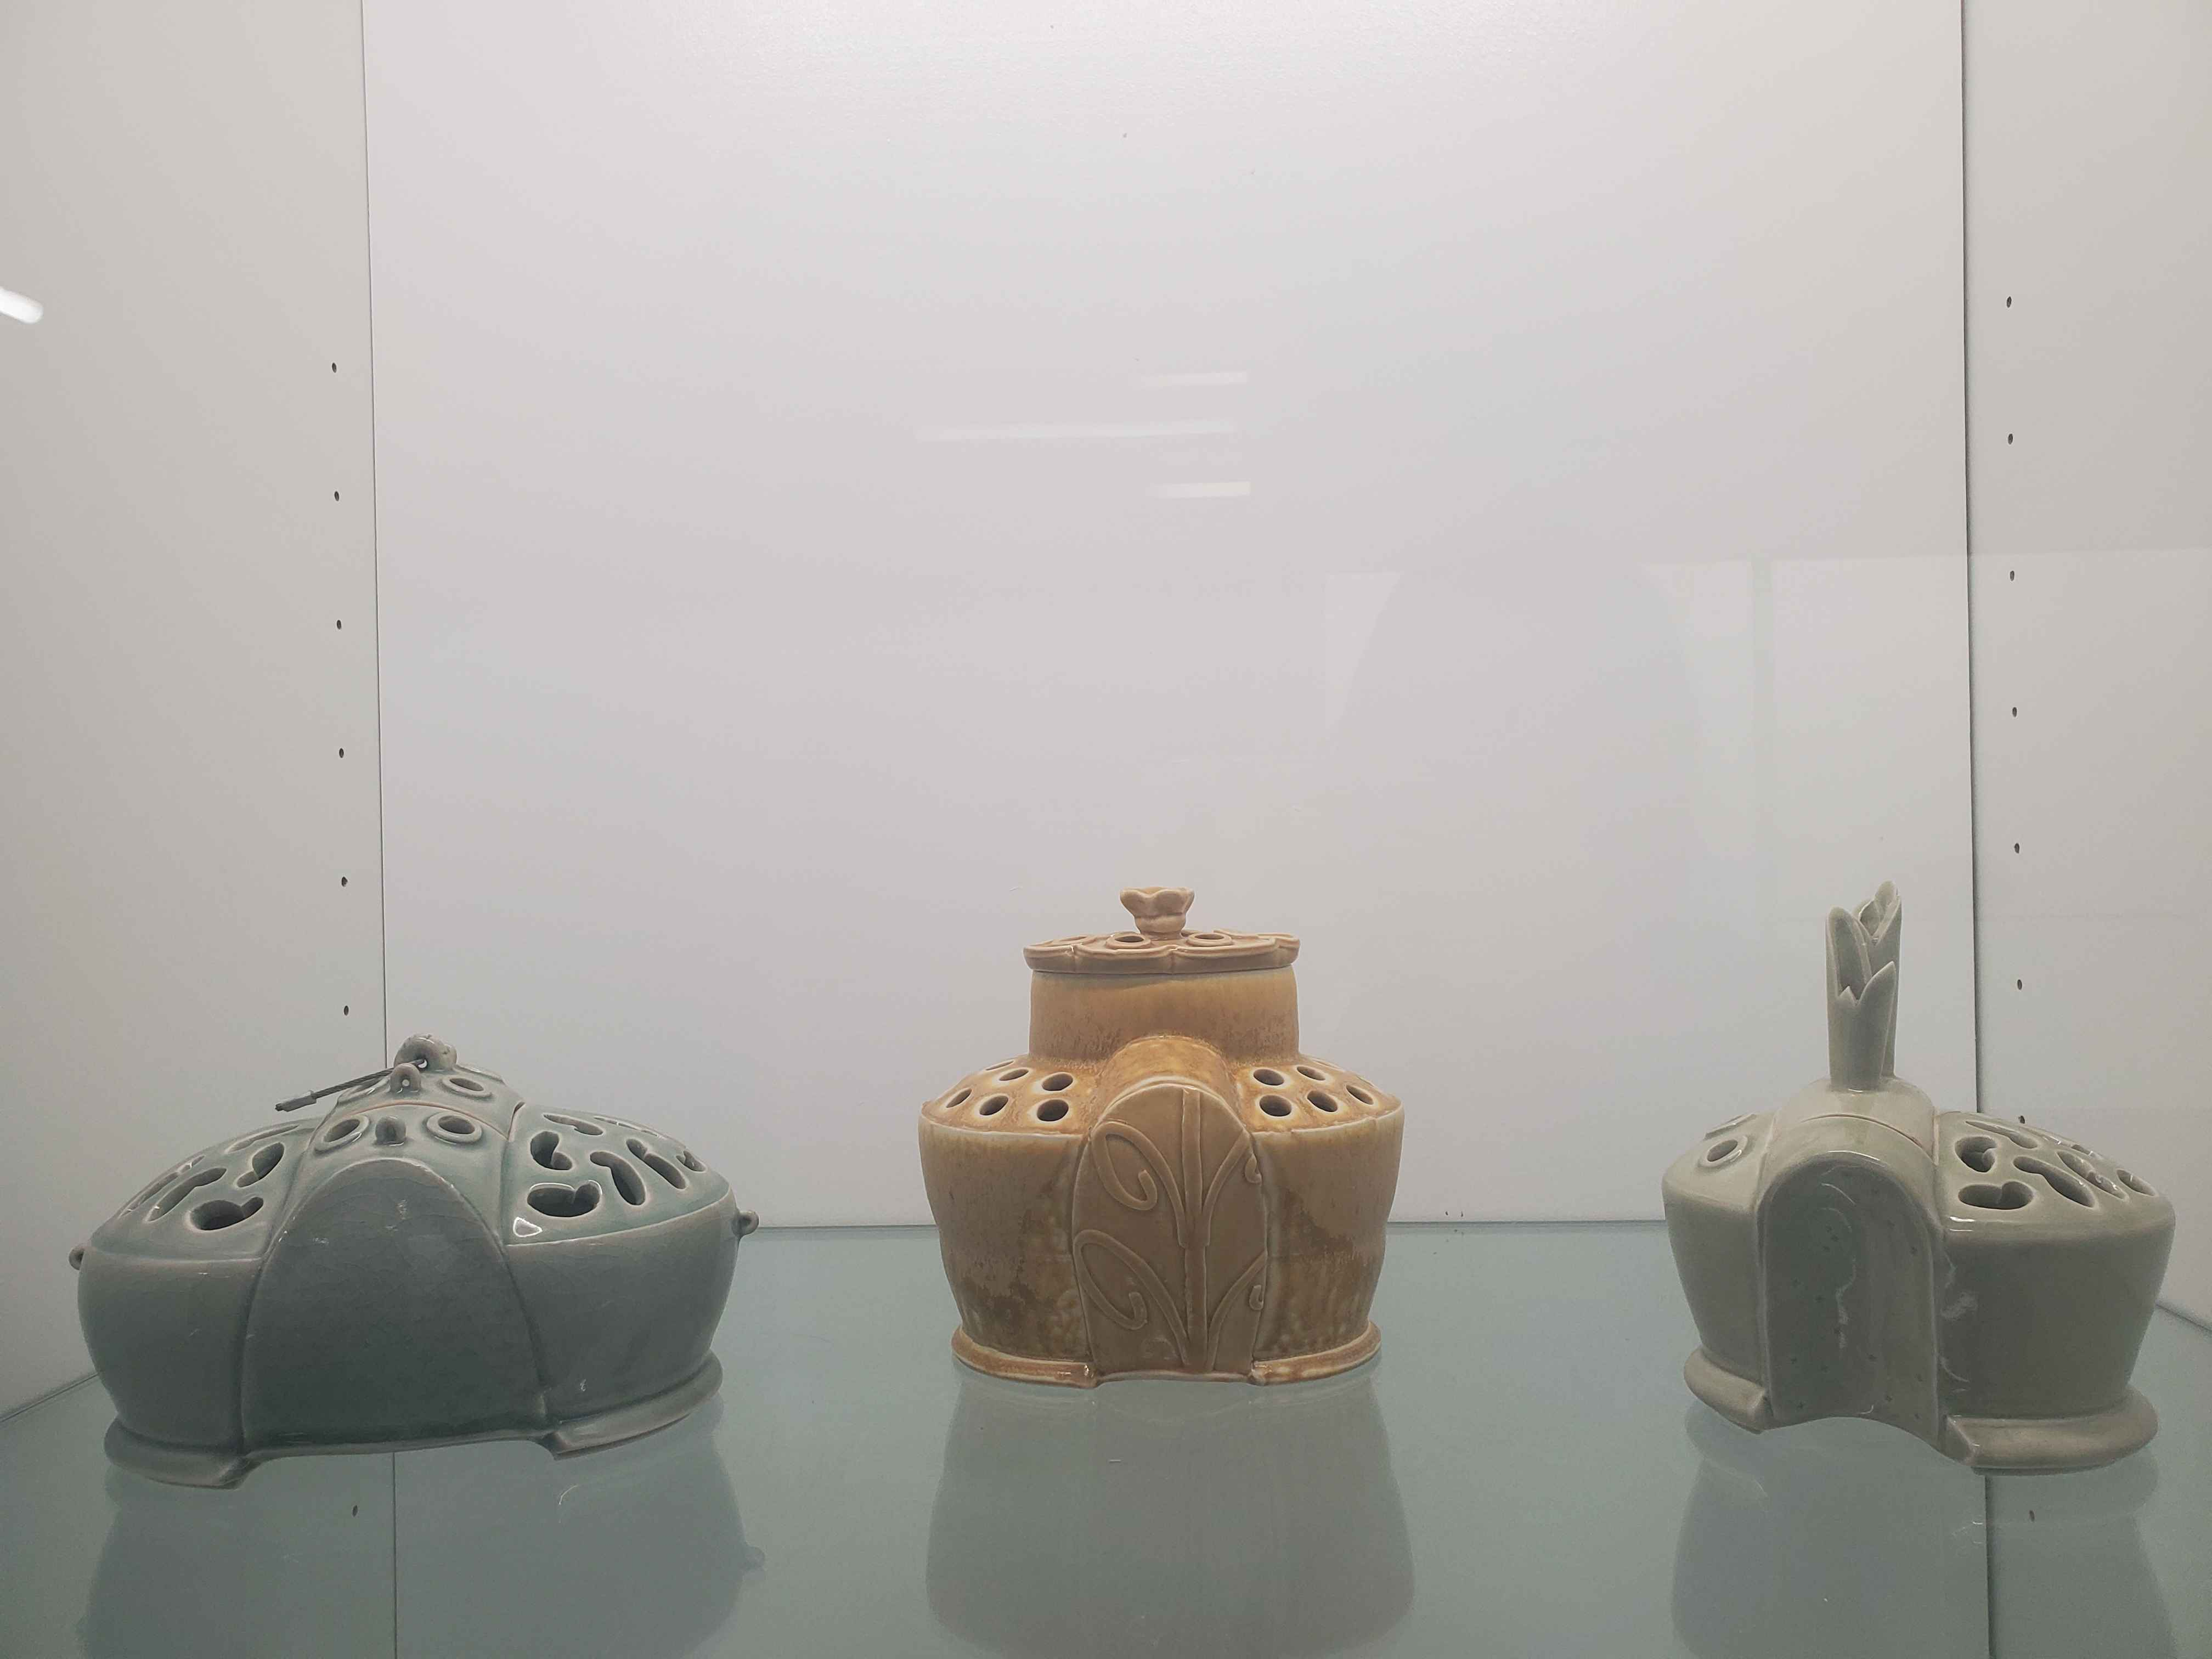
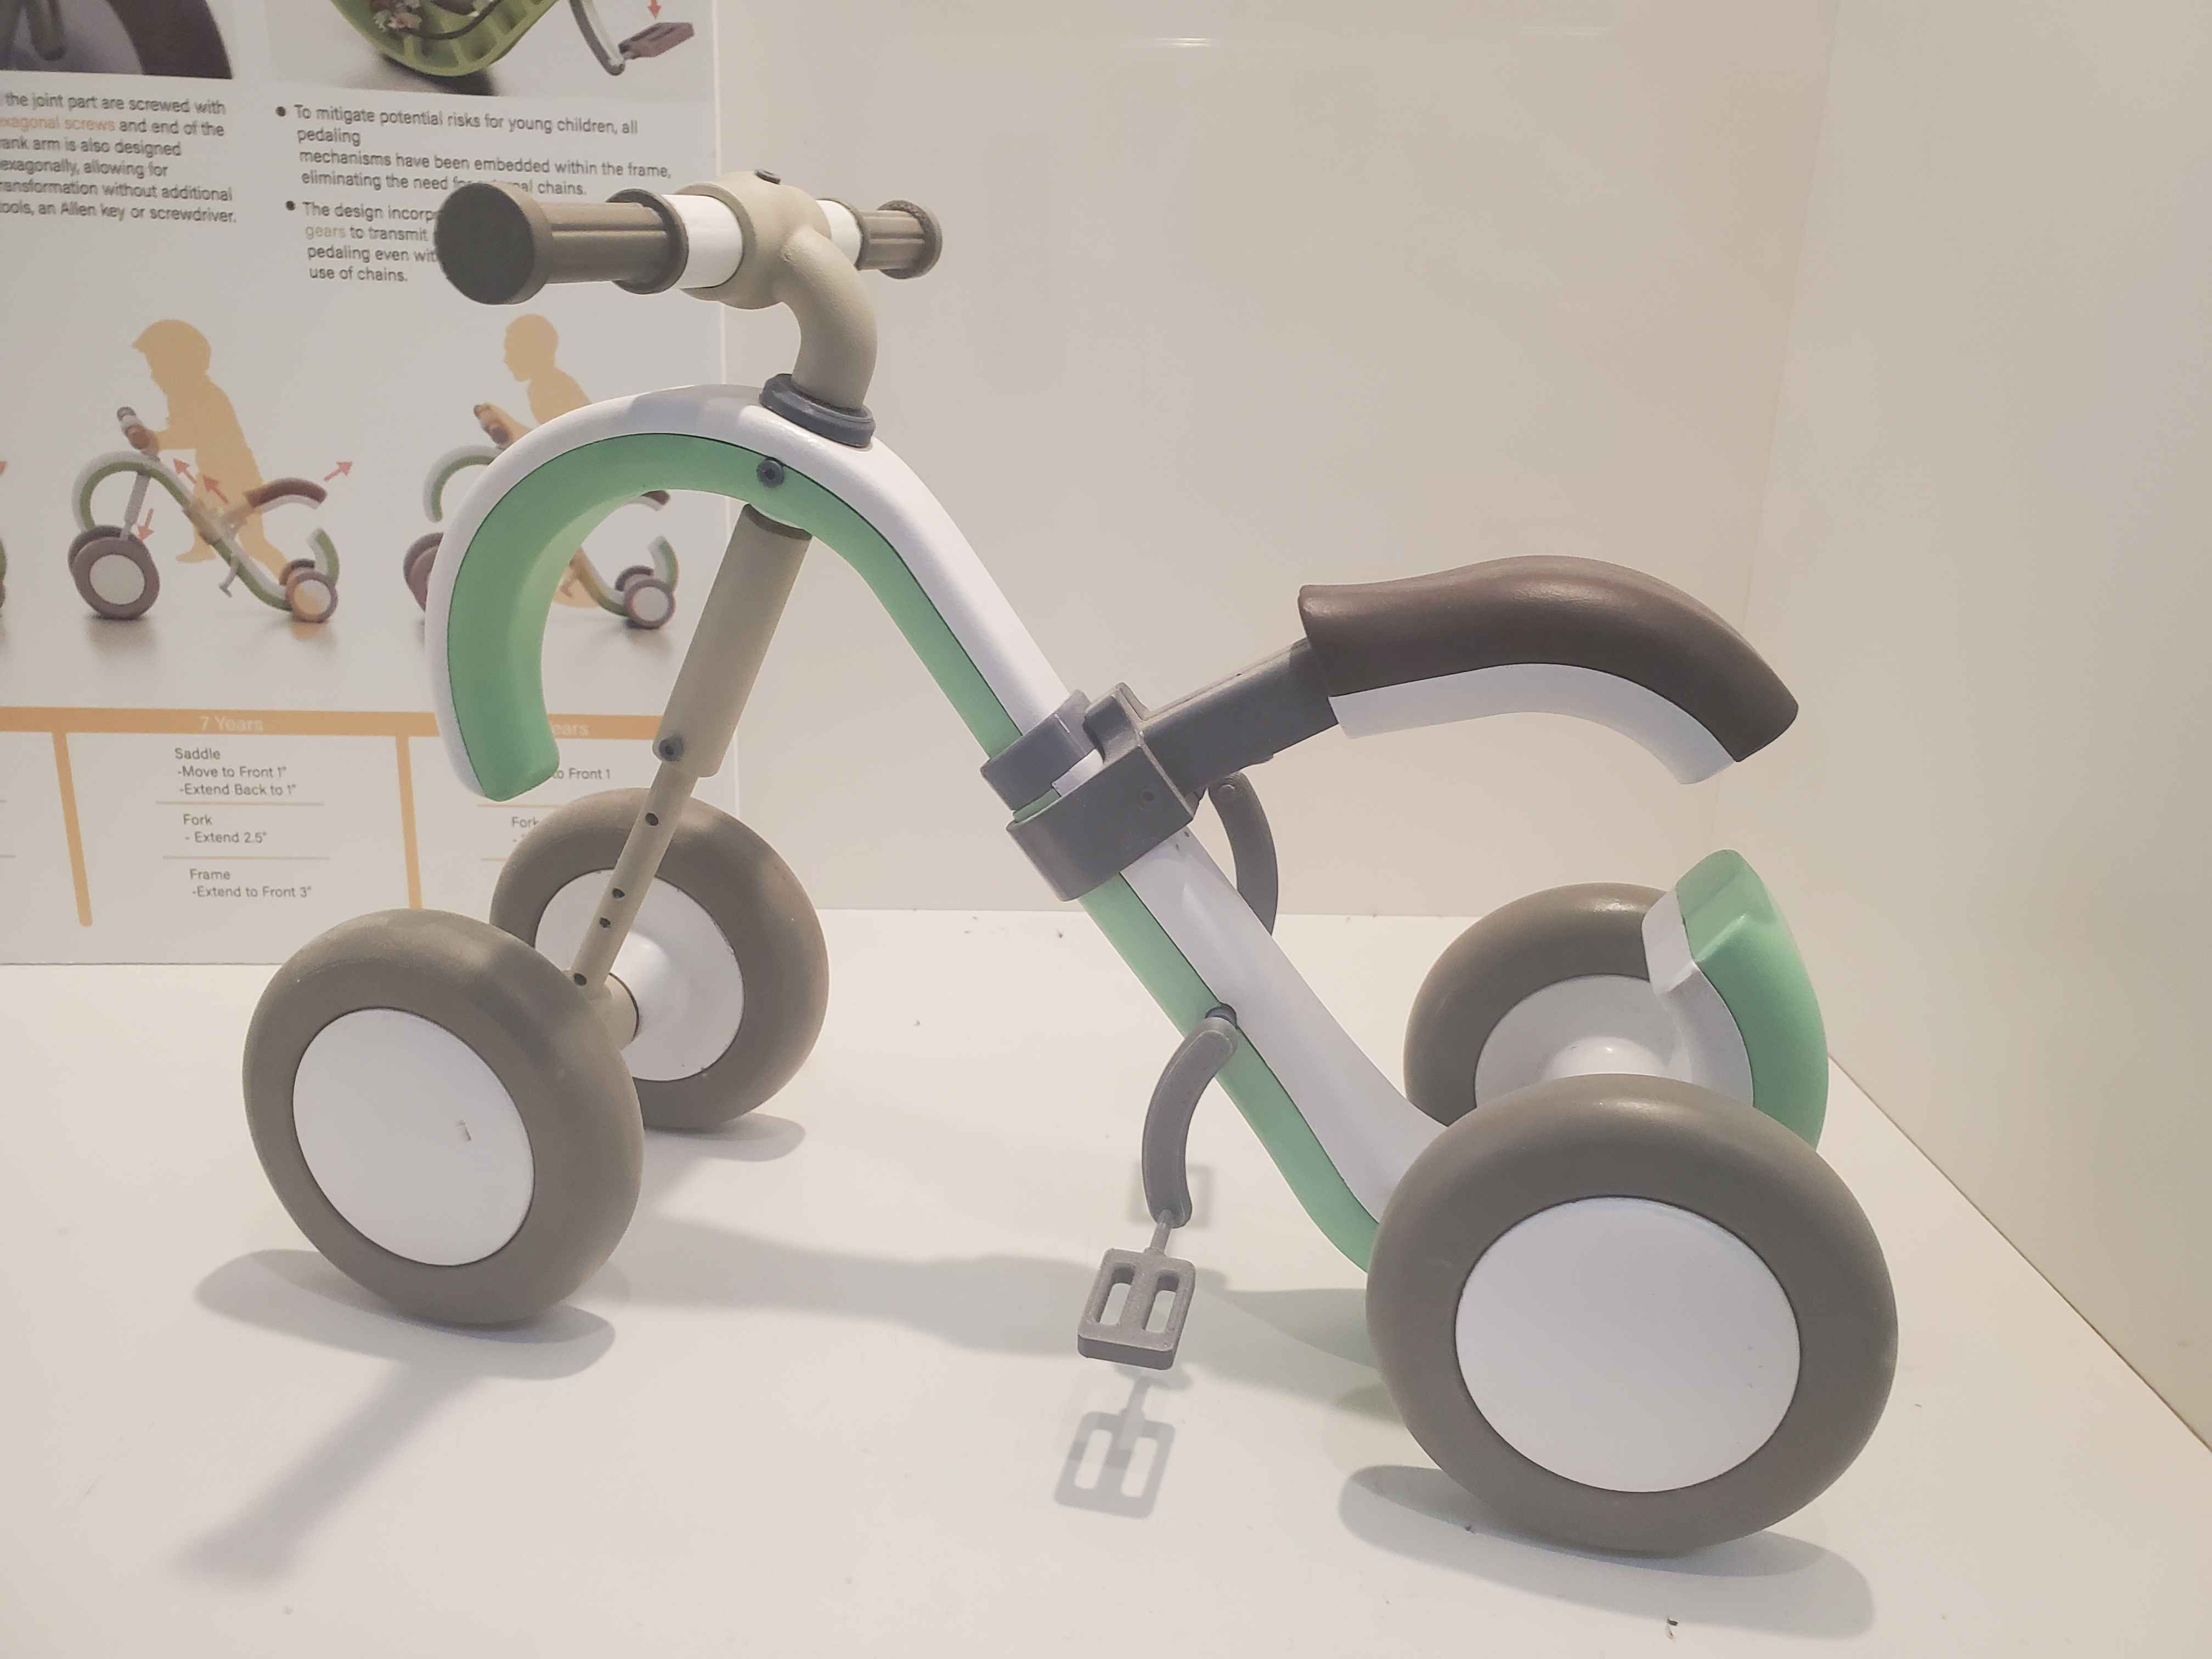
Wooden Egg Table - Furniture Studio Ceramic incense holders - Ceramics Studio 3d printed plastic bike (Mobi-Ride) - Industrial Design Studio

Material Workshop 2

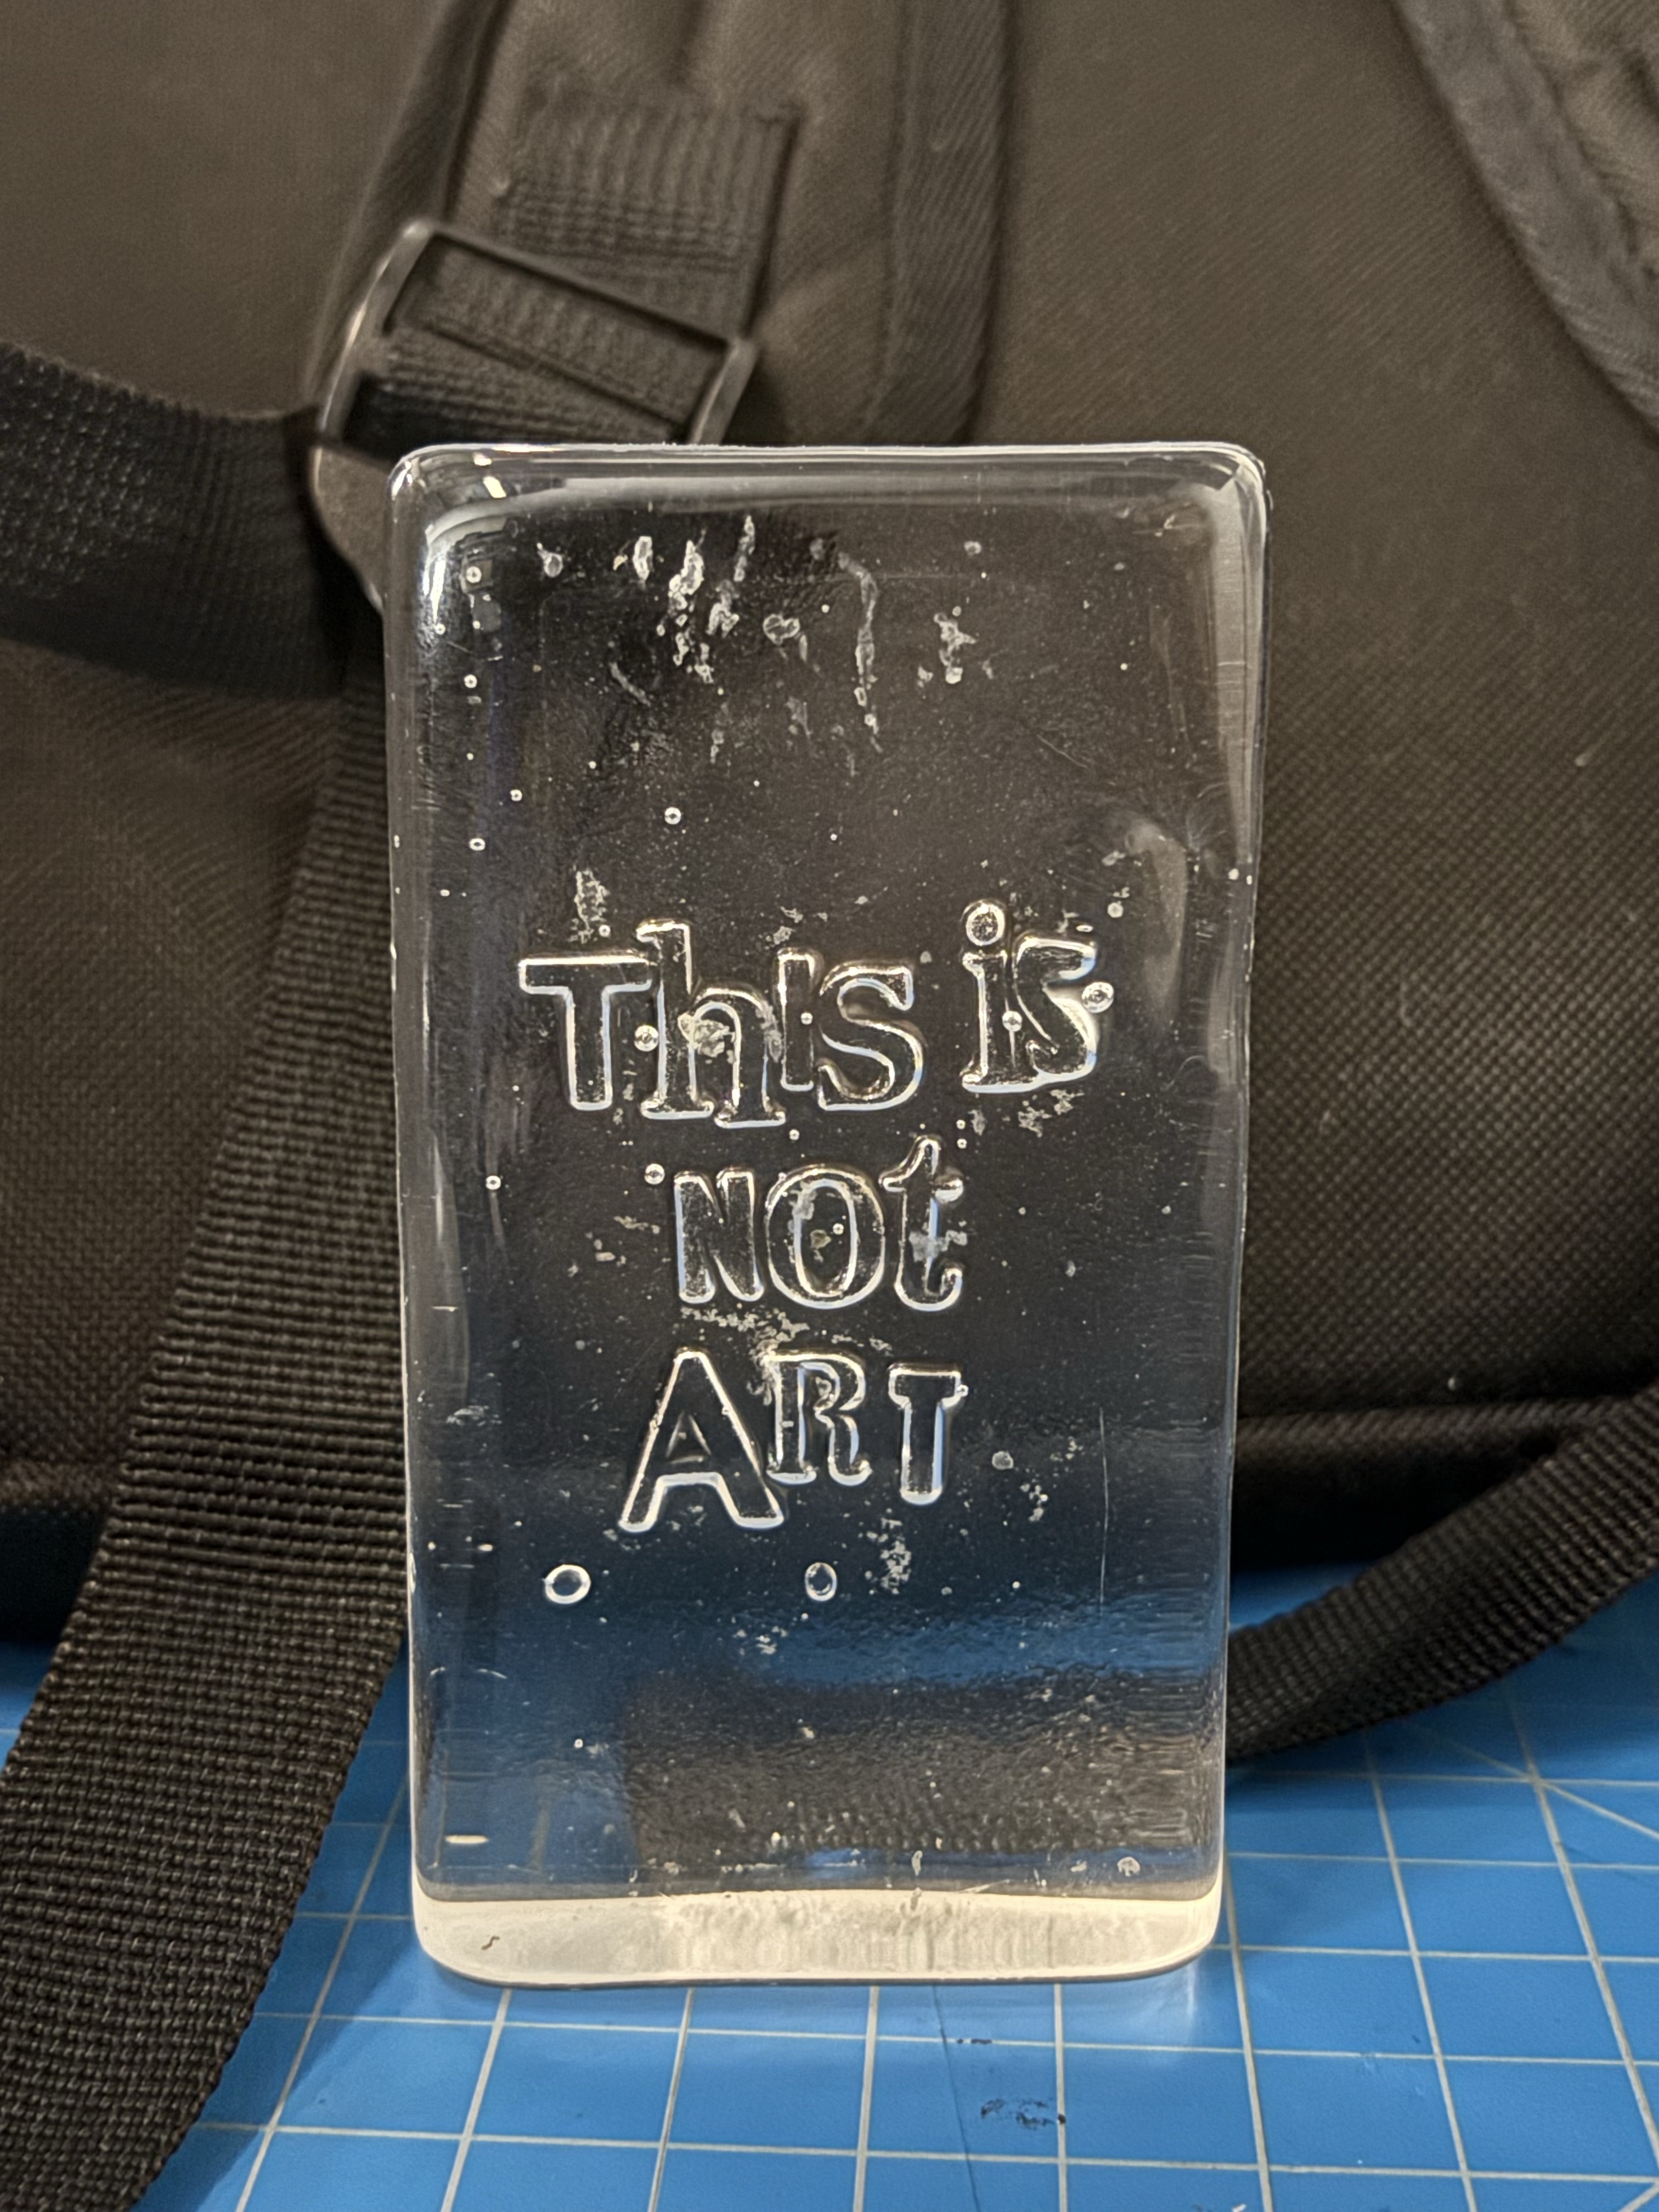
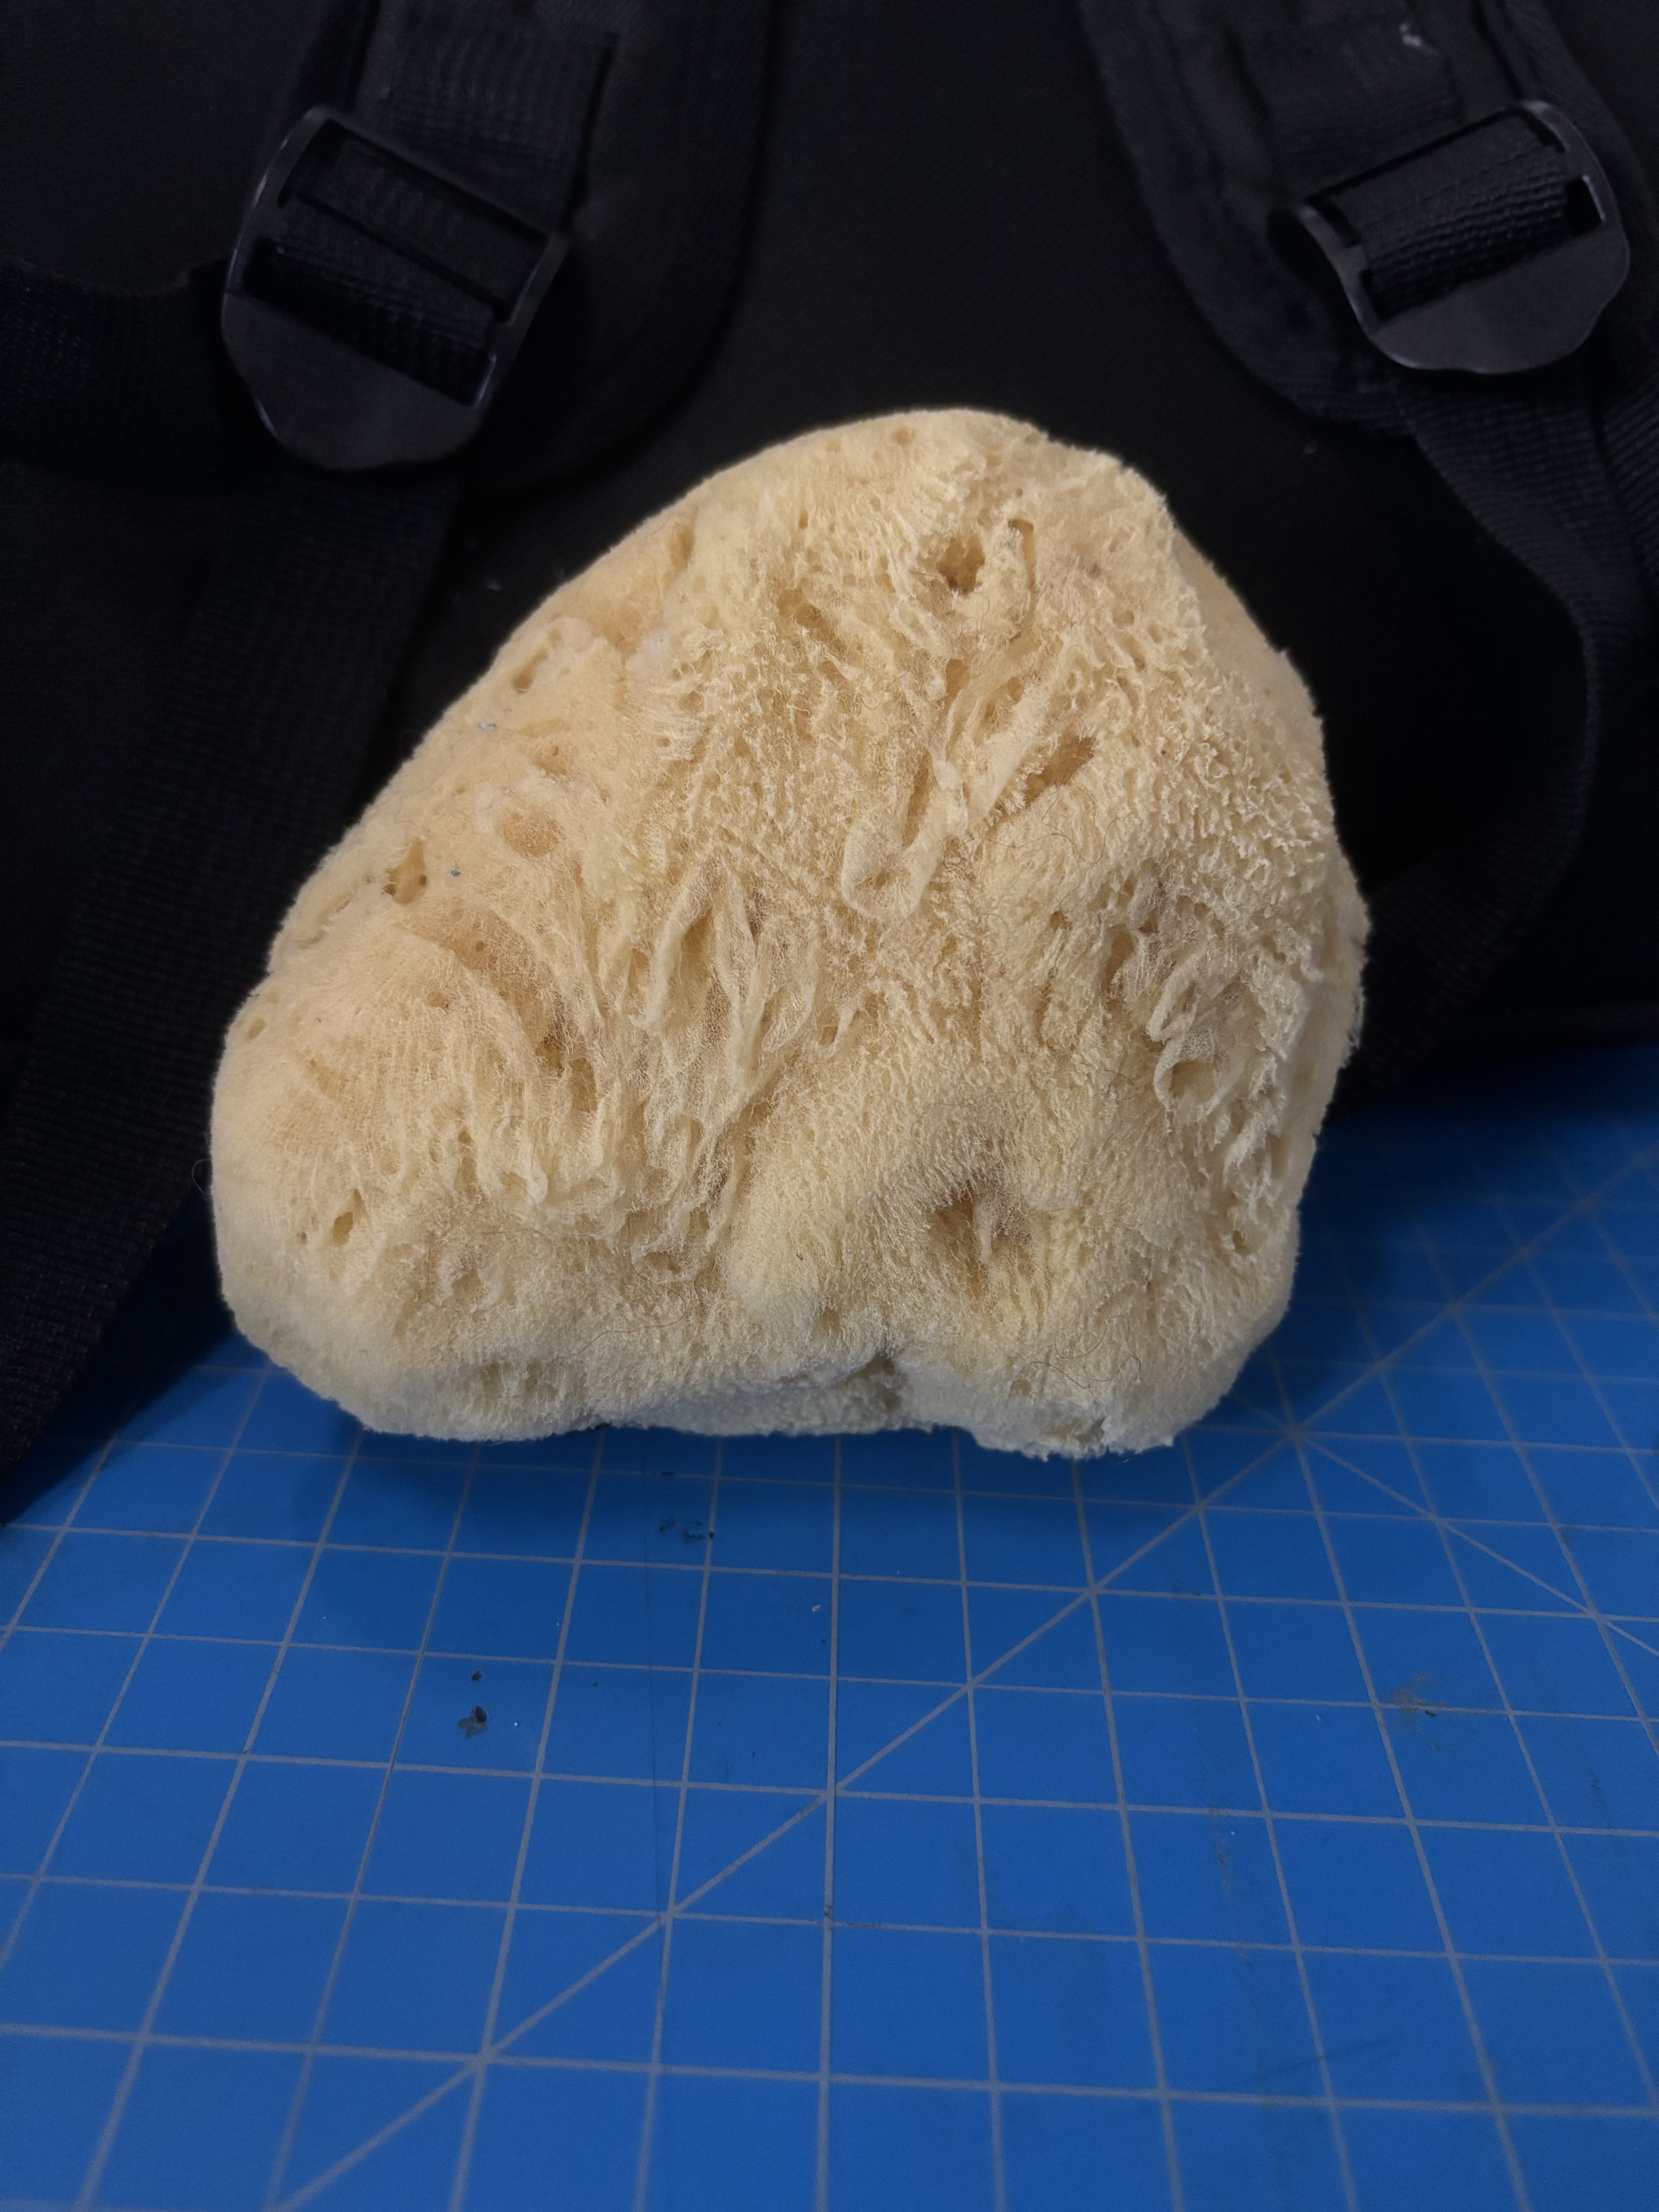
Hand sculpture, open and closed "This is not art" clear rectangle Sponge

Project 1


Project 1 Models

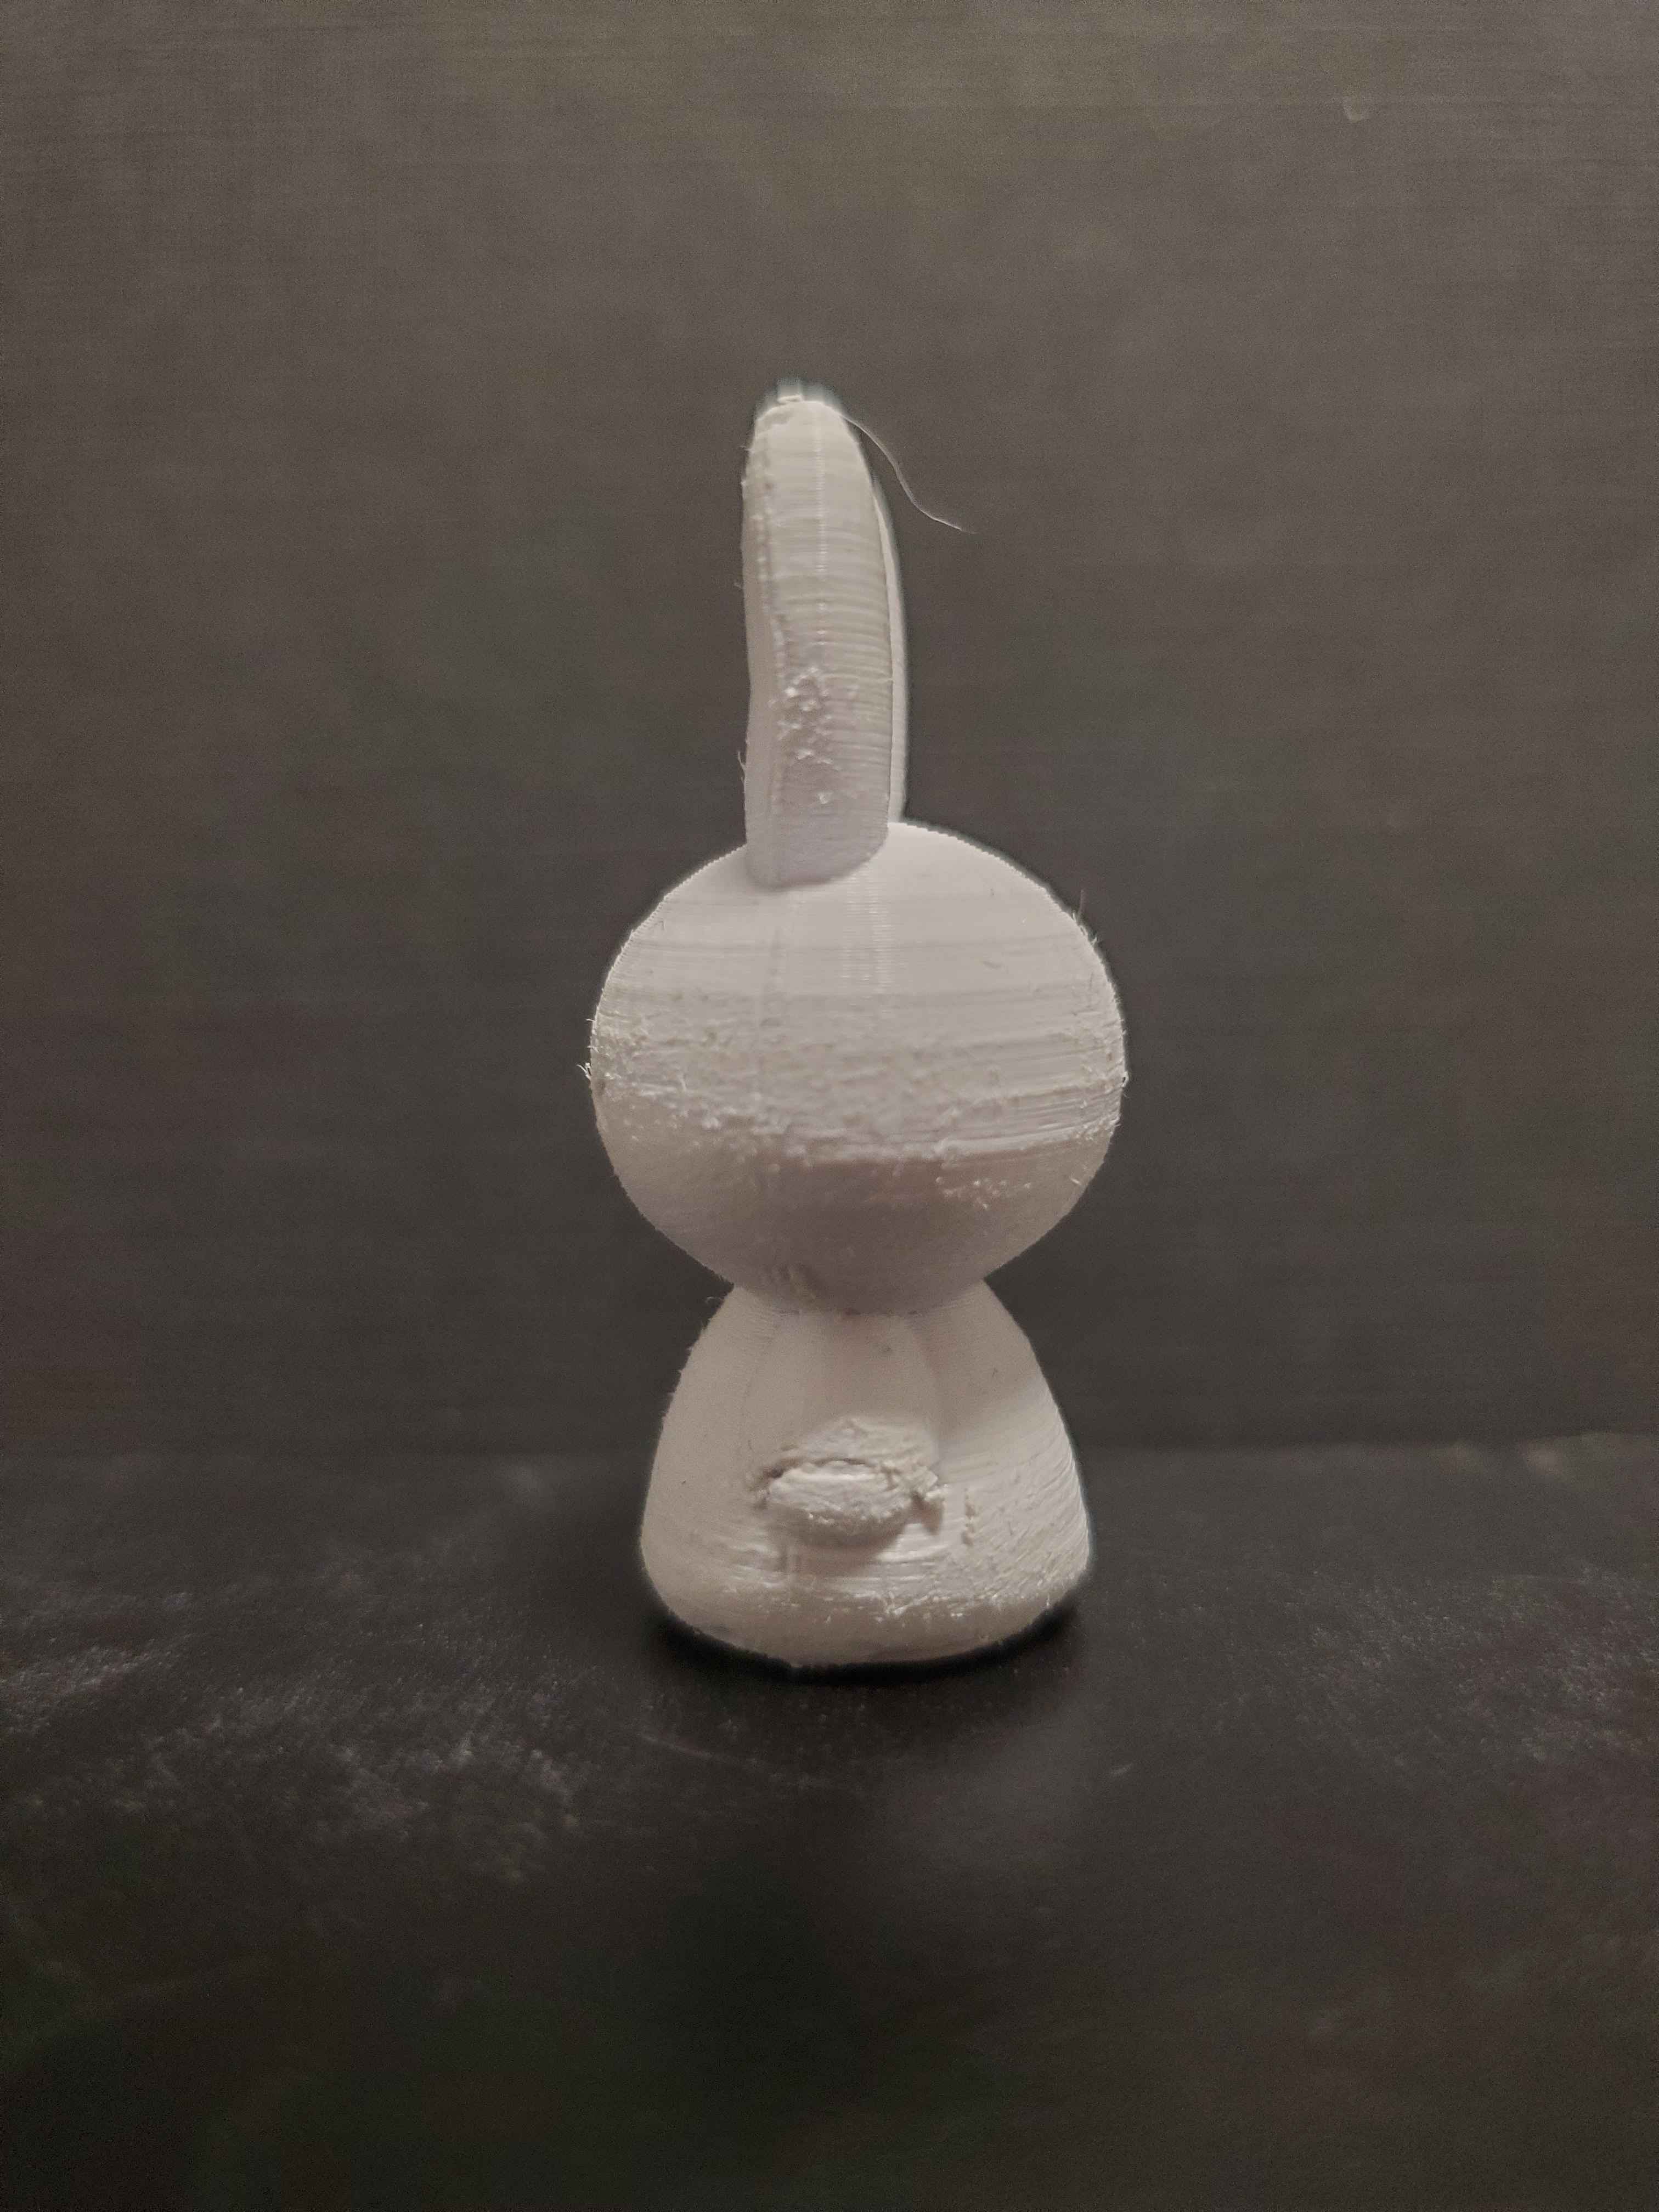
3D Printed Model 1 - Miffy
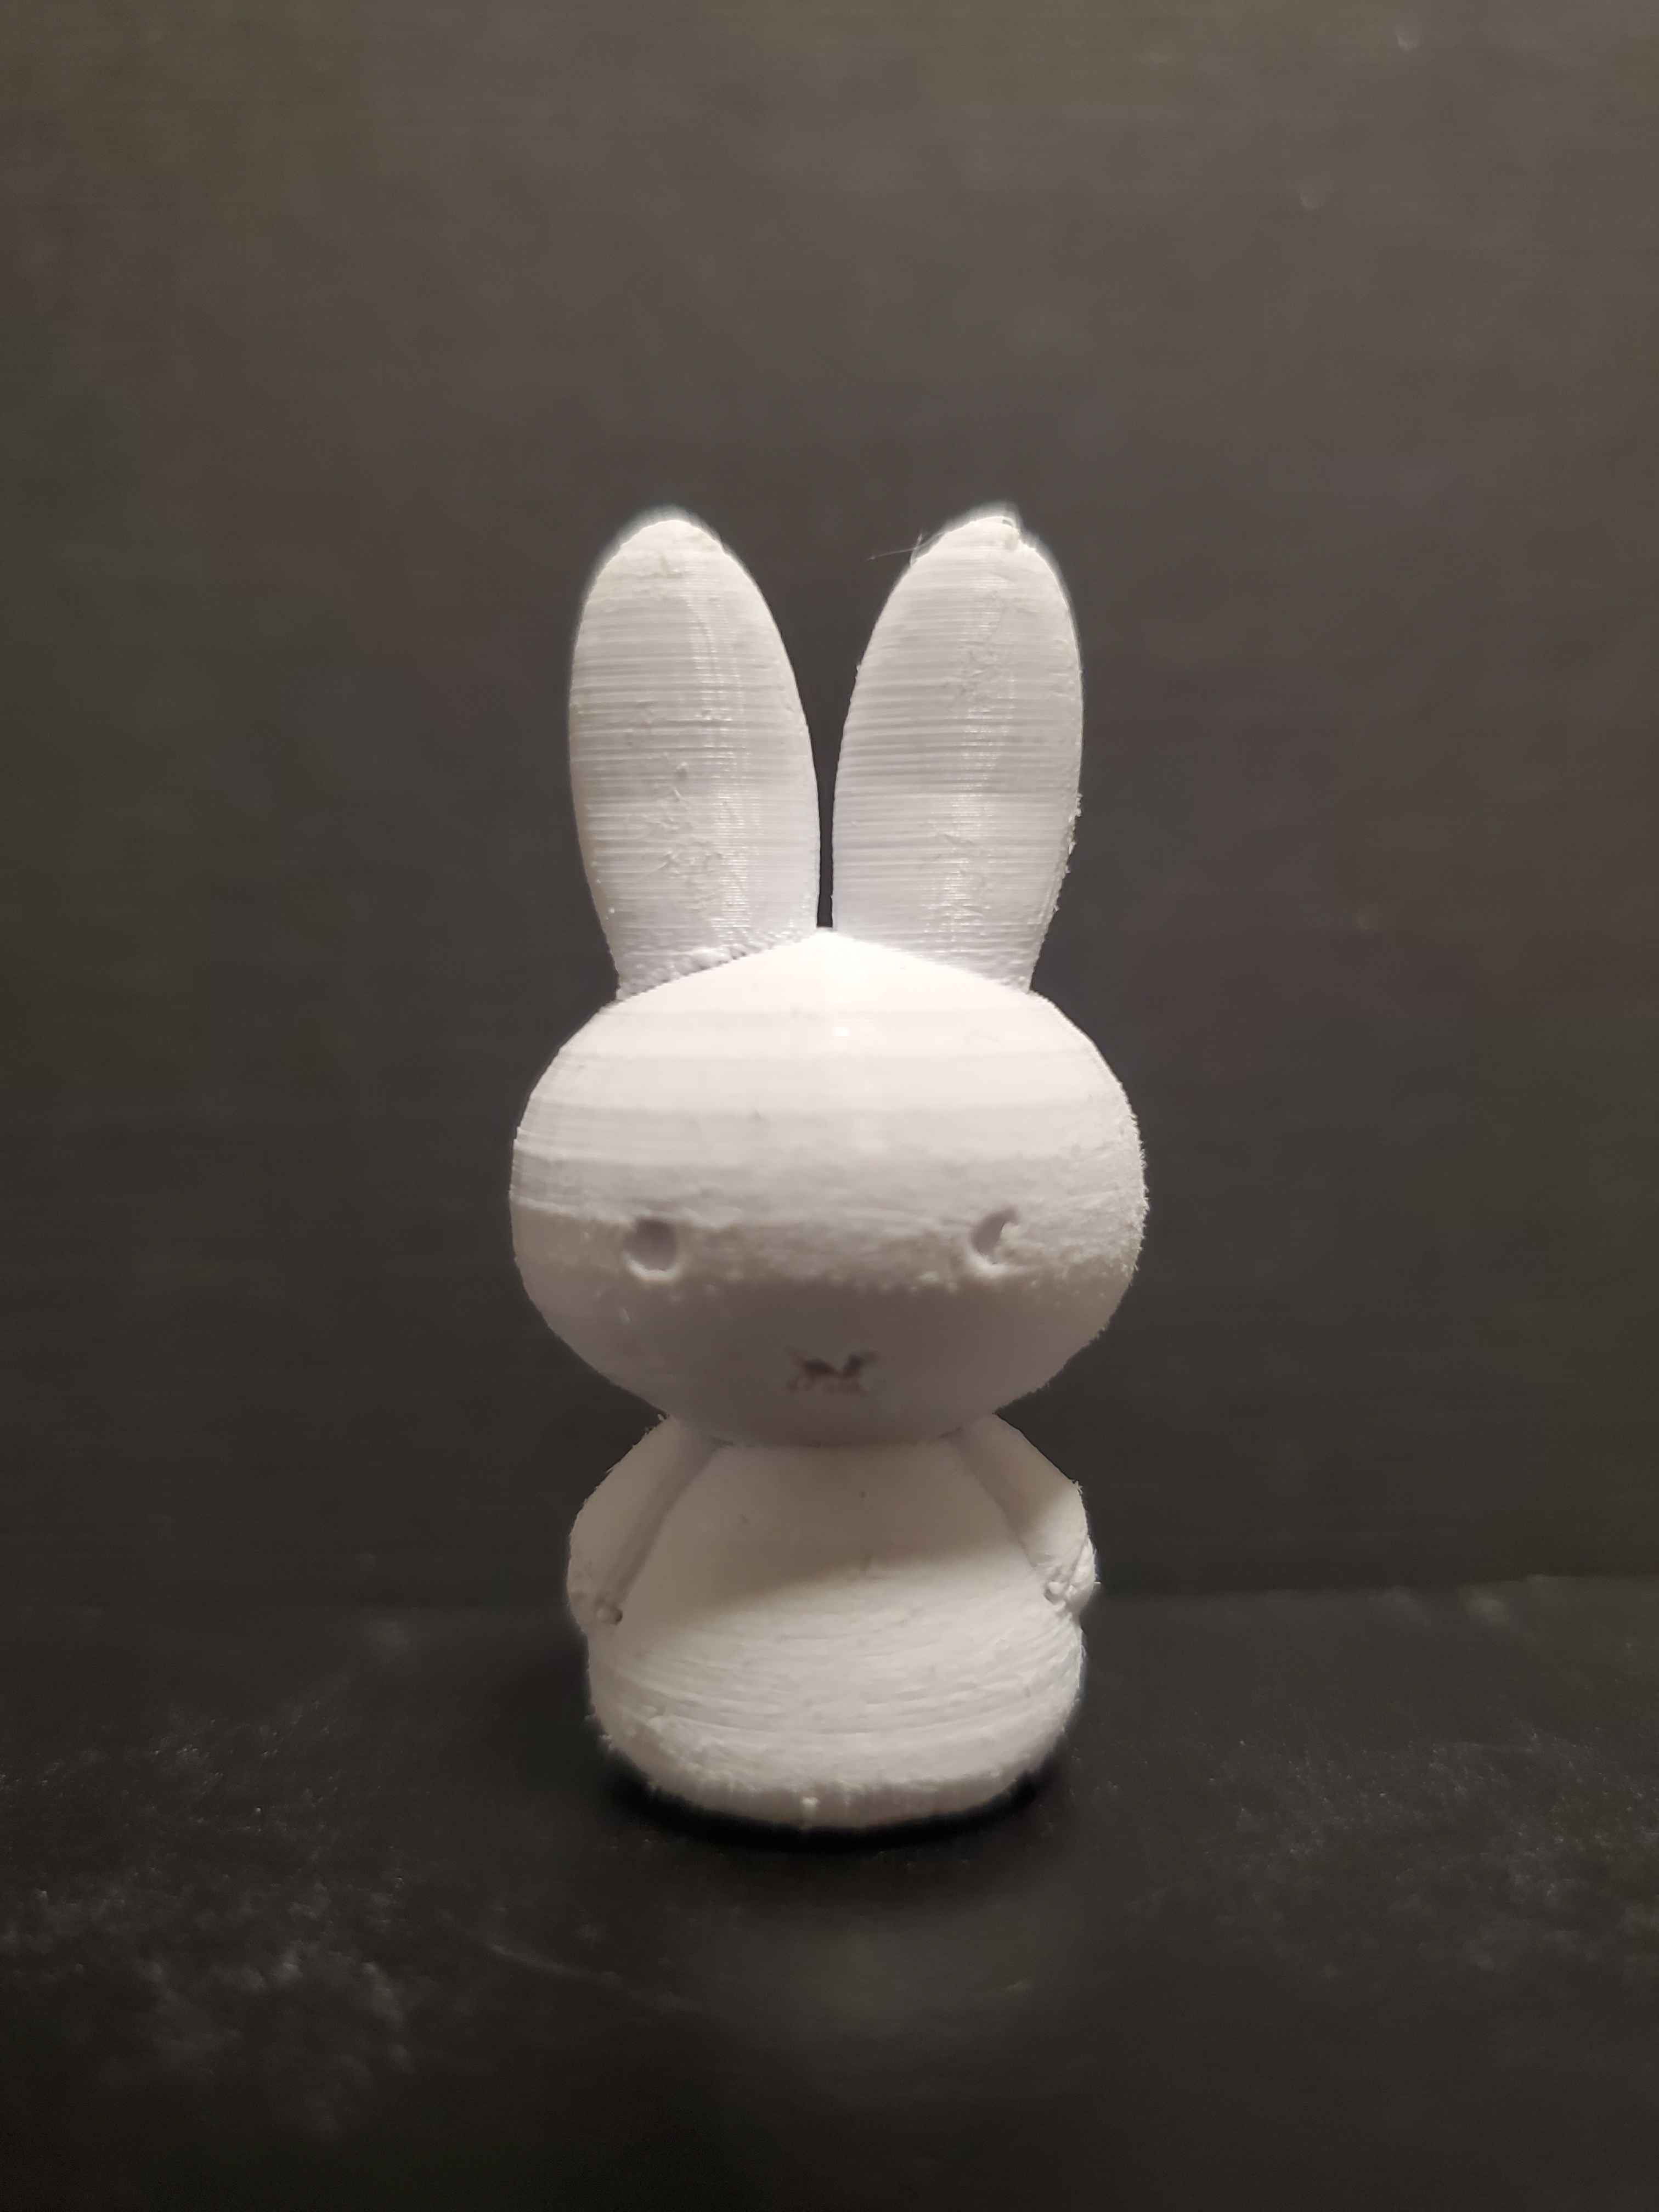
 3D printed Miffy - front view 3D printed Miffy - side view

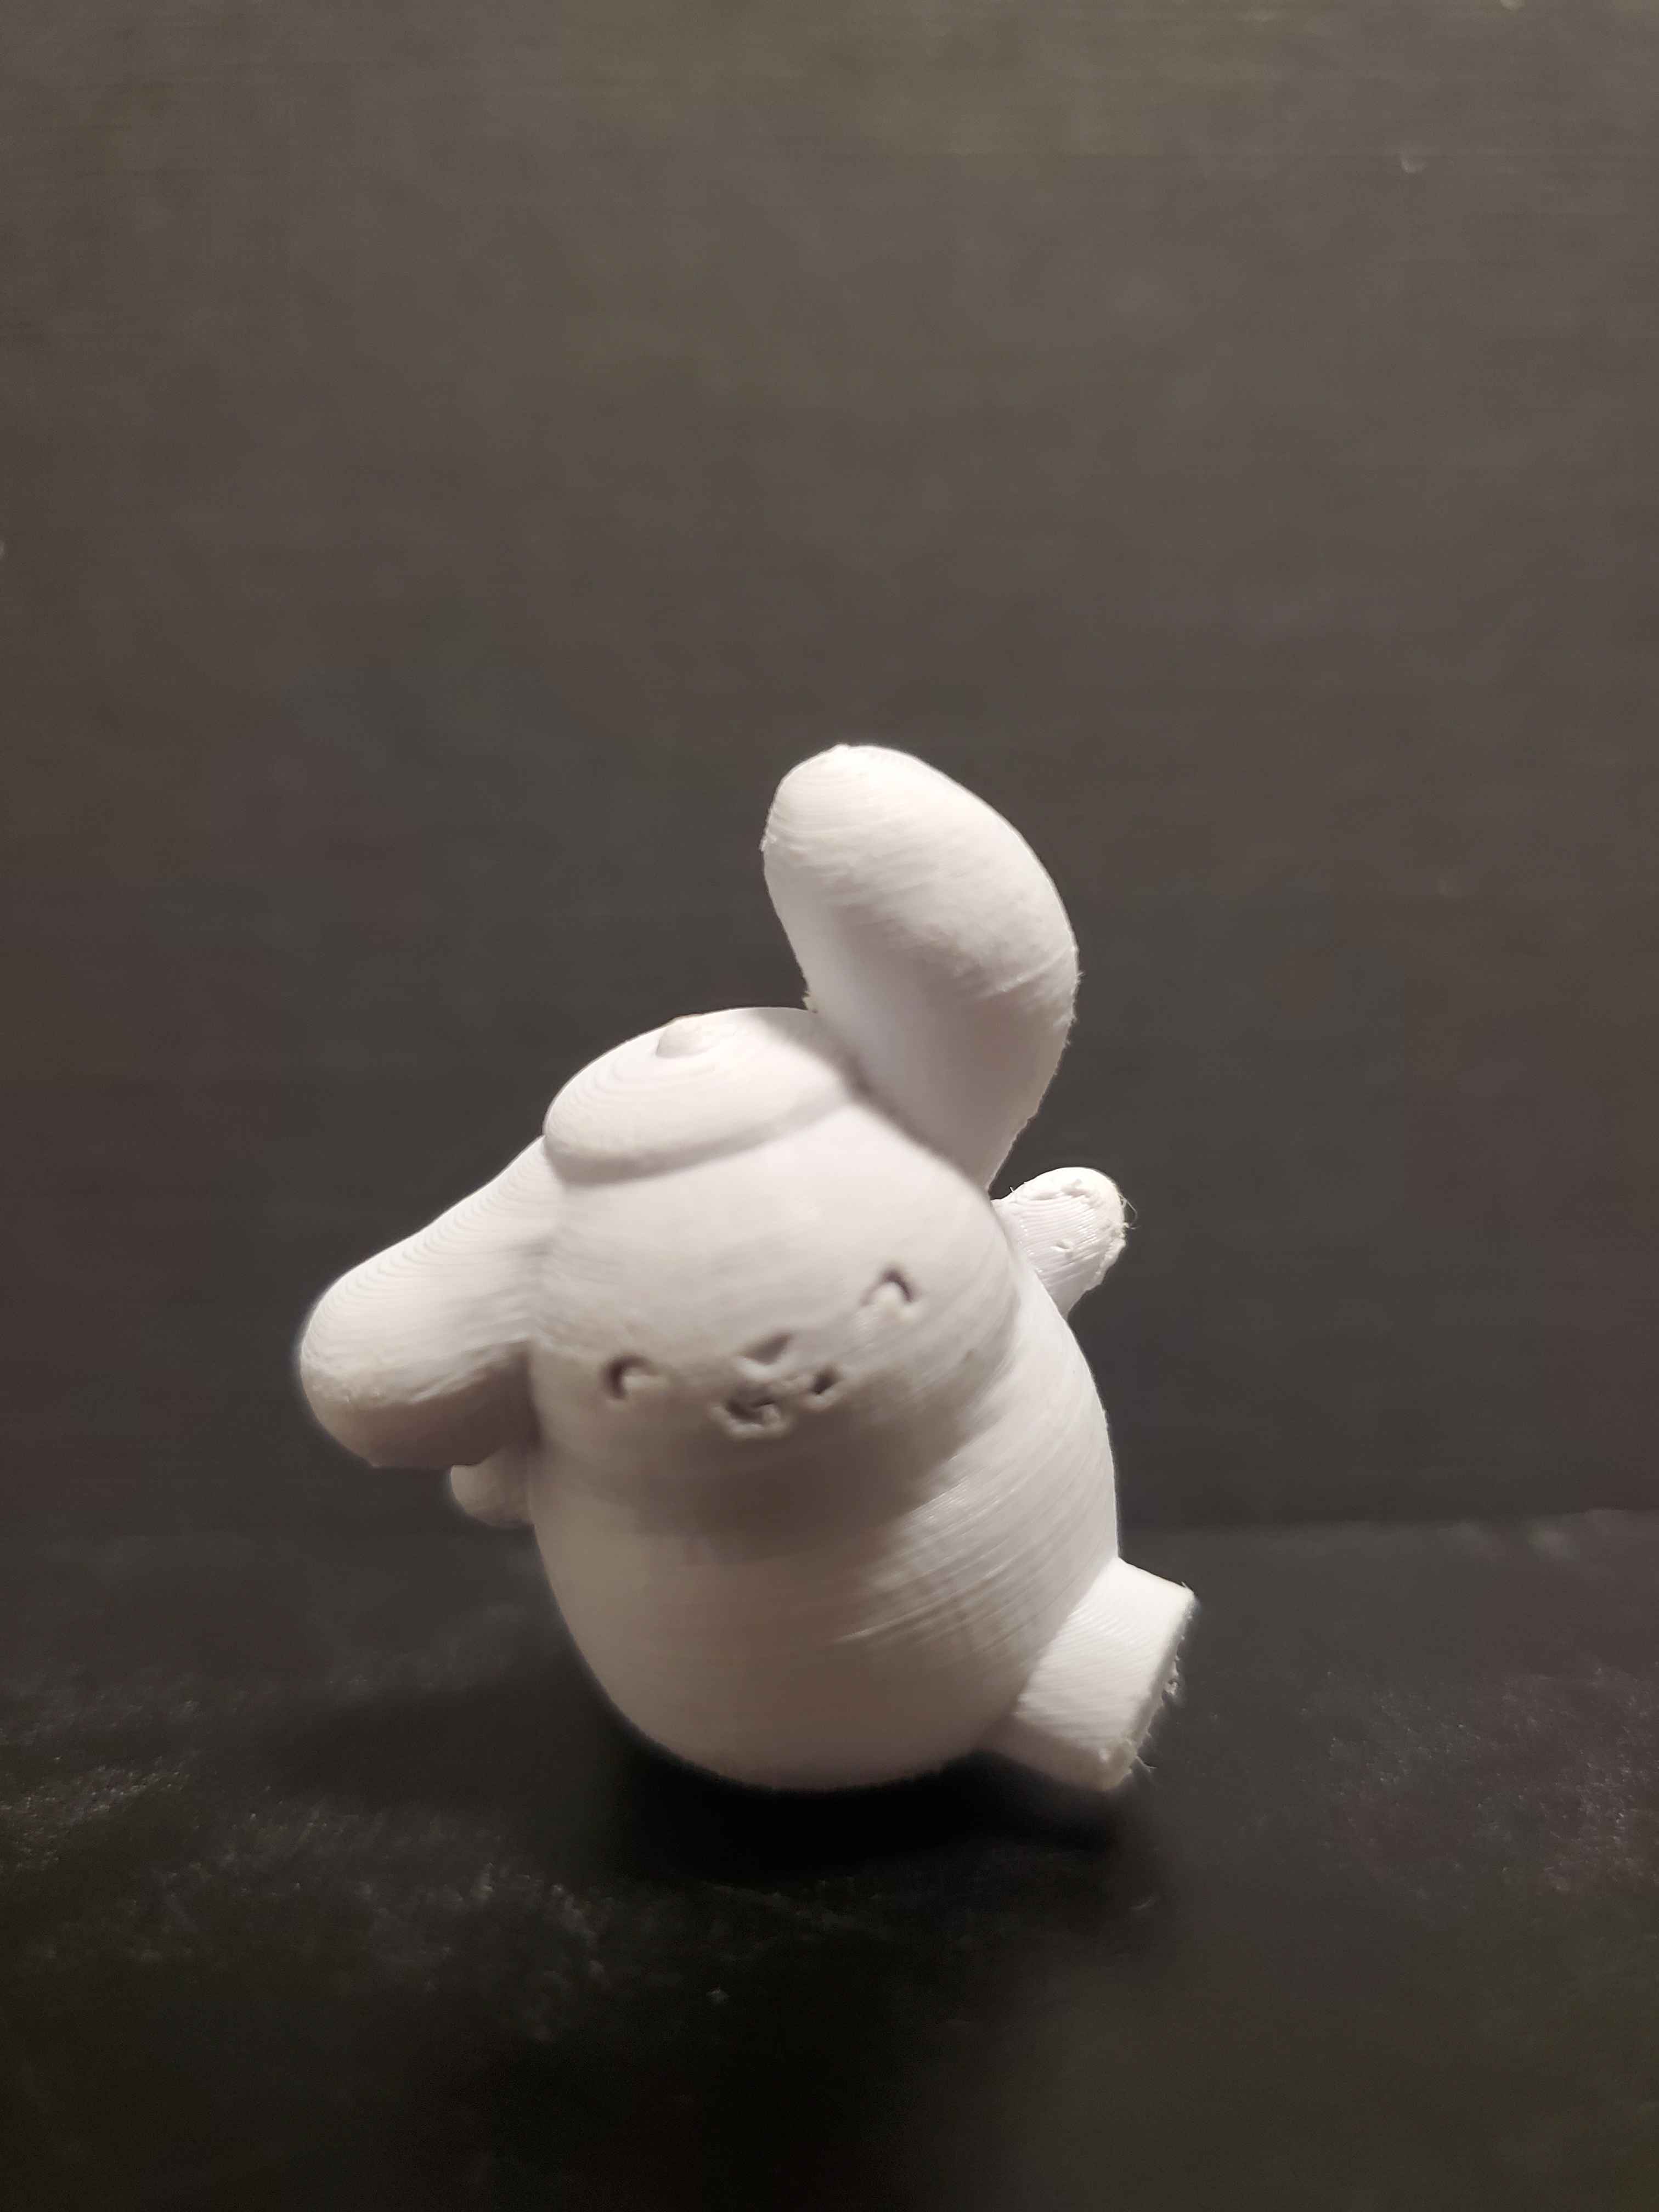
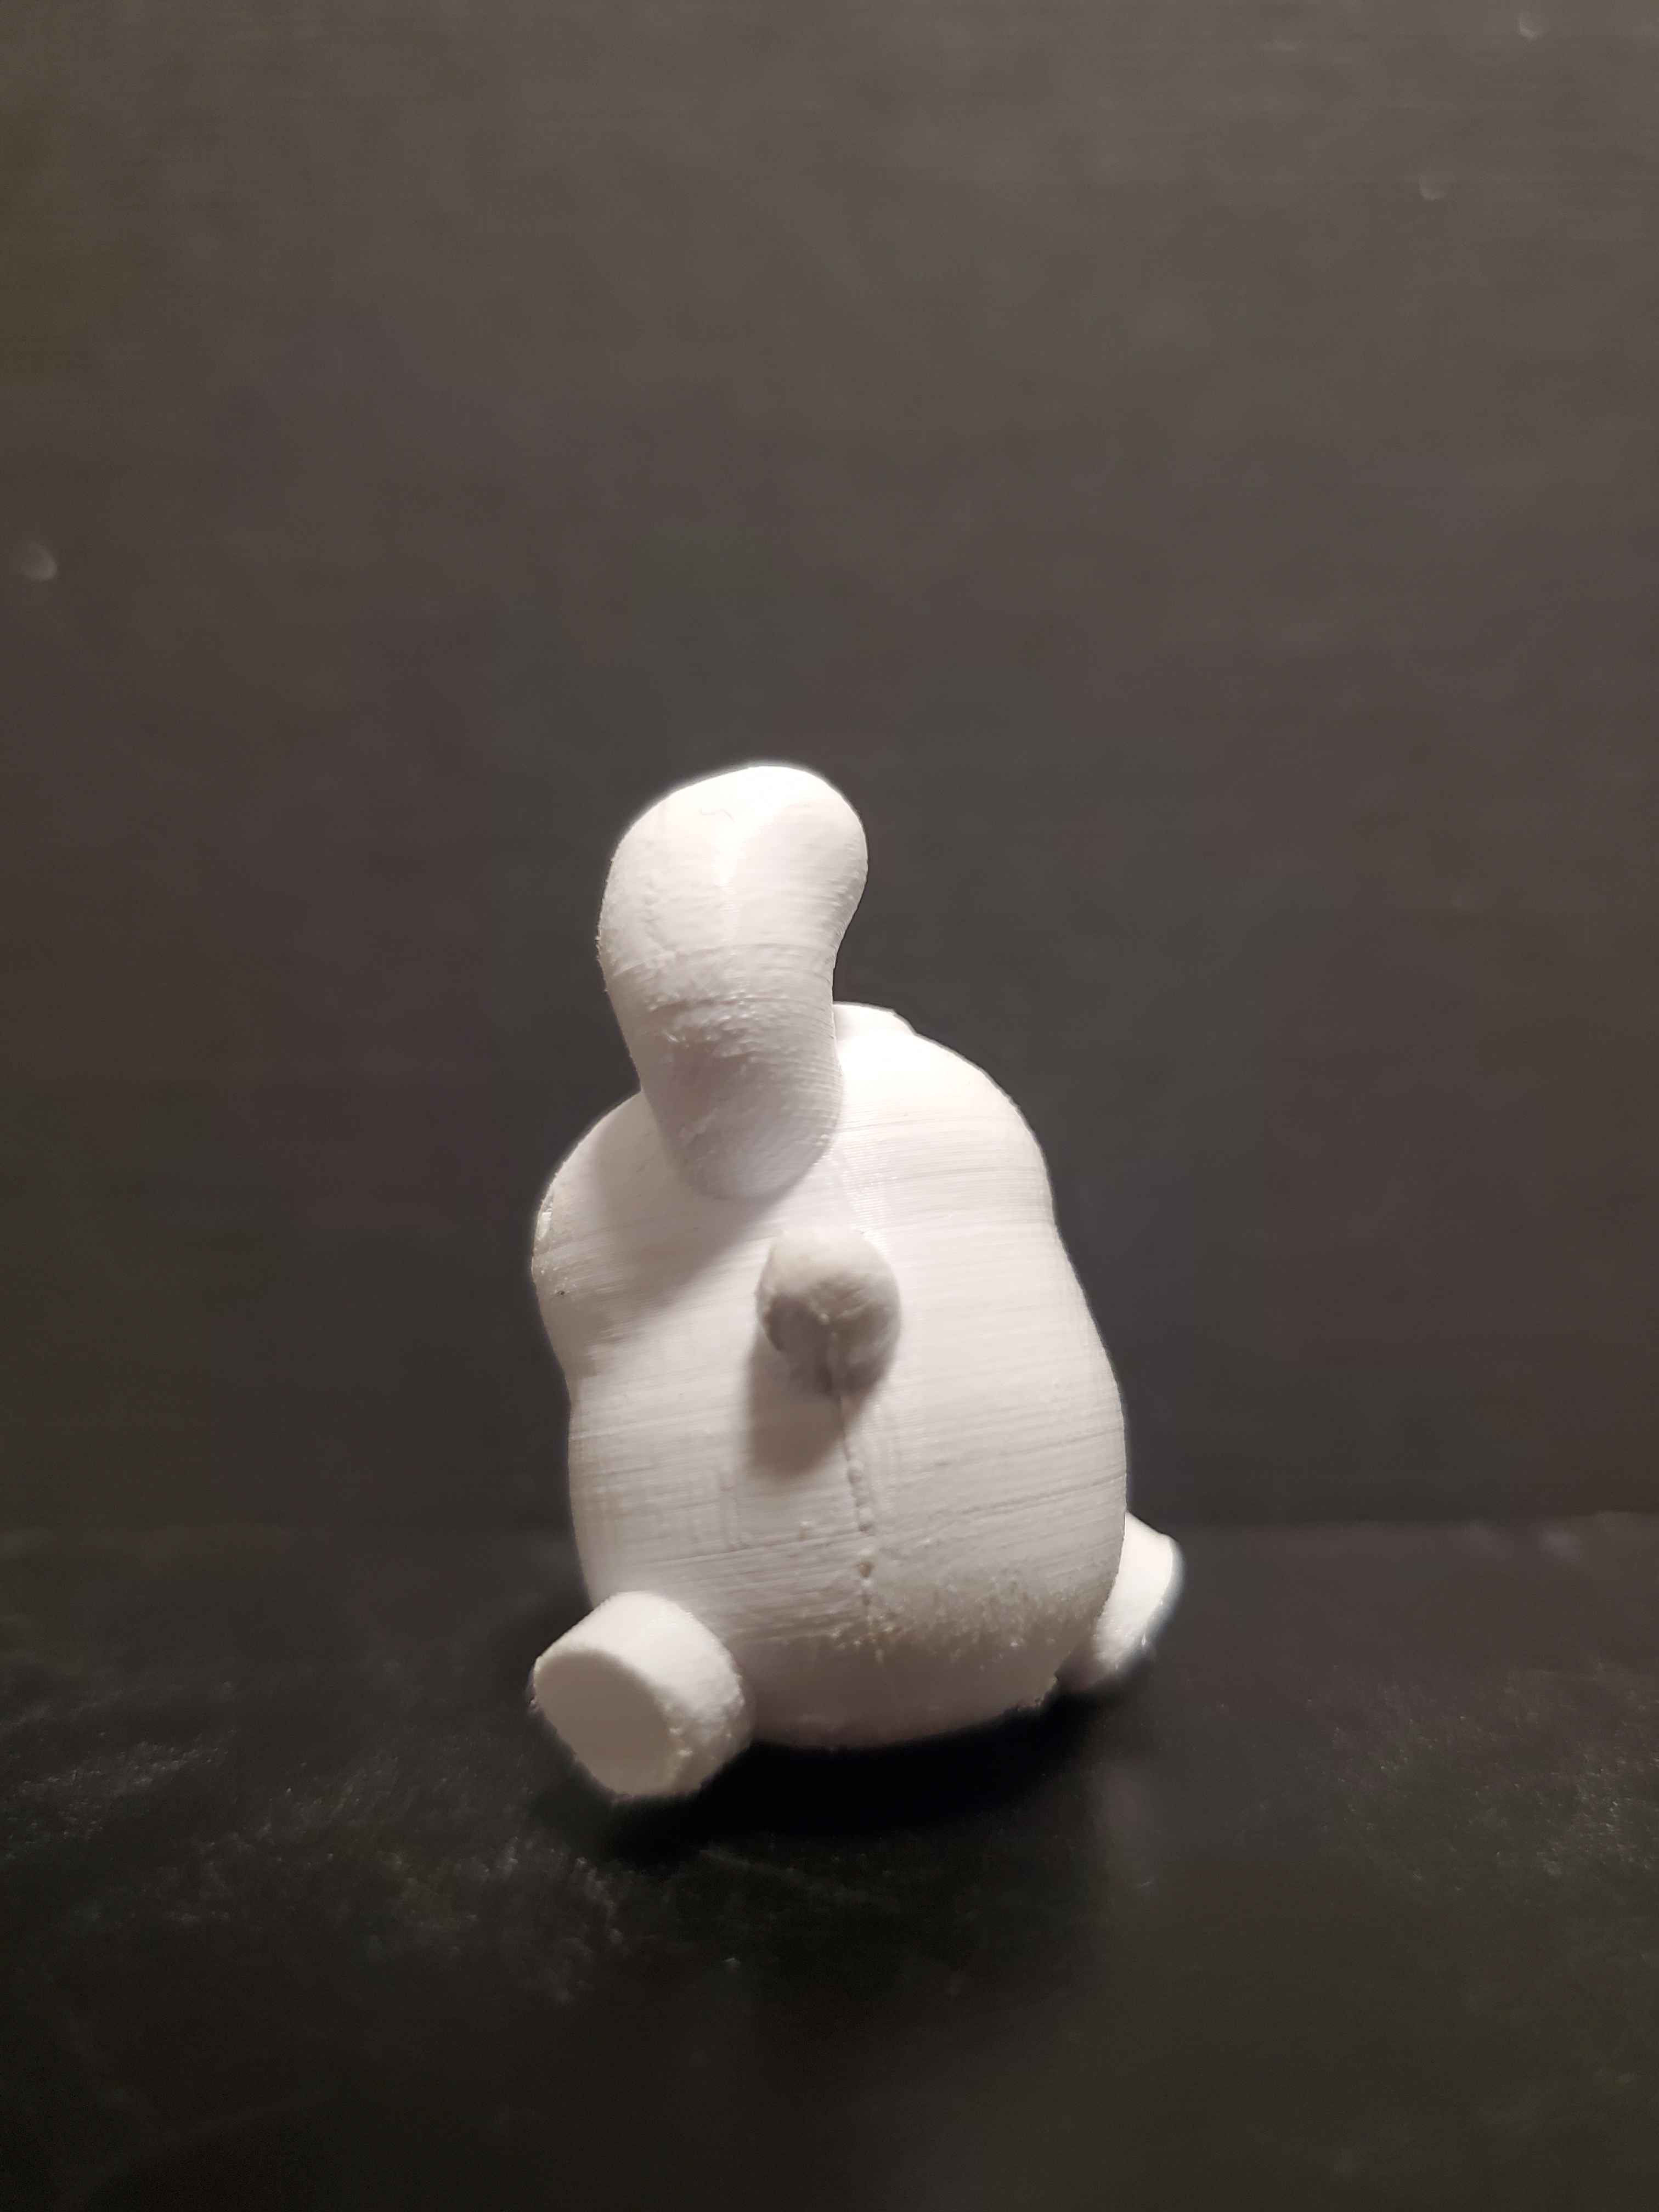
3D Printed Model 2 - Pompompurin

 3D printed Pompompurin - front view 3D printed Pompompurin - side view

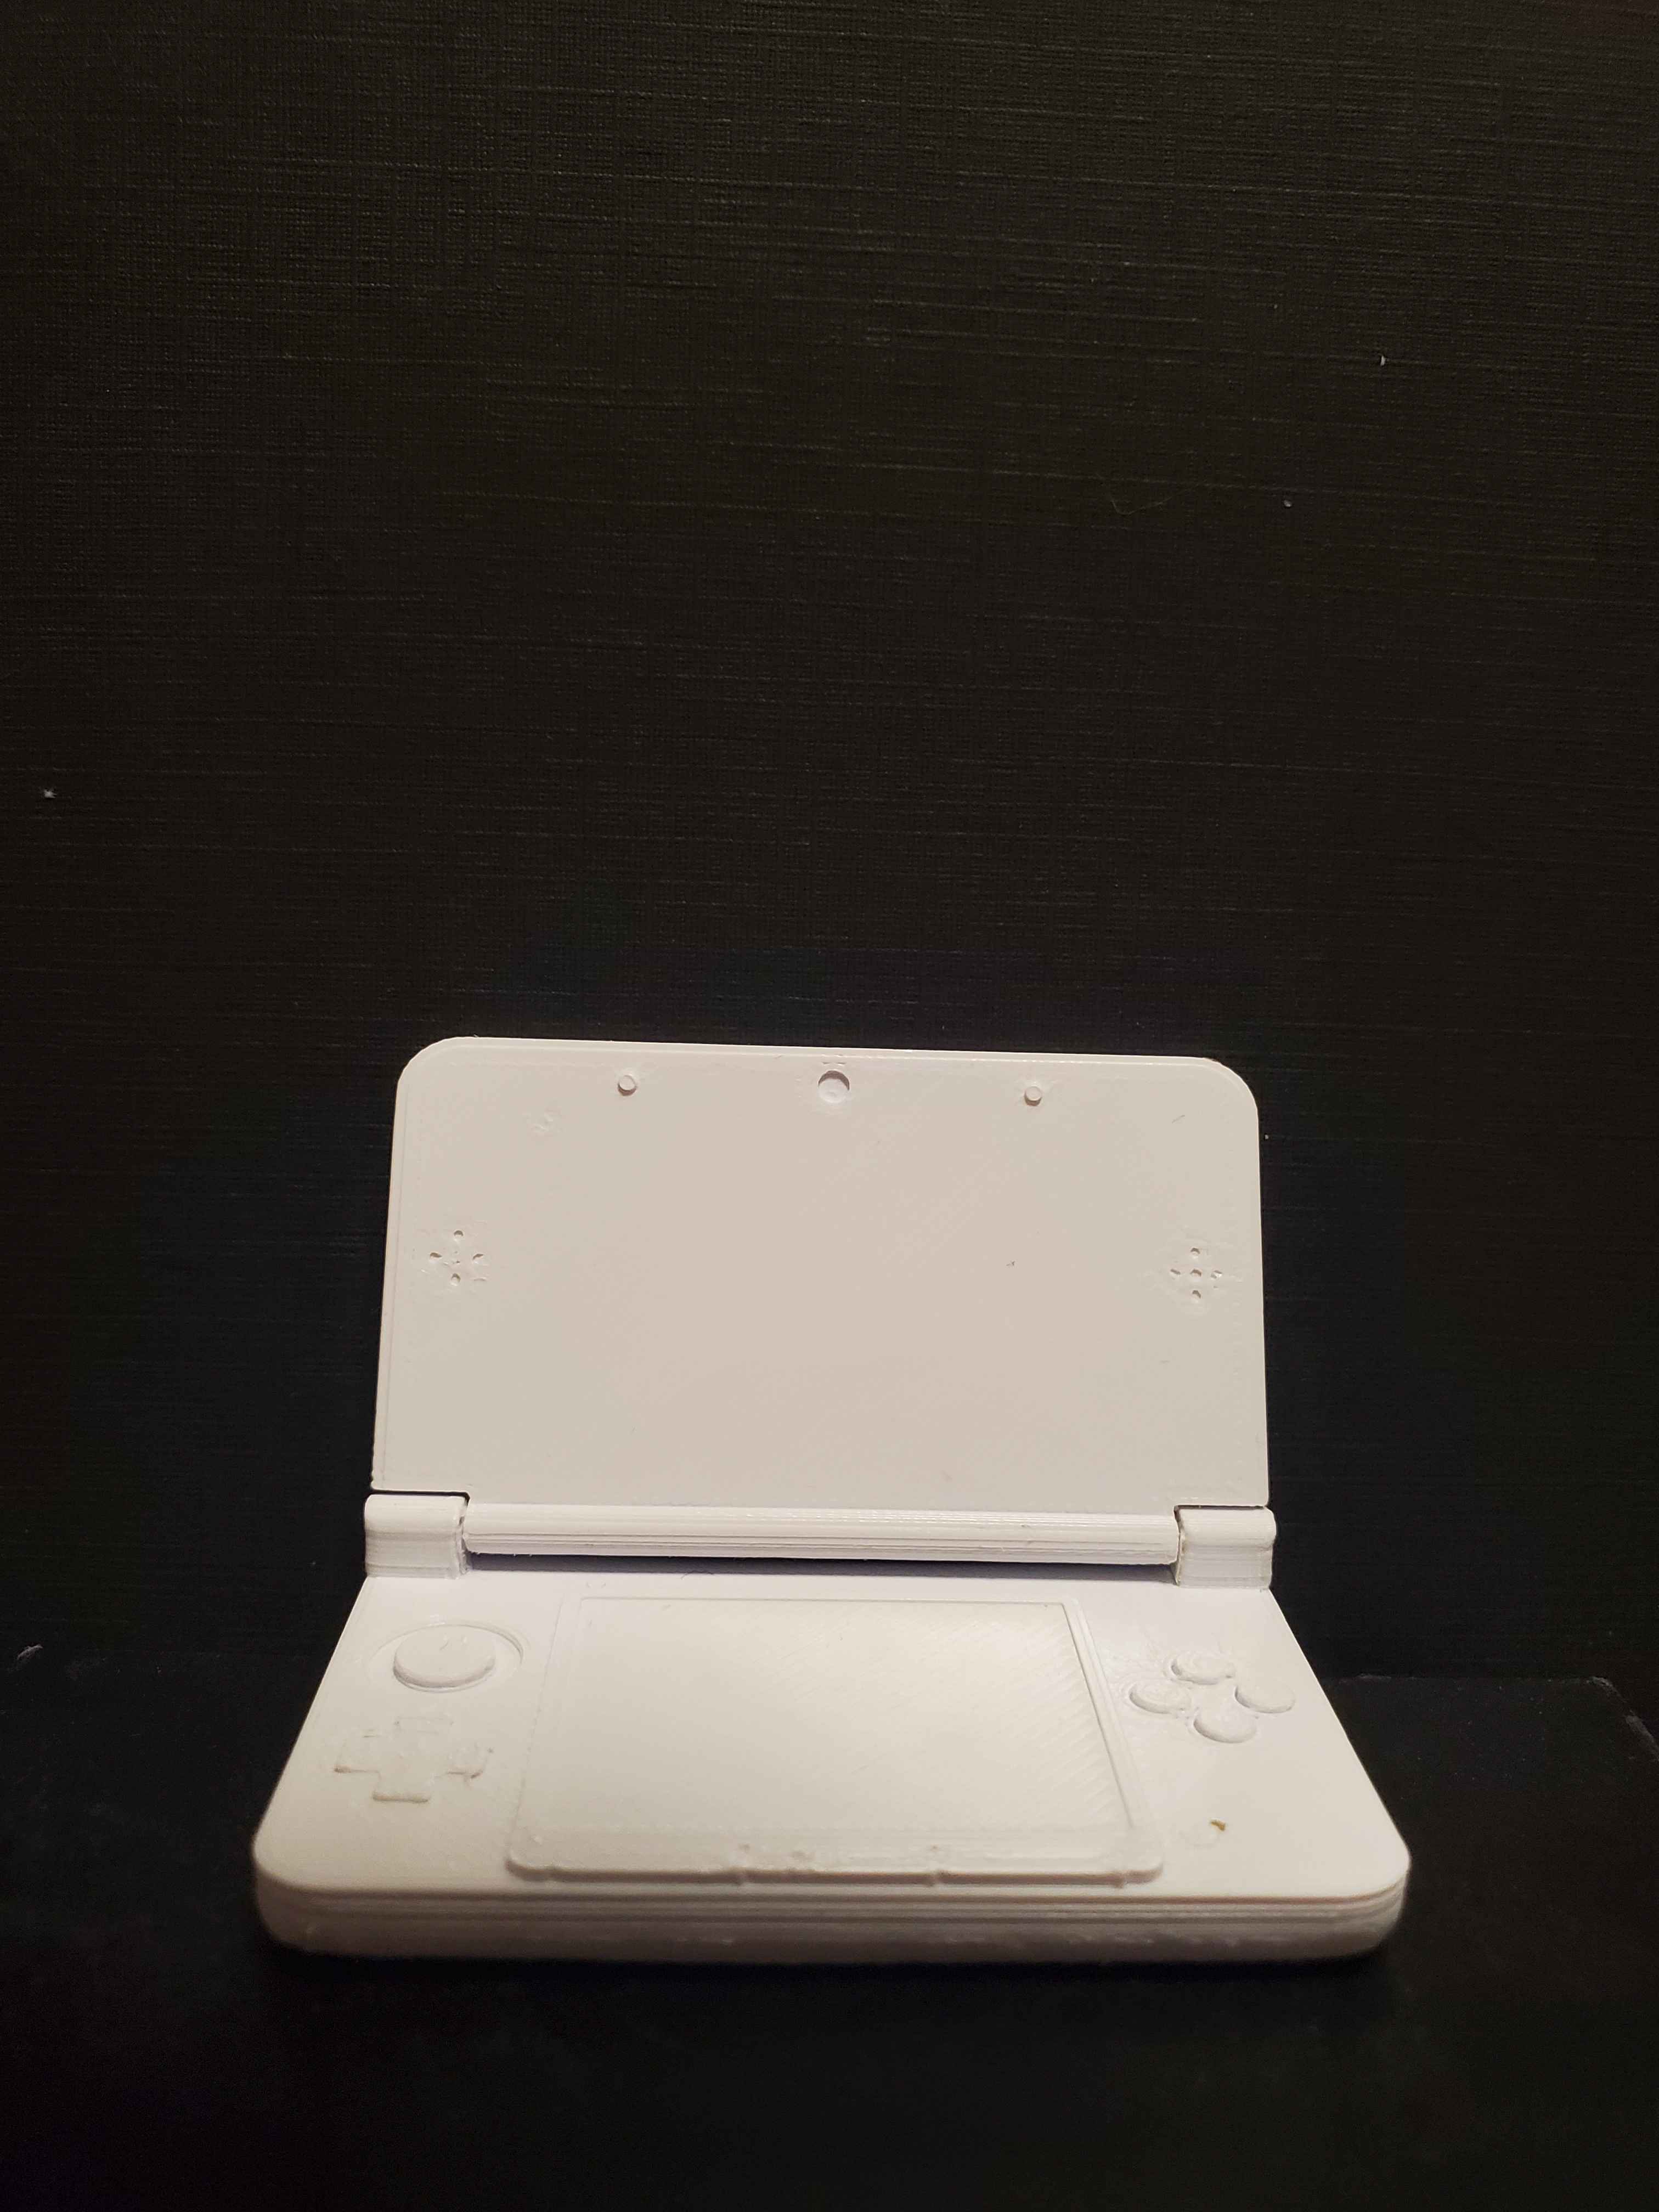
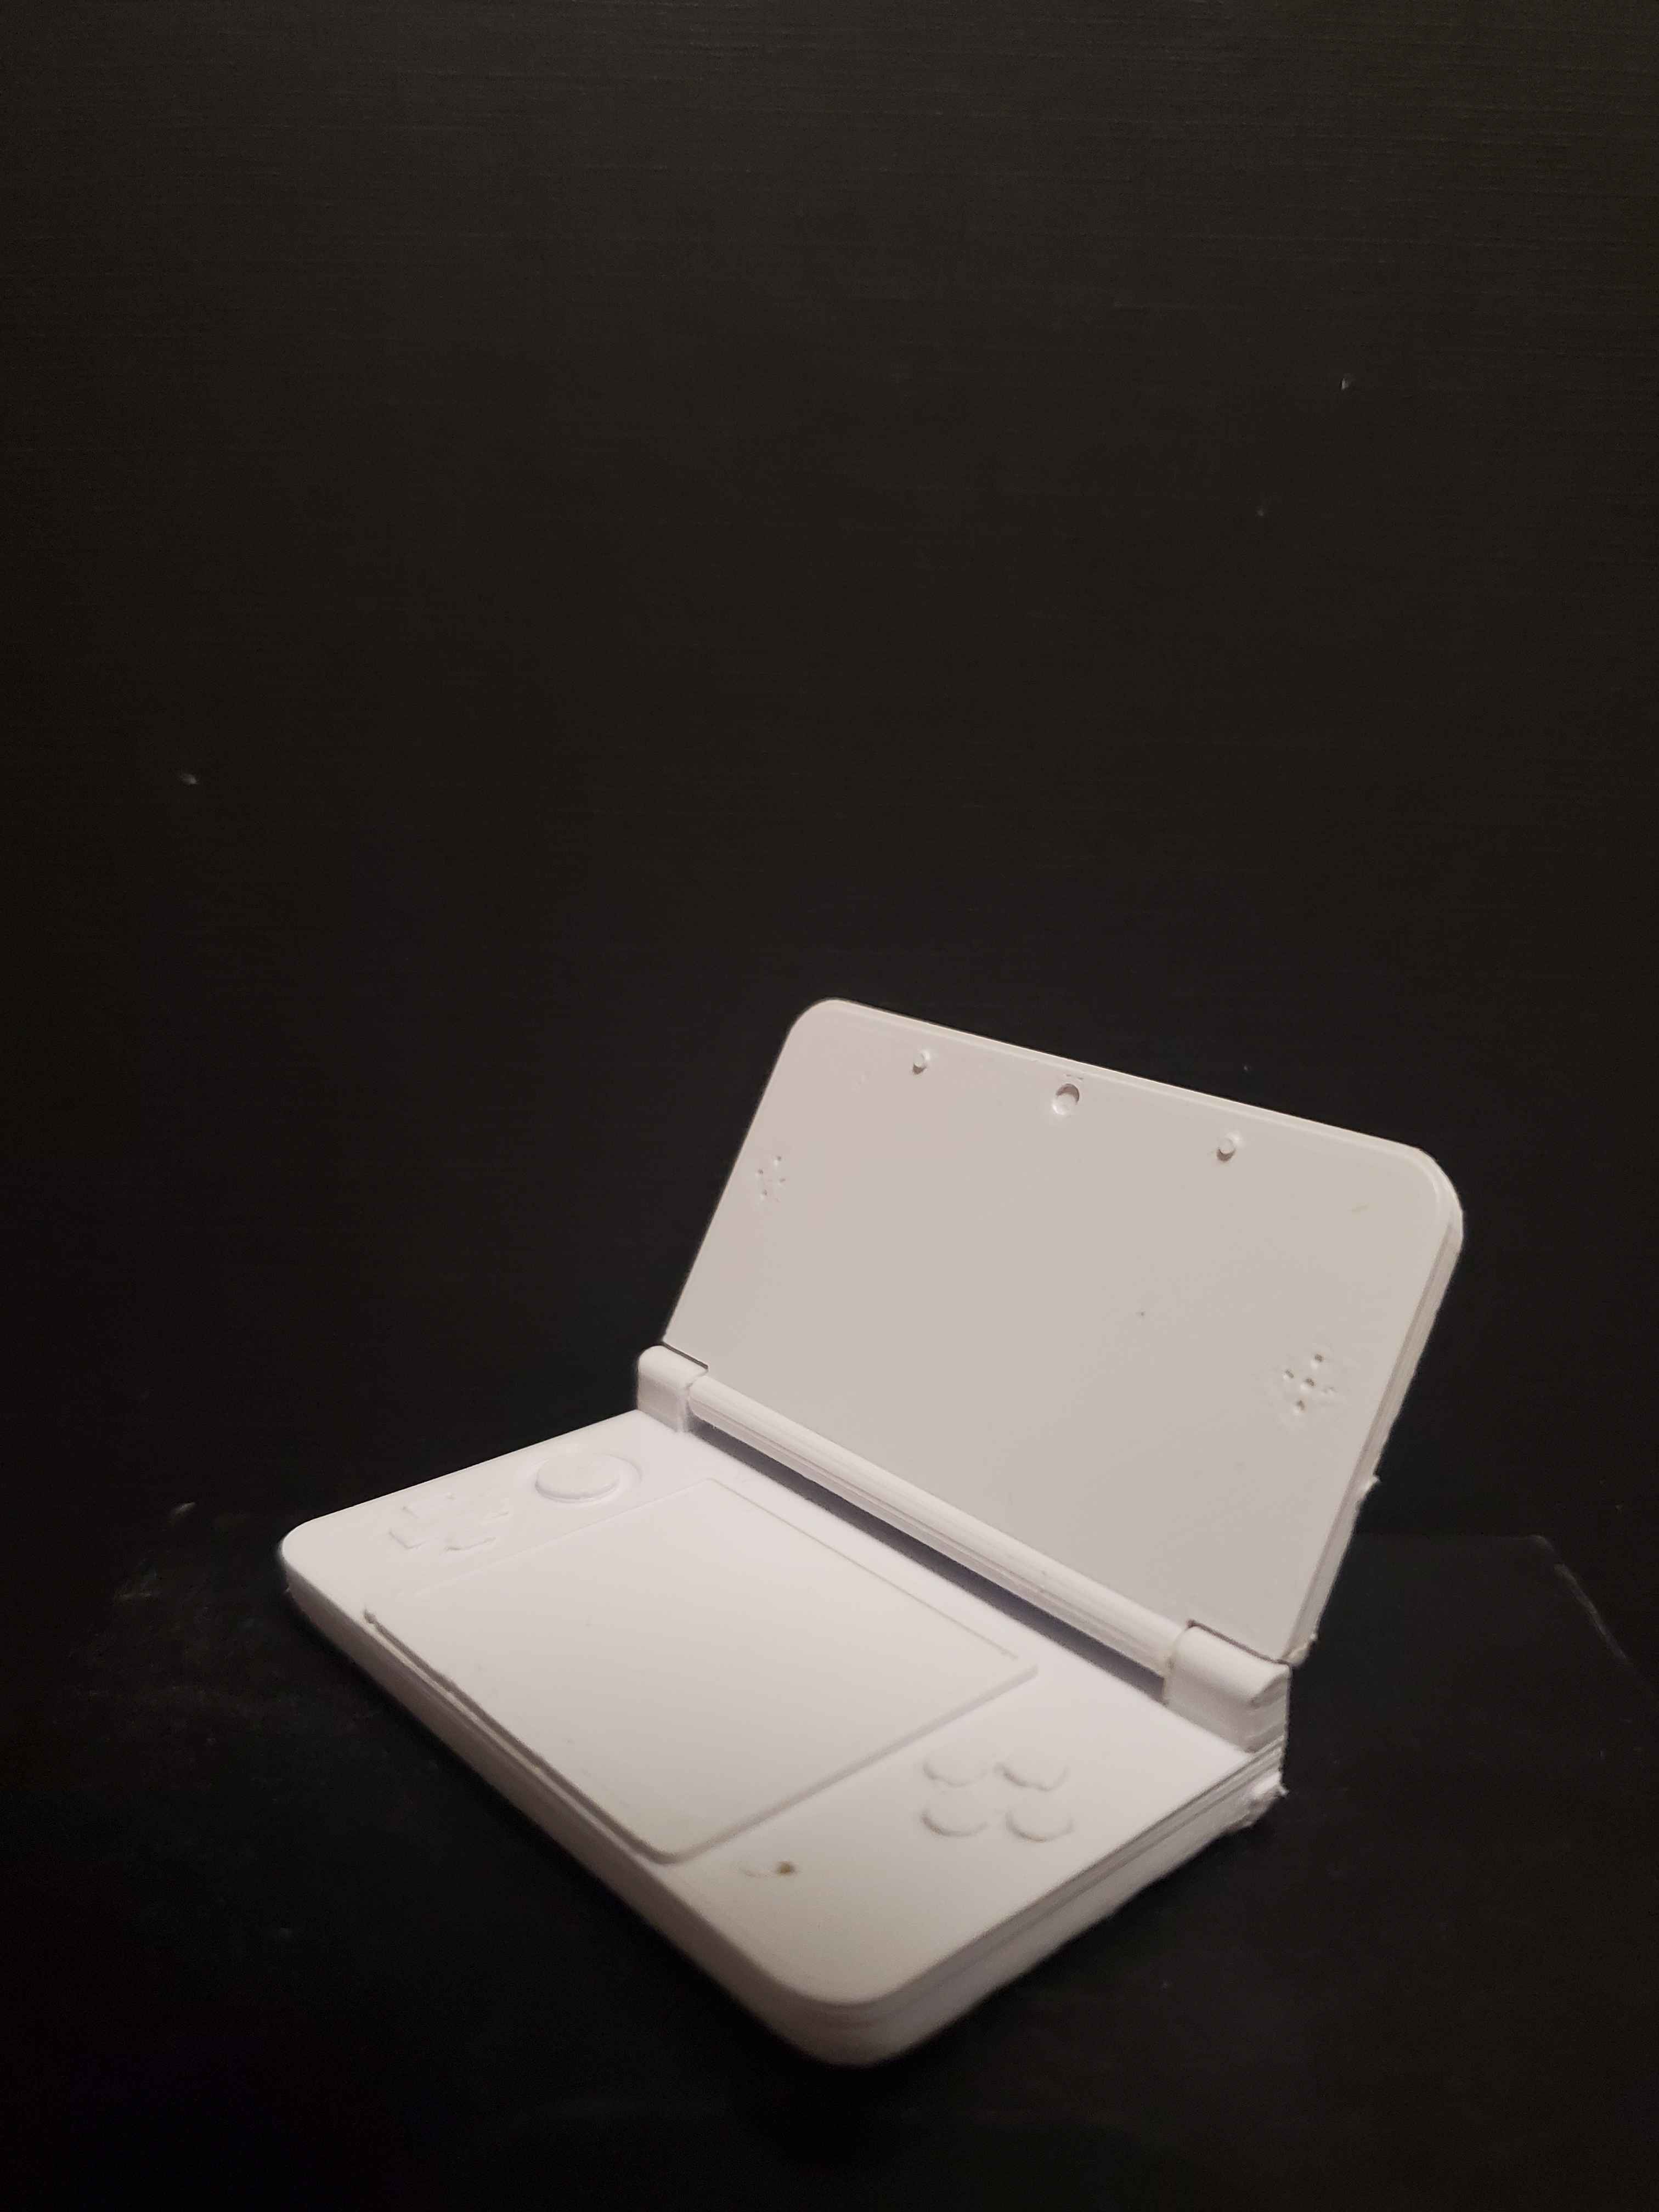
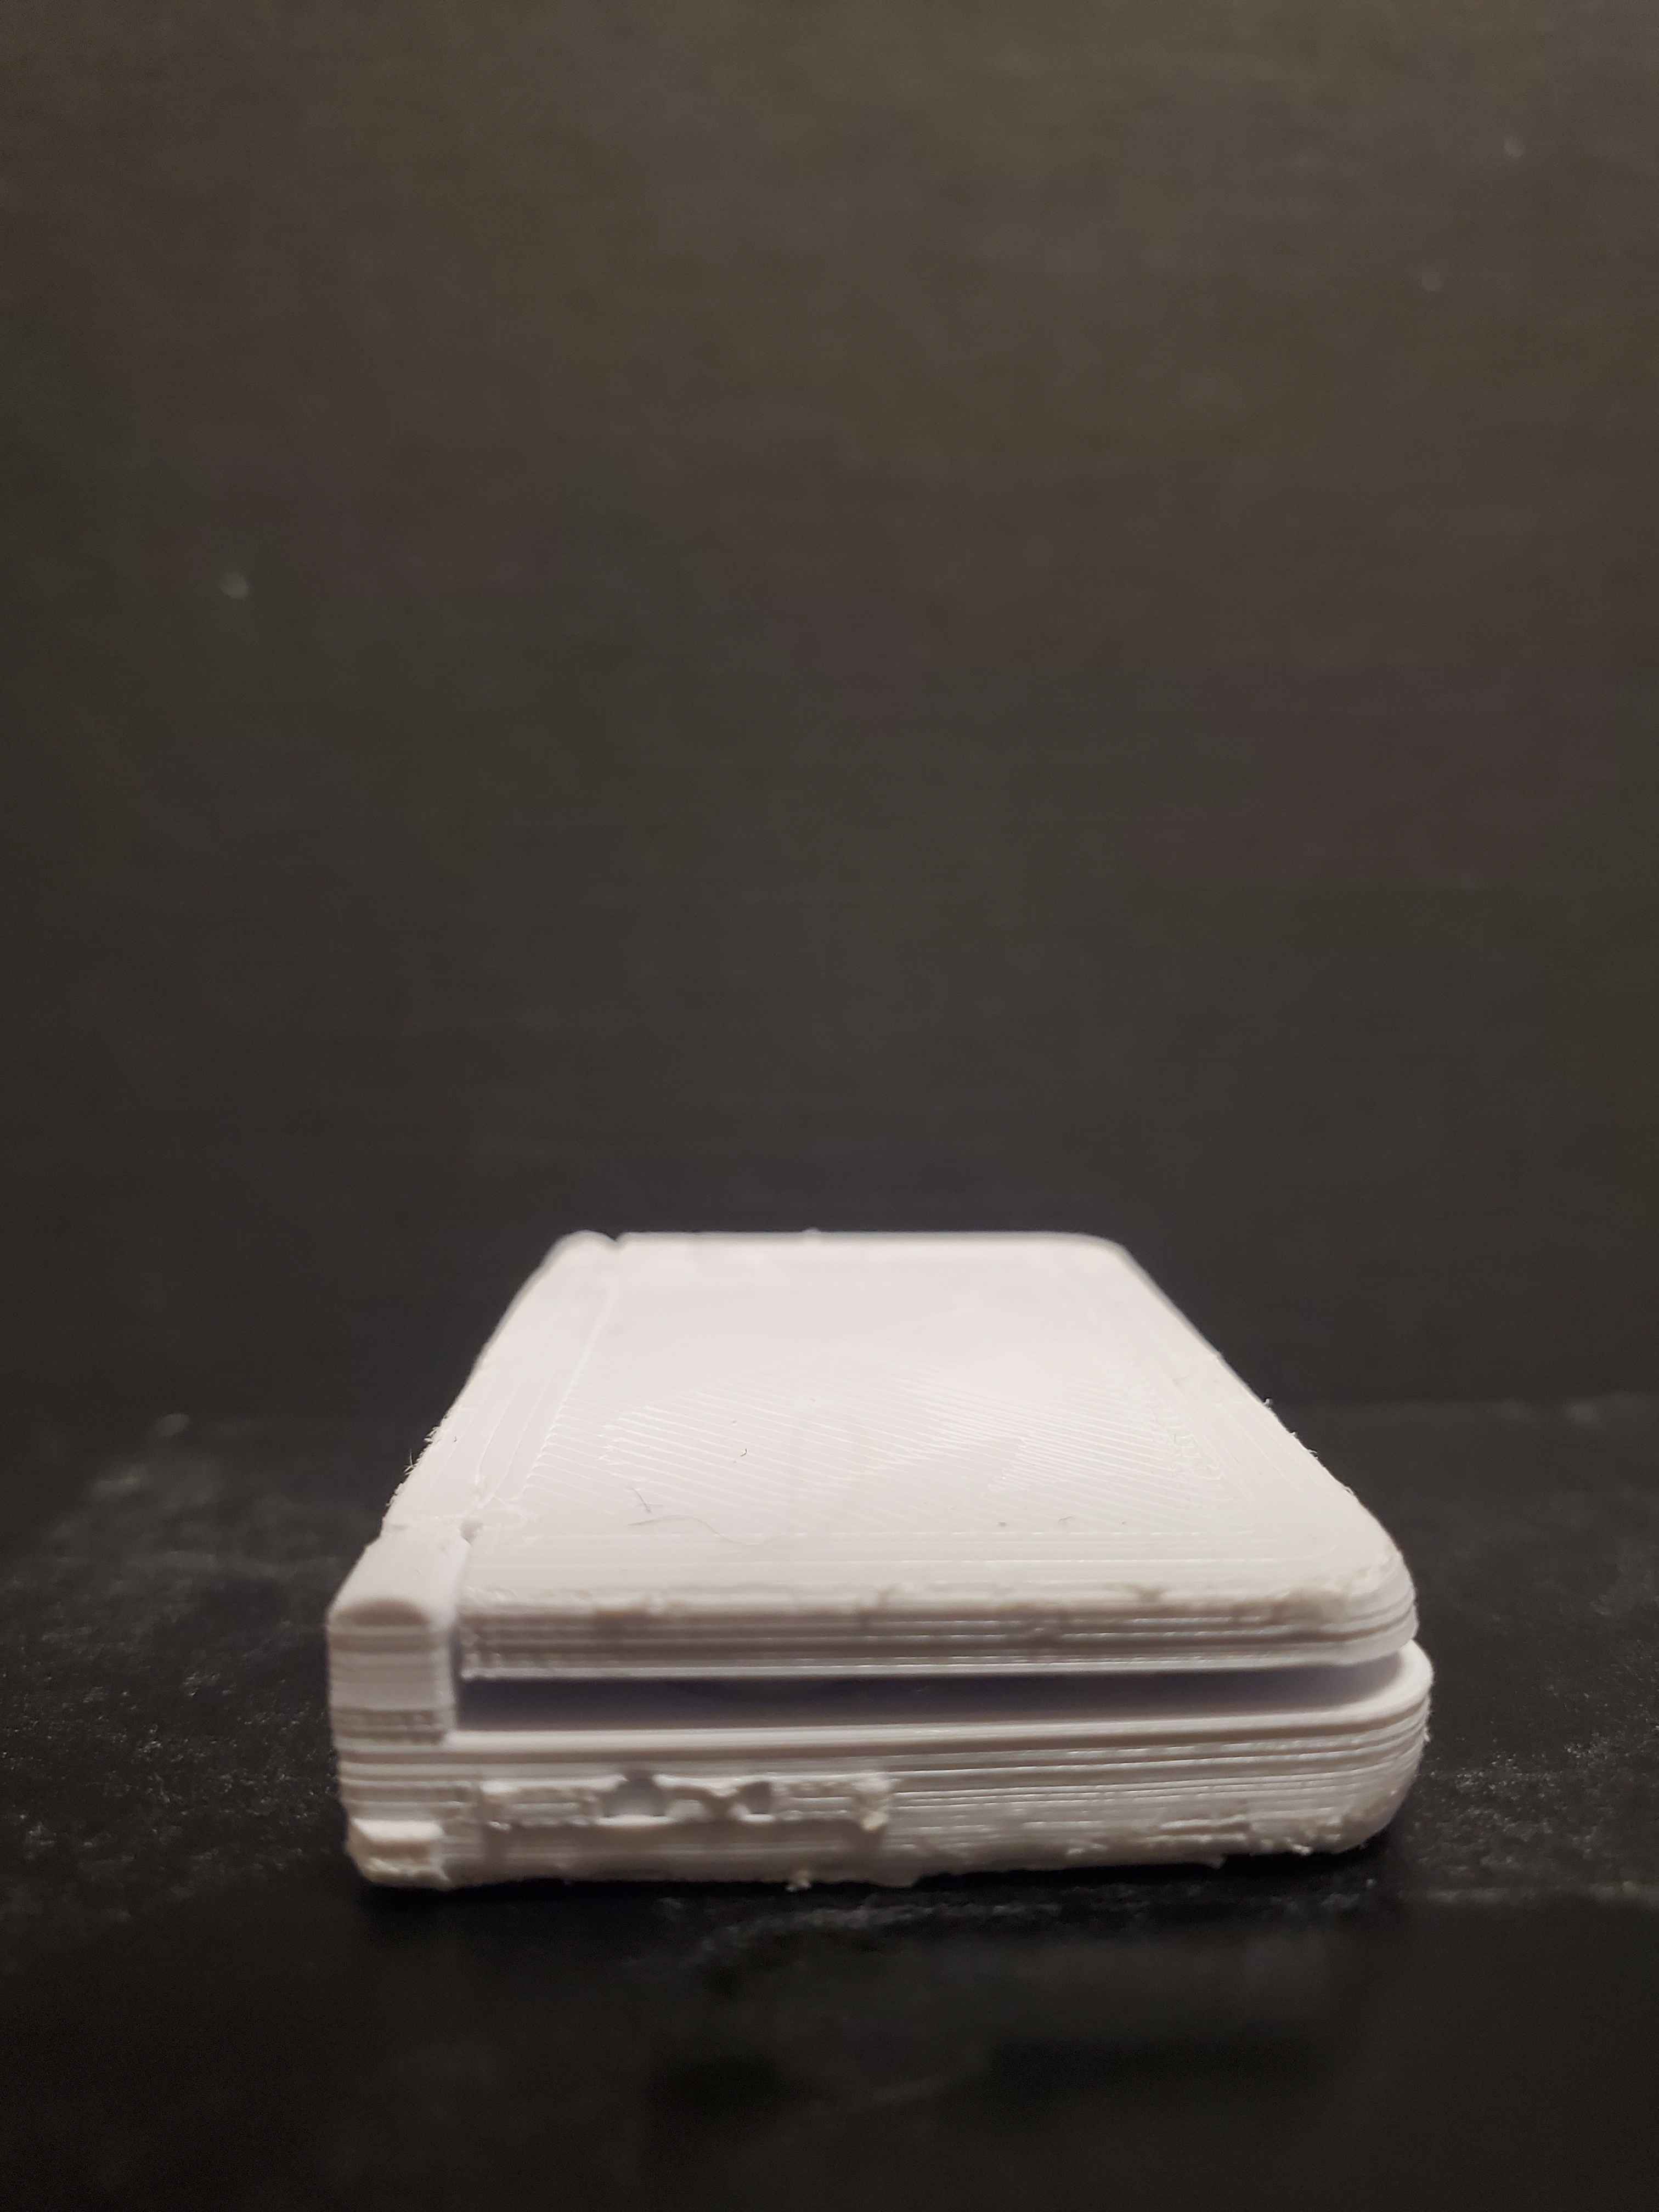
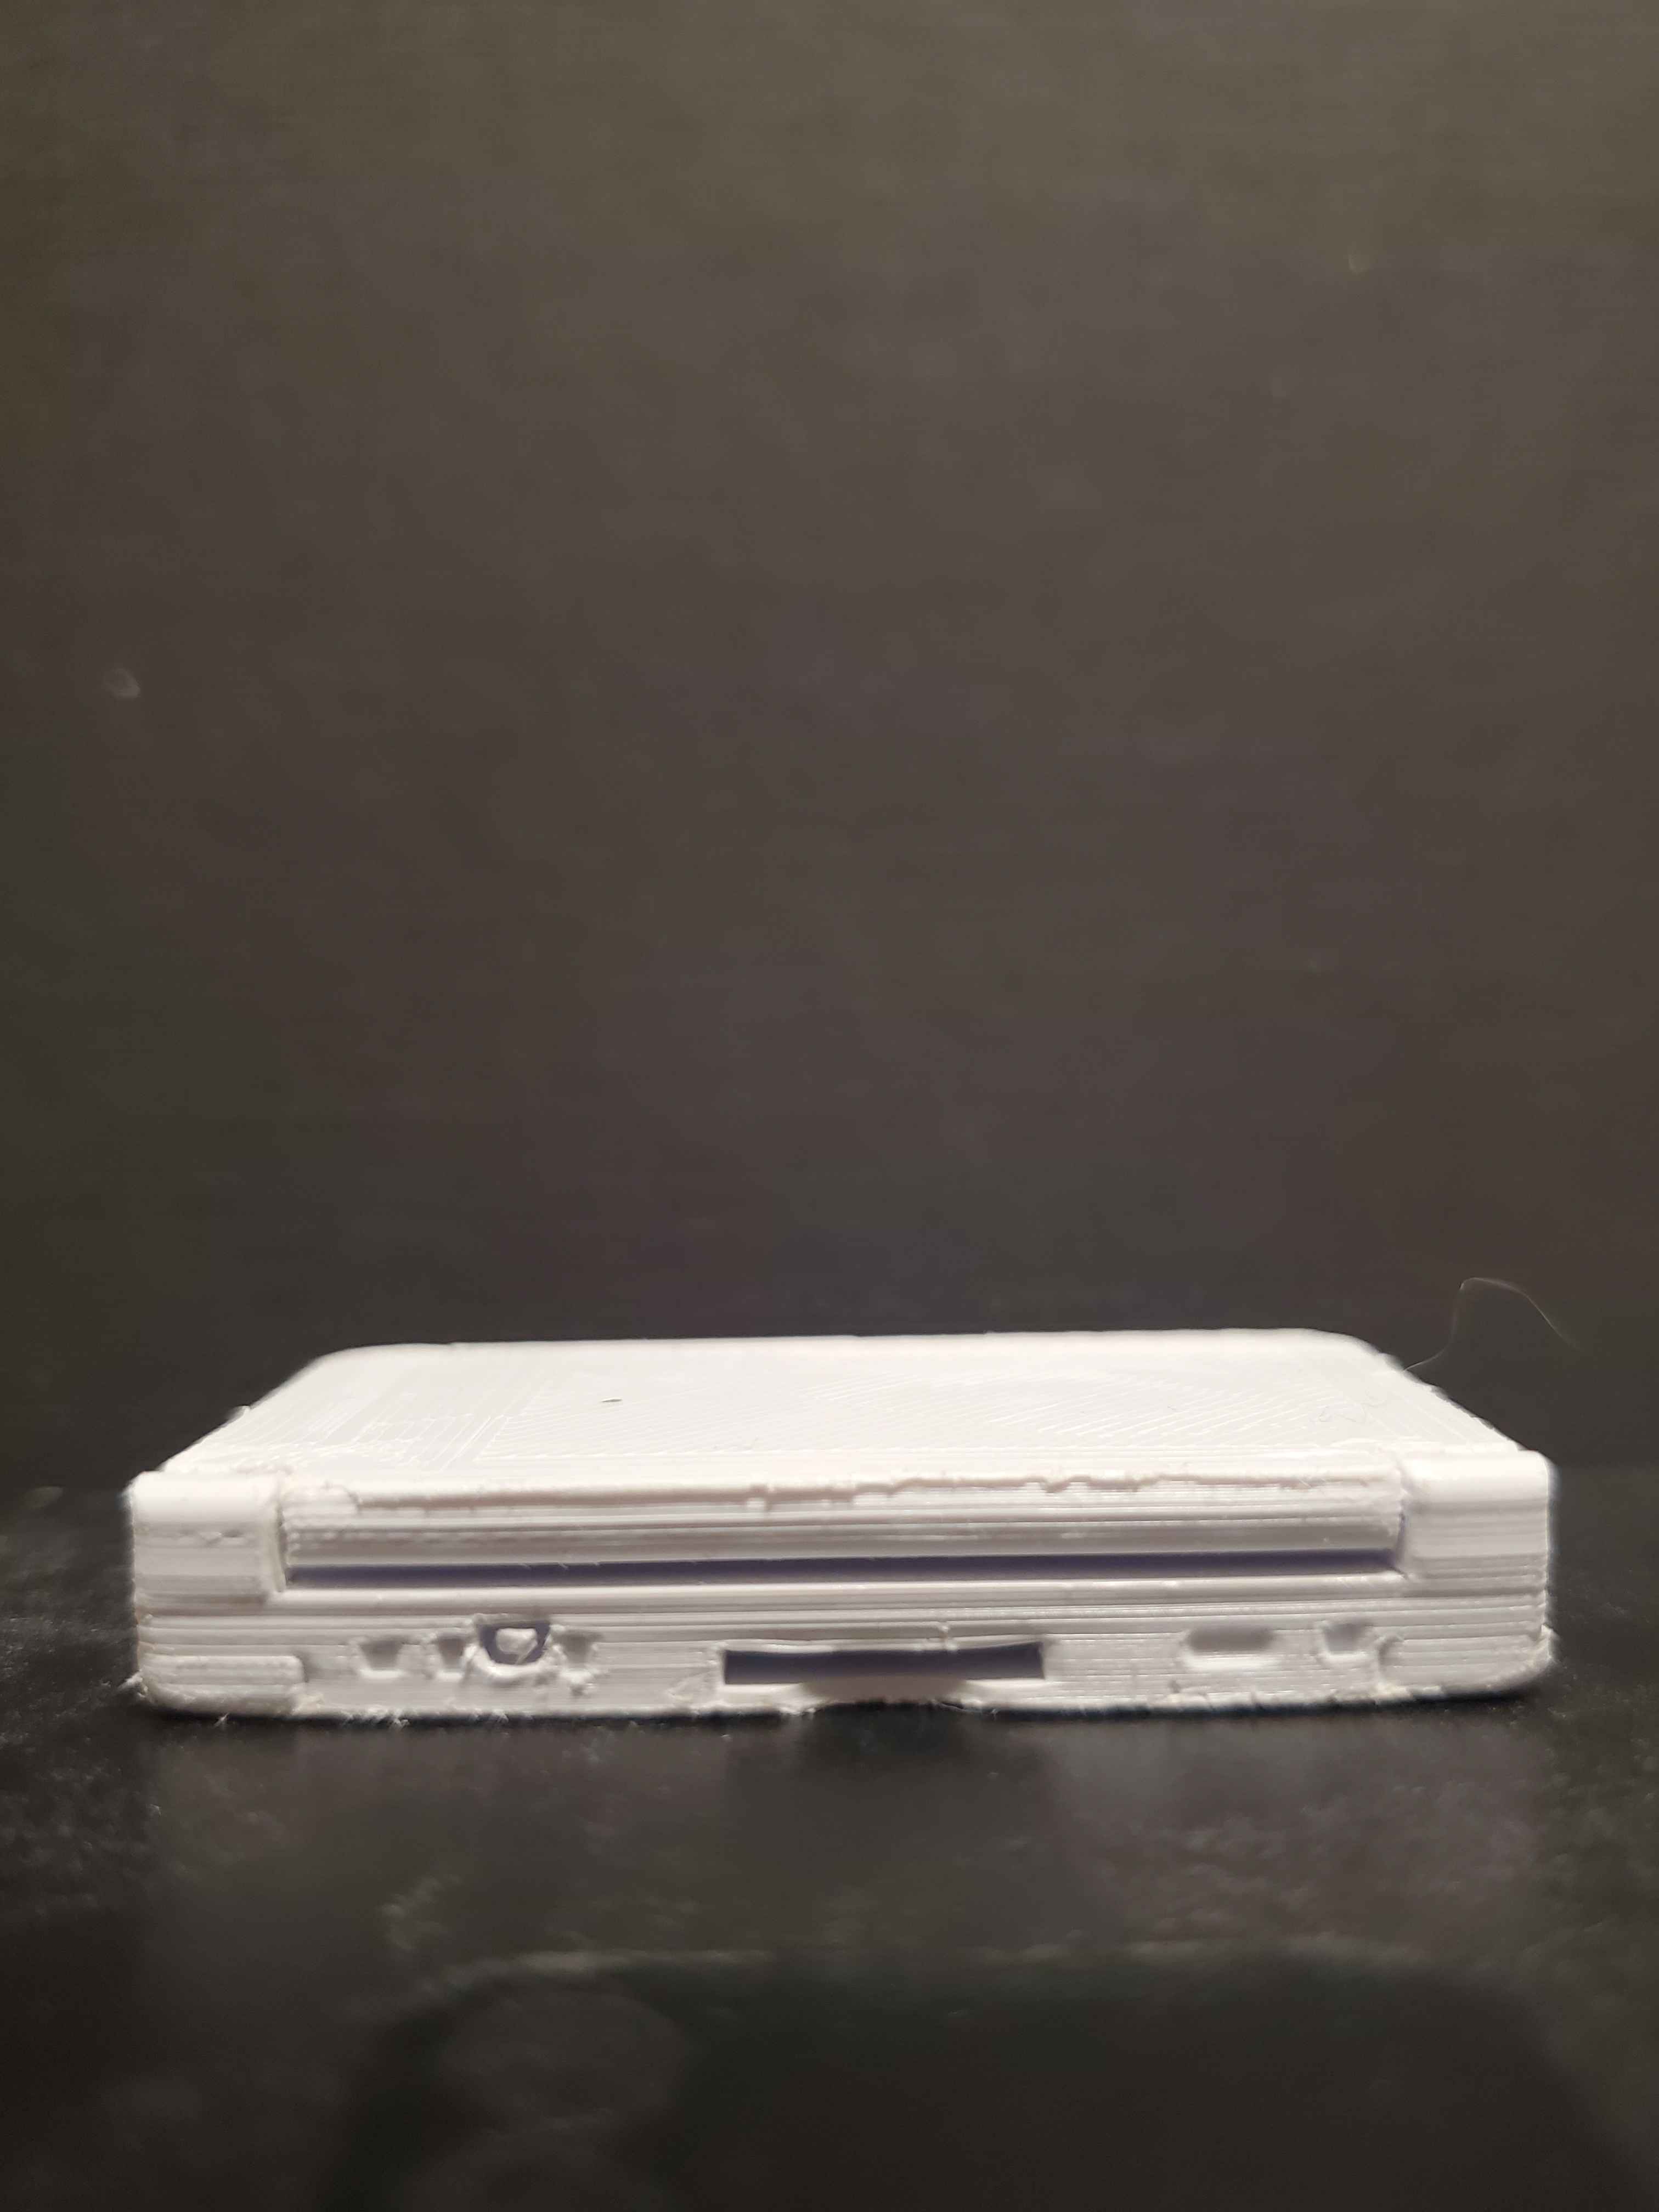
3D Printed Model 3 - 3DS XL

 3D printed 3DS XL - open front view 3D printed 3DS XL - open 3/4 view  3D printed 3DS XL - side view 3D printed 3DS XL - back view
×

Powered by w3.css